Keeping your vCenter Server updated is not just a best practice; it’s a critical operational necessity. Regular patching resolves severe security vulnerabilities, delivers essential bug fixes, and ensures compatibility with modern hardware and newer ESXi hosts. Since vCenter acts as the central command hub for your entire virtual infrastructure, an unpatched server can become a major security liability and compromise the stability of all managed workloads.
1. Login into VAMI
Navigate to your vCenter Server Management Interface (VAMI) using port 5480:
https://SERVERNAME.COM:5480

2. Go to Update
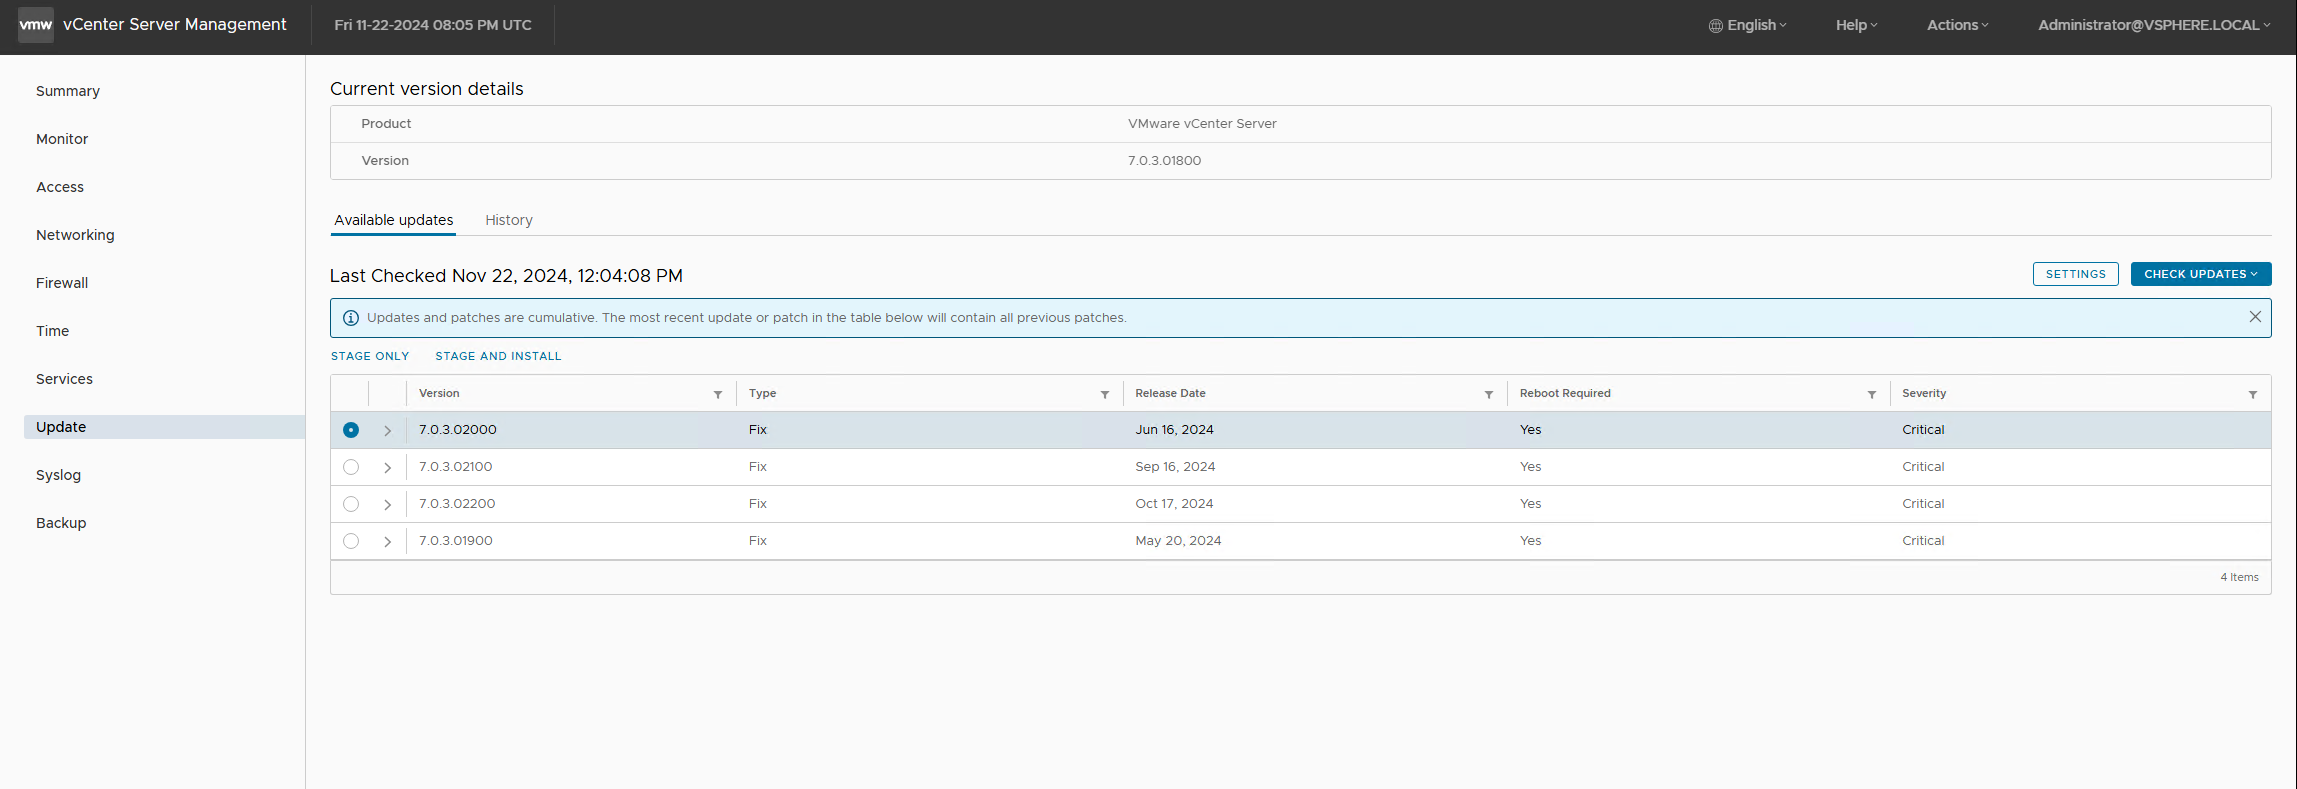
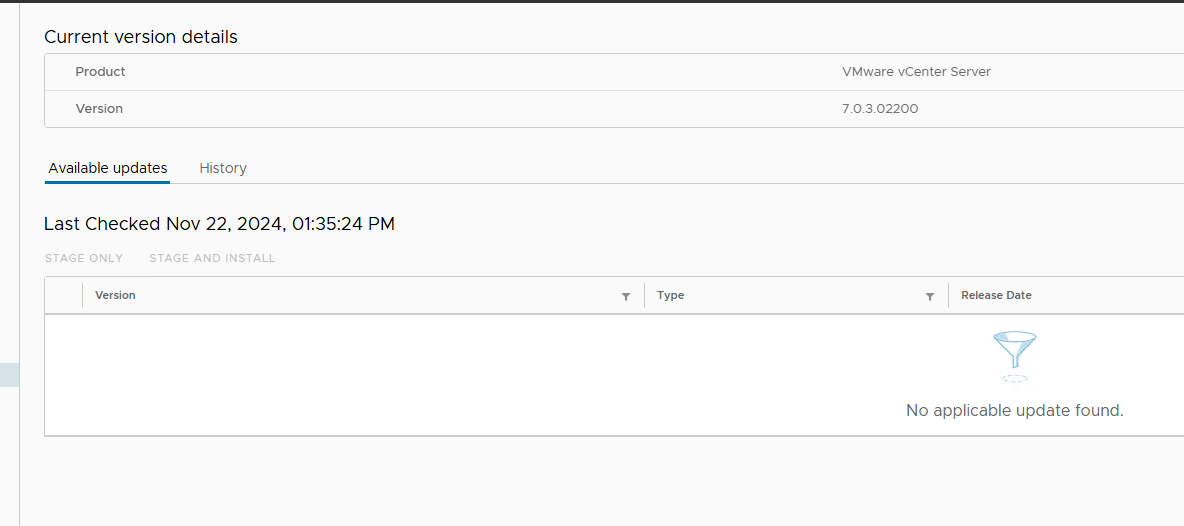
Once logged in, navigate to the Update section in the left menu.
3. Pre-Update Checks
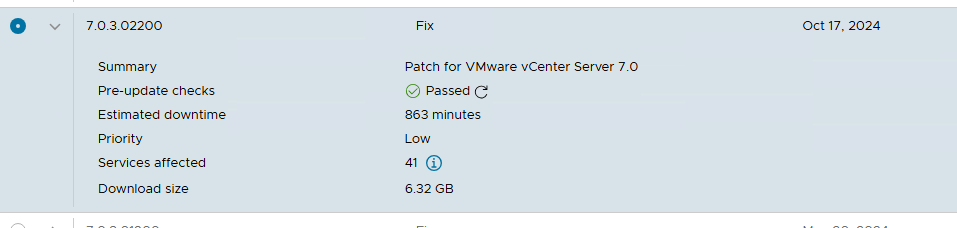
Select the latest available patch and run the pre-update checks.
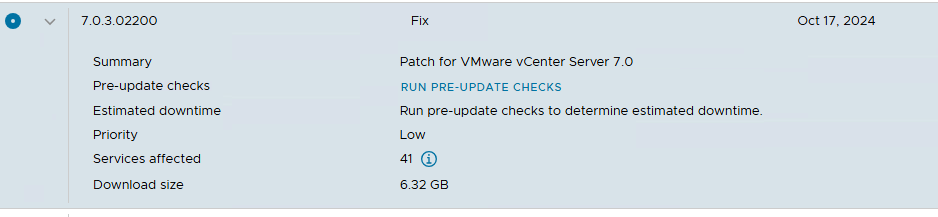
This will provide you with an estimated downtime for the patching process.
4. Stage and Install
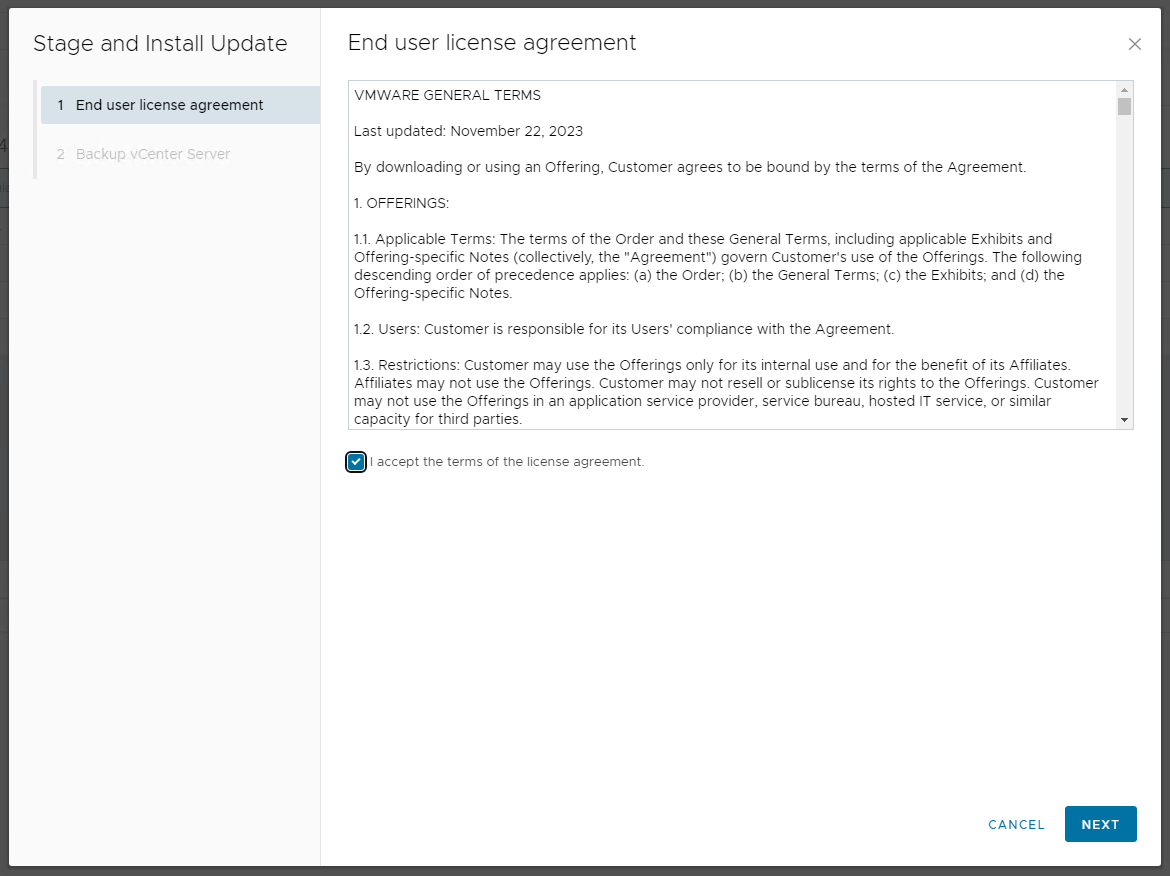
After the checks pass, select Stage and Install.
You will be prompted to accept the End User License Agreement (EULA).
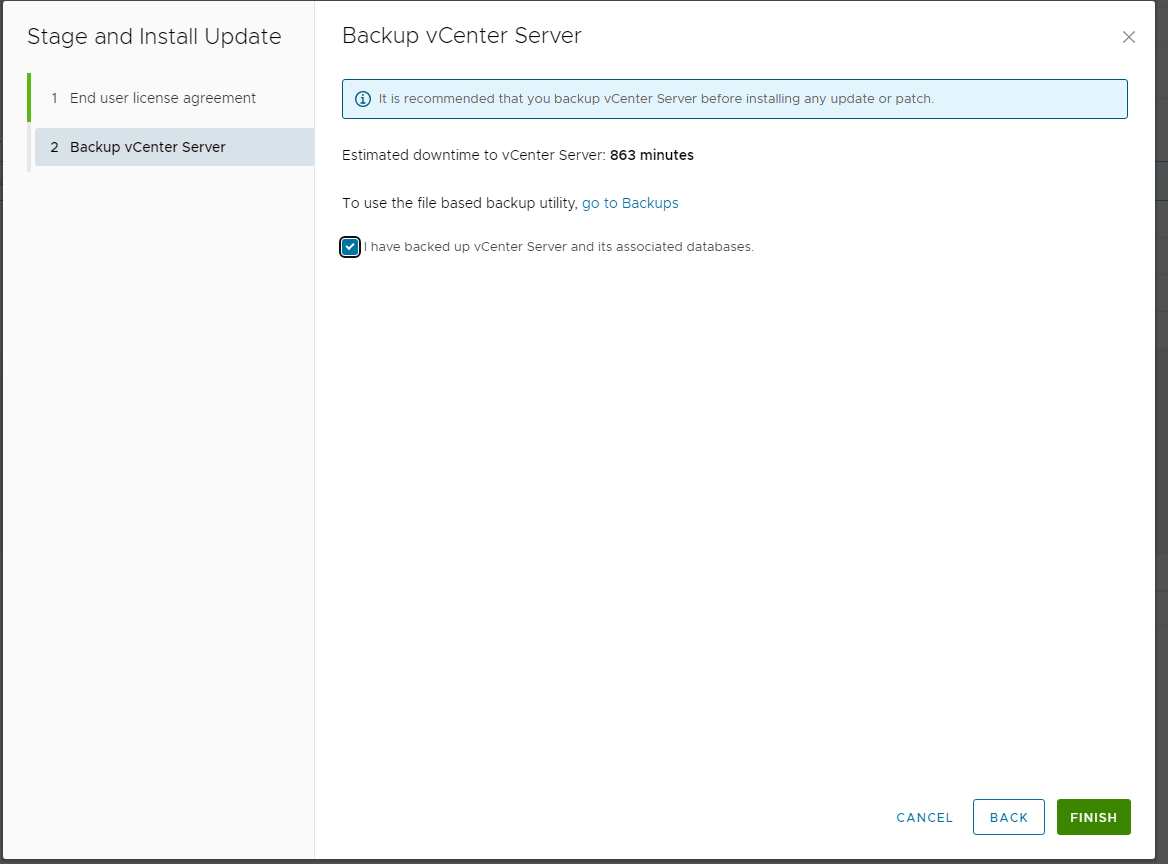
Select the checkbox confirming that you have backed up the vCenter Server and its database, then select Finish.
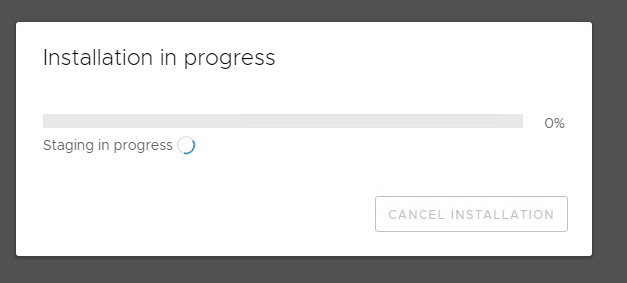
The installation process will begin.
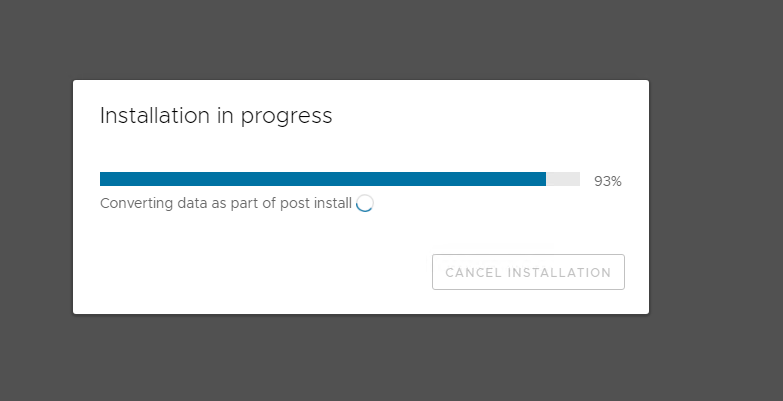
Once finished, you will see a success message indicating the update was installed properly.
Conclusion
Applying patches to vCenter Server through the VAMI is a straightforward yet critical process. By regularly maintaining your VCSA up to date, you ensure a secure, stable, and resilient management plane for your hypervisors and VMs. Always remember to perform a reliable backup or take a snapshot of the appliance itself before initiating any upgrade to easily recover in case of unexpected issues.