
In a production environment, Windows Servers are typically designed to remain on the lock screen until an administrator actively authenticates. However, certain legacy applications or specific GUI-based tools explicitly require an active user session to run in the background. If the server reboots and sits at the Ctrl+Alt+Delete screen, these applications will simply fail to start, causing painful outages.
This scenario is extremely common when dealing with specialized Virtual Machines (VMs) in a homelab or enterprise cluster where you need an application to fire up automatically unattended.
This guide demonstrates how to configure Windows Server to bypass the lock screen and automatically log in your specified user account upon boot by modifying the System Registry.
Warning Before Proceeding
Security Implications: Storing credentials in the registry means they are stored in plain text. Only perform this on isolated VMs, homelab environments, or highly secure edge cases where physical/hypervisor access is strictly controlled.
Step-by-Step Guide
Click on the Start menu, type
Run, and hit Enter.In the Run dialogue box, type
regedit.exeand press Enter to launch the Registry Editor.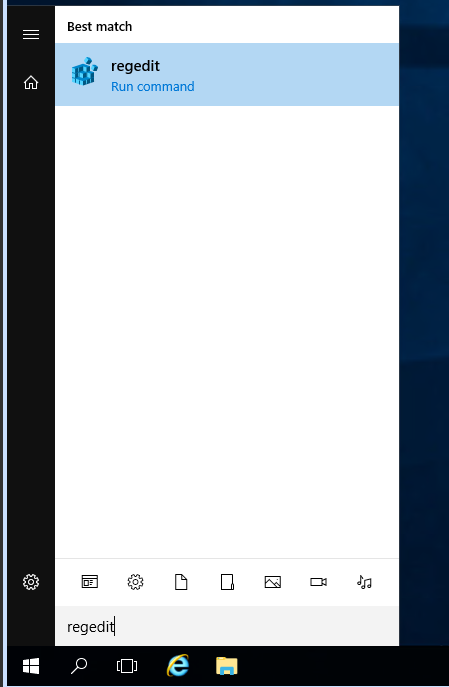
Navigate through the tree on the left side to the following exact path:
HKEY_LOCAL_MACHINE\SOFTWARE\Microsoft\Windows NT\CurrentVersion\Winlogon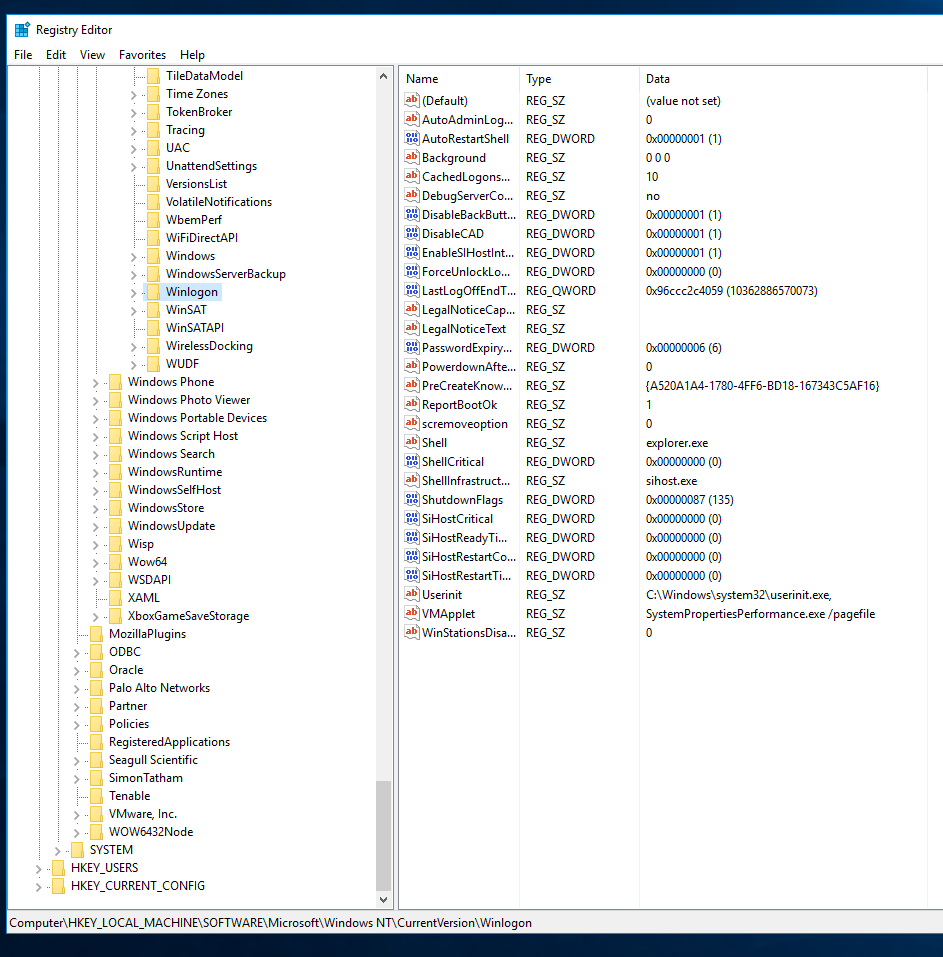
On the right-hand panel, empty space, Right-Click > select New > select String Value.
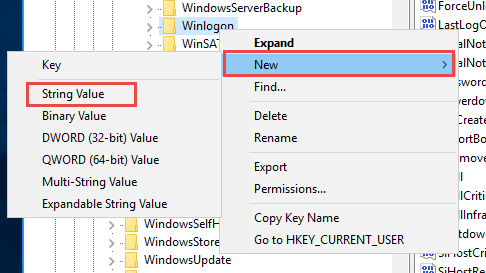
Name this new string exactly
AutoAdminLogonand press Enter.Double-click your newly created AutoAdminLogon entry.
In the Edit String dialog box, set the Value data to
1(which means True/Enabled) and click OK.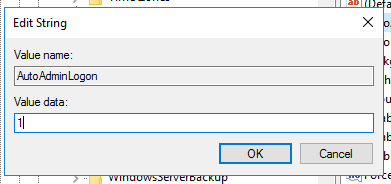
Next, look for an existing entry named DefaultUserName. Double-click it, type the exact username you want the system to log in with, and click OK.
Now you must provide the password. Look for an entry named DefaultPassword. Note: If
DefaultPassworddoes not exist, you must create it just like you did in step 4 (Right-Click > New > String Value, name itDefaultPassword).Double-click the DefaultPassword entry, type the account’s actual password in plain text into the Value data box, and click OK.
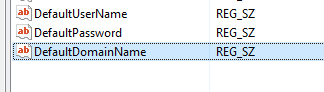
Crucial Note: If you fail to create the
DefaultPasswordstring or leave it completely blank, Windows will automatically detect this during the next reboot and flip yourAutoAdminLogonkey back to 0 (false), disabling the feature entirely!(Domain Environments Only): If your VM is joined to an Active Directory domain, you must verify the DefaultDomainName entry. Double-click it and ensure the value is set to your Fully Qualified Domain Name (FQDN), for example:
corp.contoso.com.Close the Registry Editor.
Restart your Windows Server.
Conclusion
Upon boot, the server will completely bypass the lock screen, inject the credentials you provided in the registry, and land directly on the desktop. Any startup scripts or GUI-reliant background applications will now trigger successfully completely unattended. By configuring Autologon, you bridge the gap between headless service reliability and the strict session requirements of legacy graphical software.