The core of any TrueNAS deployment is its storage configuration. At the heart of this system is the ZFS file system, which organizes physical disks into logical groupings called vdevs (Virtual Devices) and aggregates them into a Pool. Creating a robust storage pool is your first step toward configuring data shares, taking snapshots, and securing your enterprise or homelab data.
This guide will walk you through the process of creating a new ZFS Storage Pool in TrueNAS.
Step-by-Step Guide
Log into your TrueNAS web interface and navigate to Storage in the left-hand menu.
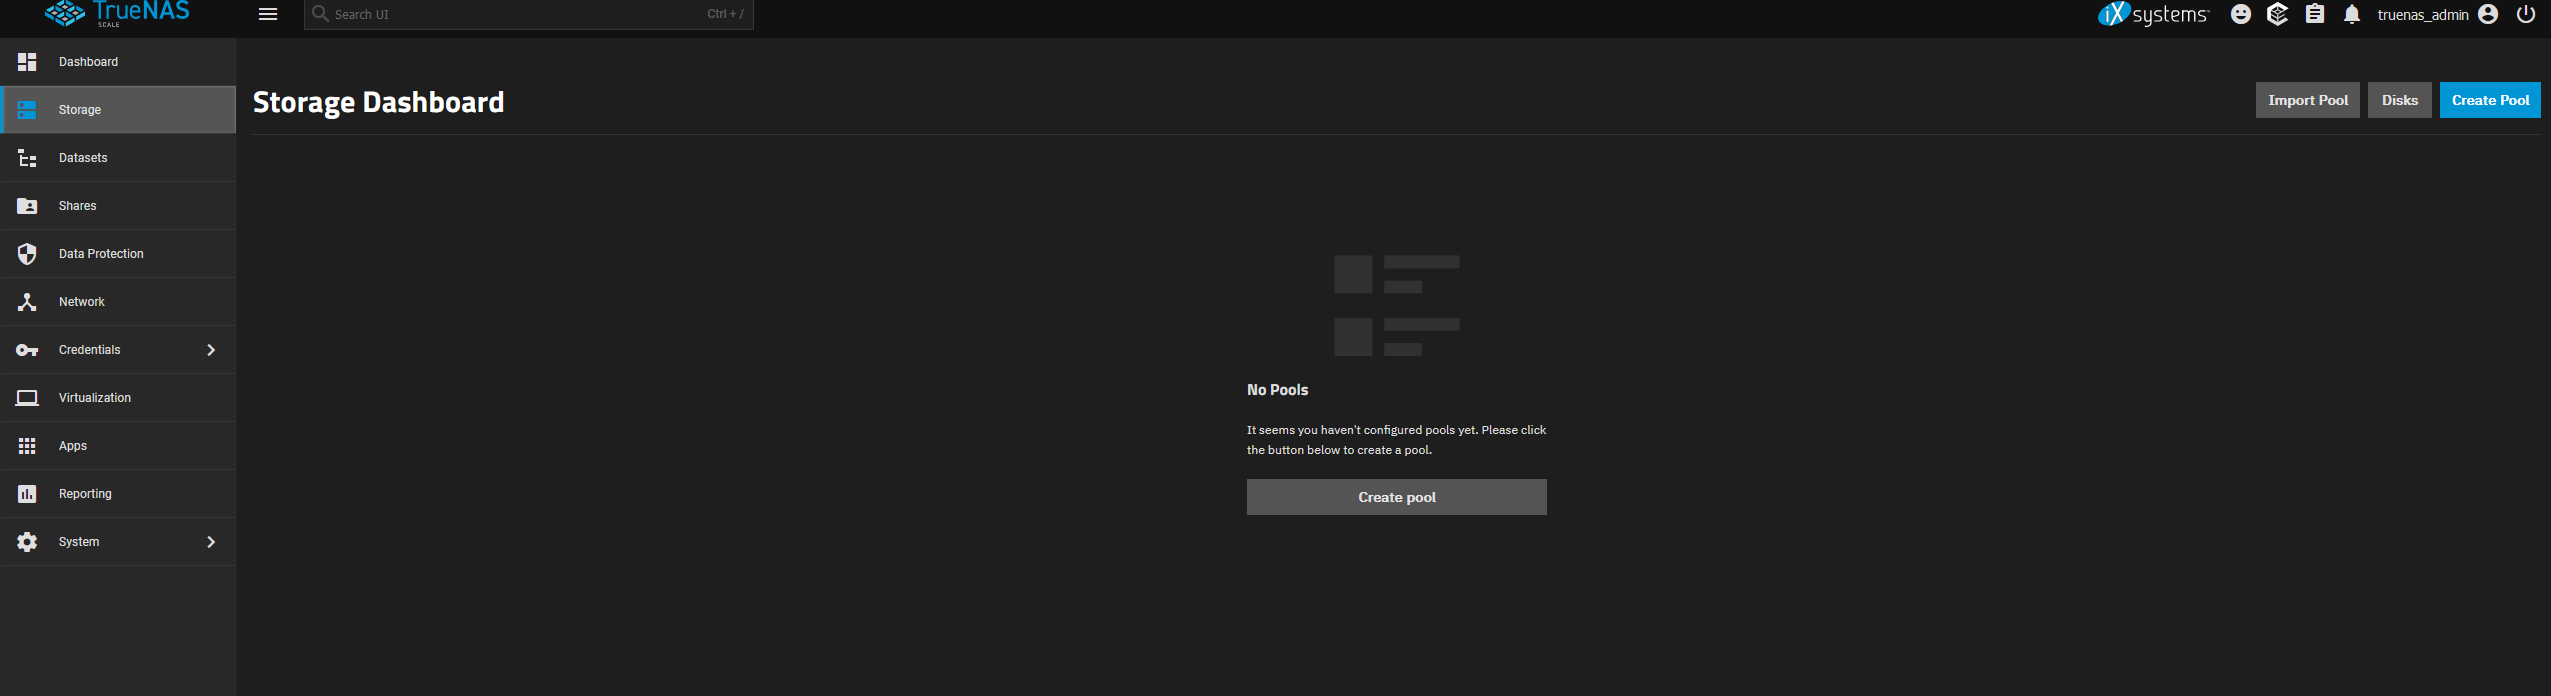
Click on the Create Pool button in the upper right corner to launch the Pool Manager.
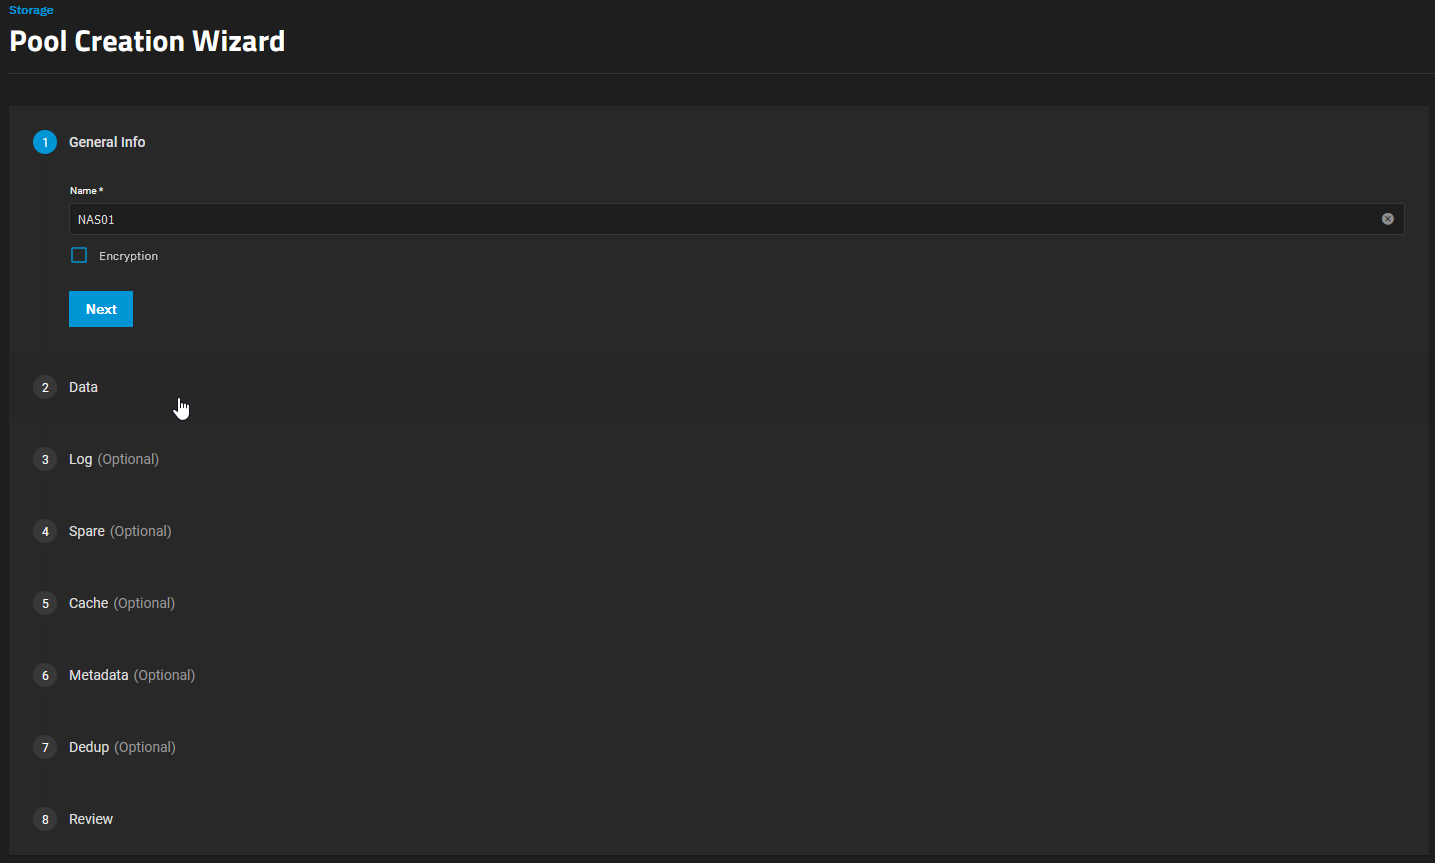
Provide a clear and descriptive Name for your new pool (e.g.,
TankorDataPool). Pay attention to the naming conventions.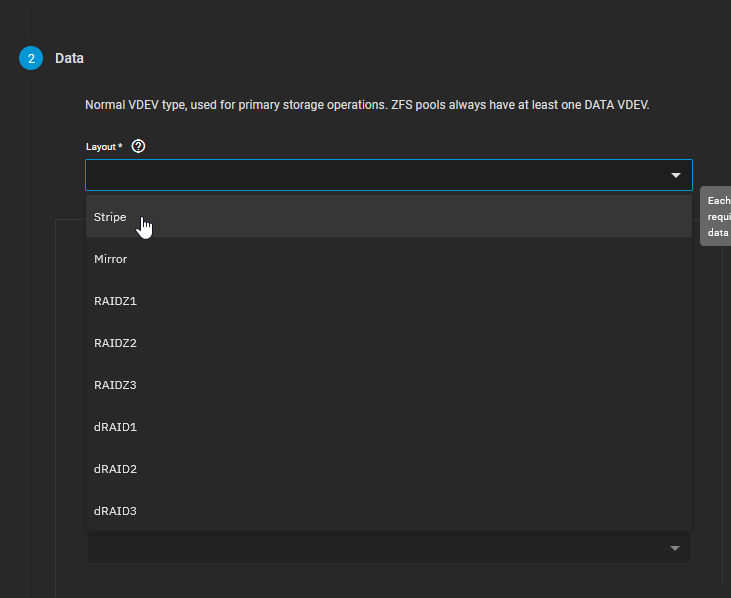
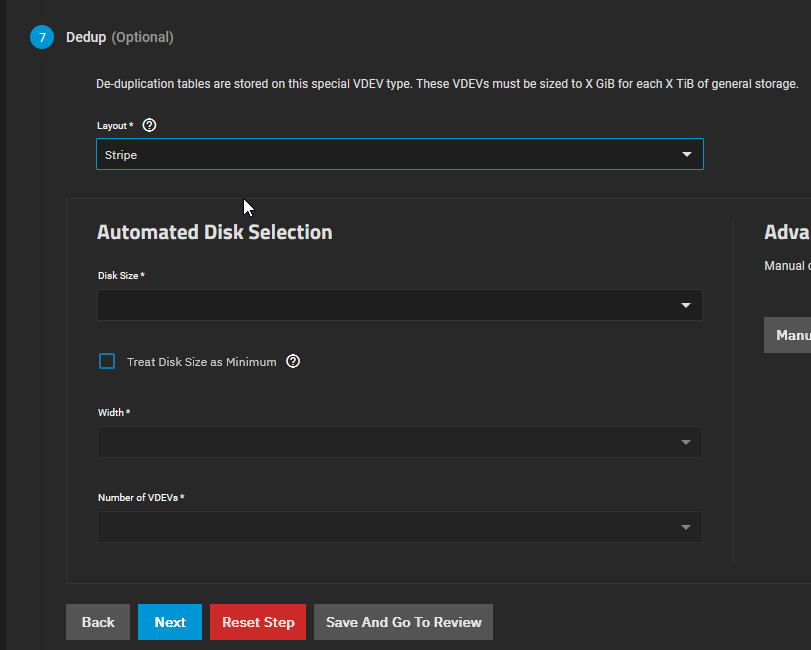
Looking at the Available Disks column (or clicking the automated disk selection), you will see physical drives you can assign. In the screenshot, we use the Automated Disk Selection to choose a 500 GiB HDD.

Looking at the Available Disks column, you will see all unused physical drives currently attached to the system.
Select the disks you wish to use by ticking the checkboxes next to their names.
Click the Right Arrow icon to move the selected disks into the Data VDevs section.
In the Data VDevs column, select your desired RAID layout from the dropdown menu. Options typically include Stripe, Mirror, RAIDZ1, RAIDZ2, or RAIDZ3 depending on the number of disks you selected.
ZFS Layout Minimum Disks Fault Tolerance Description & Best Use Case Stripe (RAID 0) 1 None (Data Loss if 1 drive fails) Data is striped across disks for maximum speed and capacity. Only for temporary scratch data. Mirror (RAID 1/10) 2 1 drive per mirrored pair Exact copies of data across drives. Extremely high read/write IOPS, but you sacrifice 50% capacity. Great for VM storage and databases. RAIDZ1 (RAID 5) 3 1 drive failure Data and single parity striped across drives. Good balance of space and speed, but risky with very large drives due to long rebuild times. RAIDZ2 (RAID 6) 4 2 drive failures Double parity. The sweet spot for NAS storage. Highly resilient, allowing two simultaneous drive deaths without data loss. RAIDZ3 5 3 drive failures Triple parity. Maximum security for massive archives, but suffers a performance penalty during writes. 
TrueNAS will display a warning regarding data redundancy if you select a Stripe configuration or non-optimal layouts. Ensure you understand the fault tolerance of your choice.
CautionIn the screenshot above, you will notice a red warning message because a Stripe layout was selected using a single disk. This was done strictly for demonstration and testing purposes in a homelab. NEVER use a Stripe layout for production data or important files. If that single disk dies, your entire storage pool dies with it, and data recovery is practically impossible. Always use Mirror, RAIDZ1, or higher.
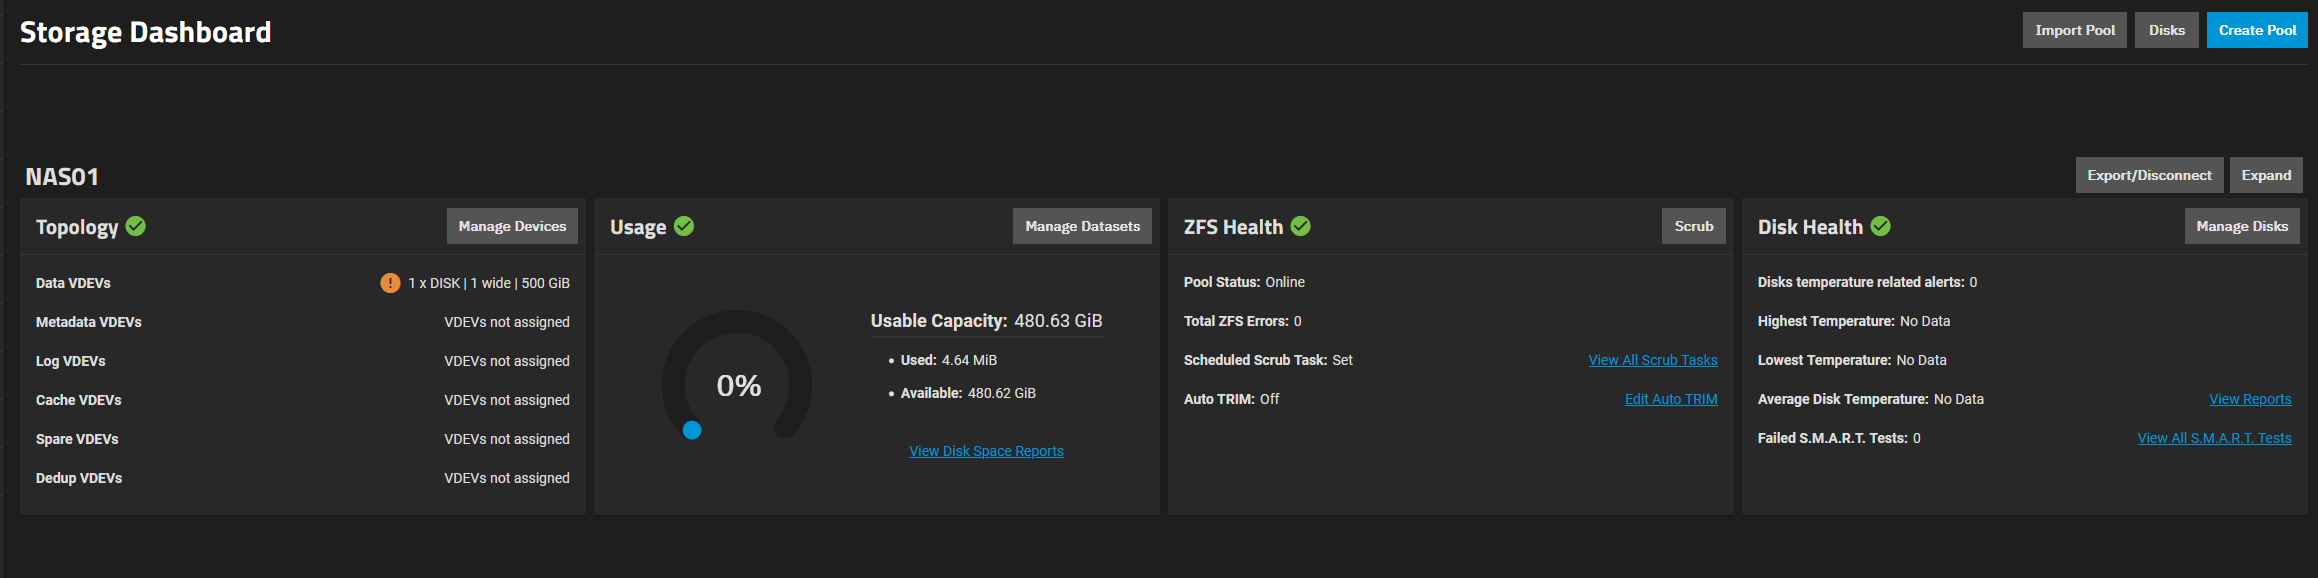
Review the summary of the pool you are about to create. This includes the raw capacity, usable capacity, and the layout topology.

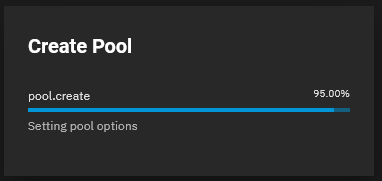
Click the Create button at the bottom of the screen.
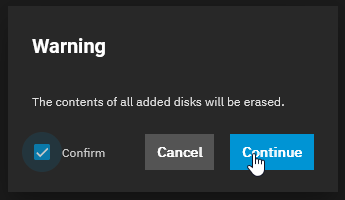
A final confirmation dialog will appear warning you that all existing data on the selected drives will be permanently erased. Check the “Confirm” box and click Create Pool.
Conclusion
Creating a ZFS Storage Pool in TrueNAS is a straightforward process, but the choices you make here are relatively permanent. ZFS operates differently from traditional hardware RAID: while you can add new vdevs to expand a pool later, you generally cannot remove or reshape existing vdevs without destroying the pool. Always plan your layout carefully to optimize for either maximum storage space, maximum I/O performance, or the best possible data redundancy depending on your specific needs.