
Securing your TrueNAS web interface with a valid SSL/TLS certificate is a critical step in deploying a production-ready storage server, especially when integrating it with enterprise Active Directory environments or managing it over a network. By default, TrueNAS generates a self-signed certificate, which modern browsers flag as insecure.
This guide details the process of importing an existing SSL certificate (and its private key)—often issued by an internal Windows Certificate Authority or a provider like Let’s Encrypt—and applying it to the TrueNAS graphical interface.
Step-by-Step Guide
1. Locate Certificates Menu
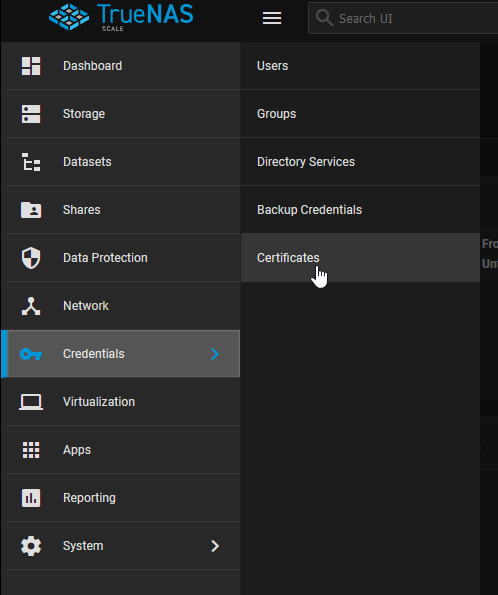
Log into your TrueNAS web interface. In the left-hand navigation panel, expand Network (or System in some UI layouts) and click on Certificates.
2. Configure an ACME DNS Authenticator
First, we need to prove domain ownership to a provider like Let’s Encrypt. Click the Add button in the ACME DNS-Authenticators section.

Provide a recognizable Name for this authenticator (e.g., nas2.mxlit.com). In the Authenticator dropdown, select your DNS provider (like Cloudflare). You will need to input your Cloudflare Email, API Key, and API Token.
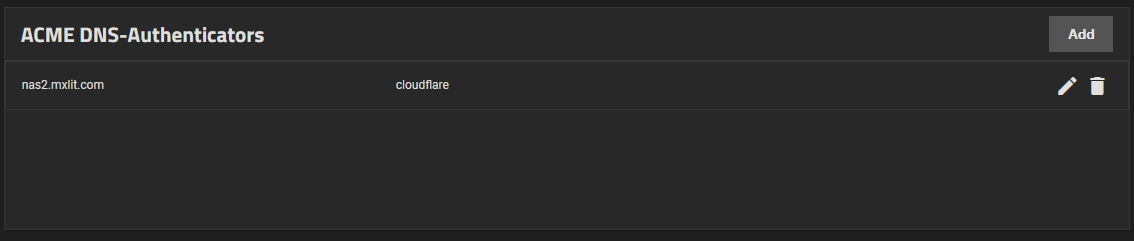
Once saved, it will appear in your Authenticators list.
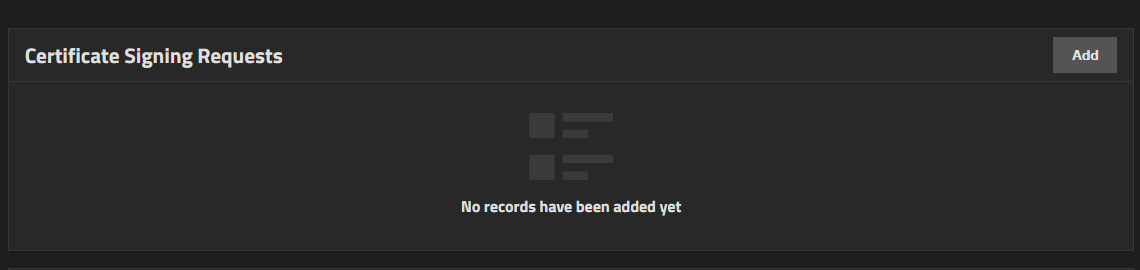
3. Create a Certificate Signing Request (CSR)
Next, click Add in the Certificate Signing Requests section.
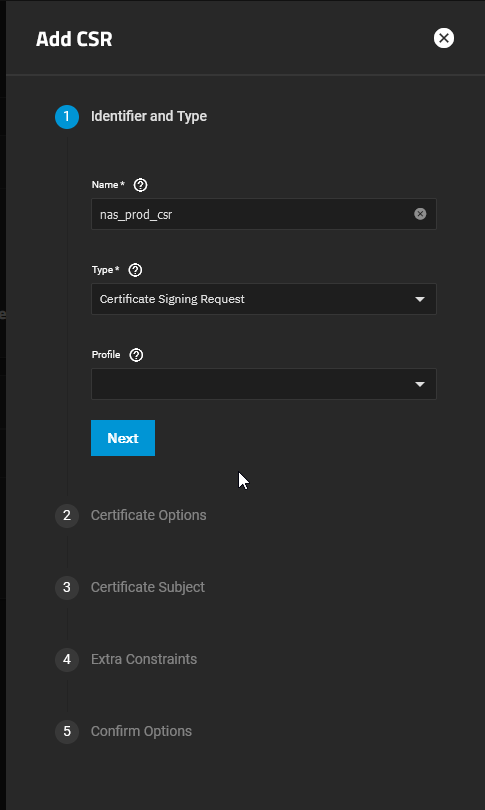
In the Identifier and Type tab, give your CSR a name (e.g., nas_prod_csr). Set the Type to Certificate Signing Request.
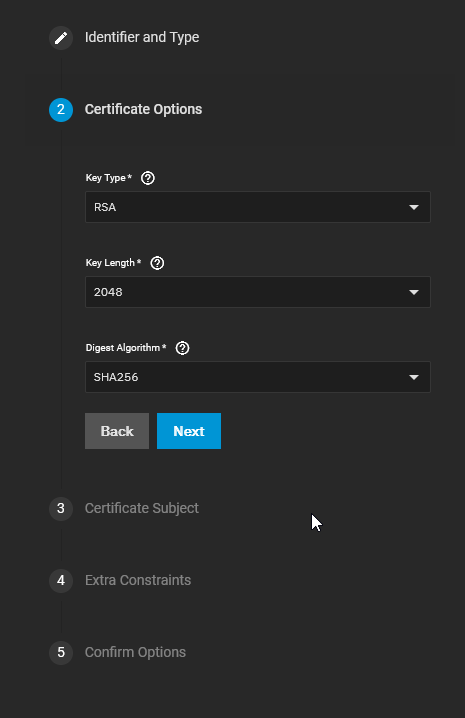
Under Certificate Options, select your Key Type (e.g., RSA) and Length (e.g., 2048).
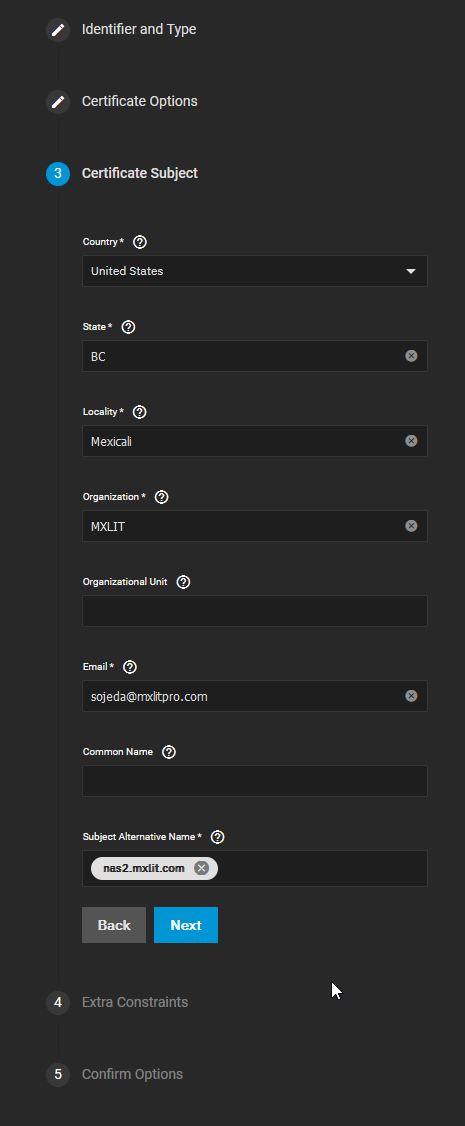
Under Certificate Subject, fill in your organization details: Country, State, Locality, Organization, Email, and exactly define your Subject Alternative Name with the FQDN of your NAS (e.g., nas2.mxlit.com).
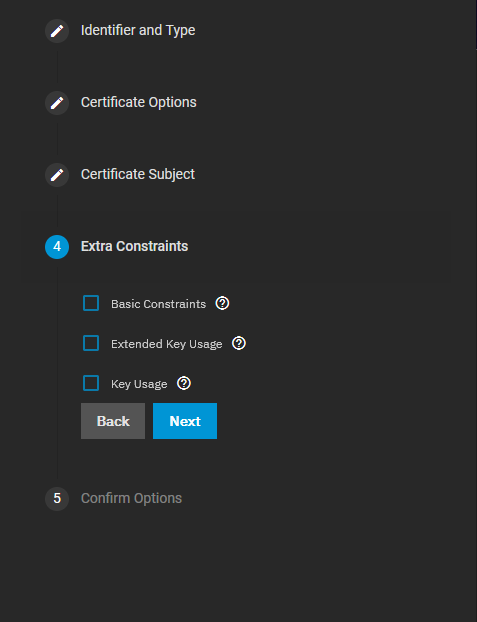
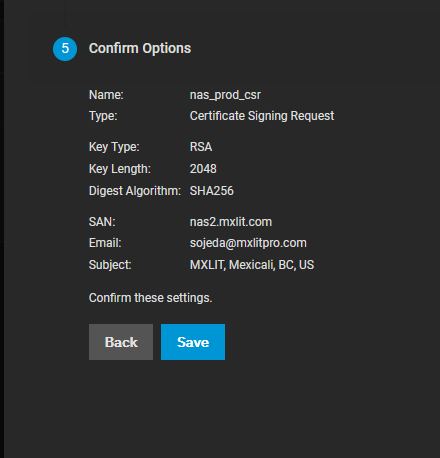
Click Next through the remaining constraints and save the CSR.
4. Create the ACME Certificate
Now, find your newly created CSR in the list and click the Wrench Icon (Create ACME Certificate) next to it.

Give your final certificate an Identifier (e.g., ssl_production), accept the Terms of Service, enter renewal days (e.g., 10), and select the Let’s Encrypt Production Directory. Finally, select the Cloudflare authenticator you created earlier from the Domains dropdown. Click Save.

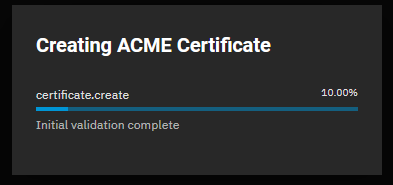
TrueNAS will automatically reach out to Let’s Encrypt, validate your domain via Cloudflare DNS, and issue the certificate directly to your system.
5. Apply the Certificate to the Web GUI
Now that TrueNAS recognizes the certificate, we must instruct the system to actually use it.
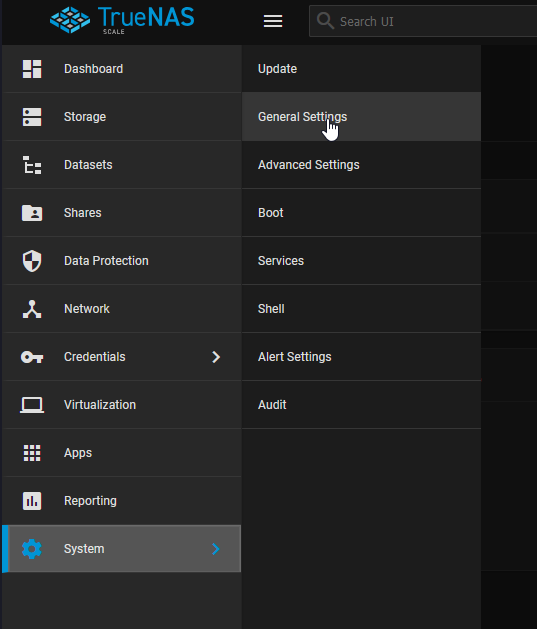
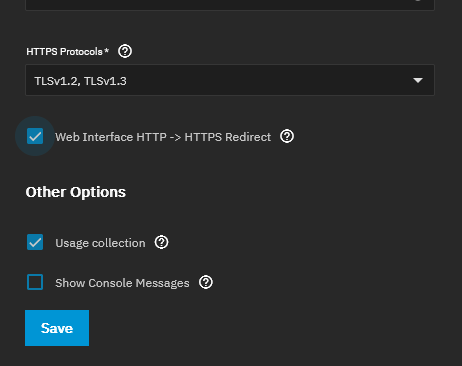
Navigate to System > General in the left-hand menu.

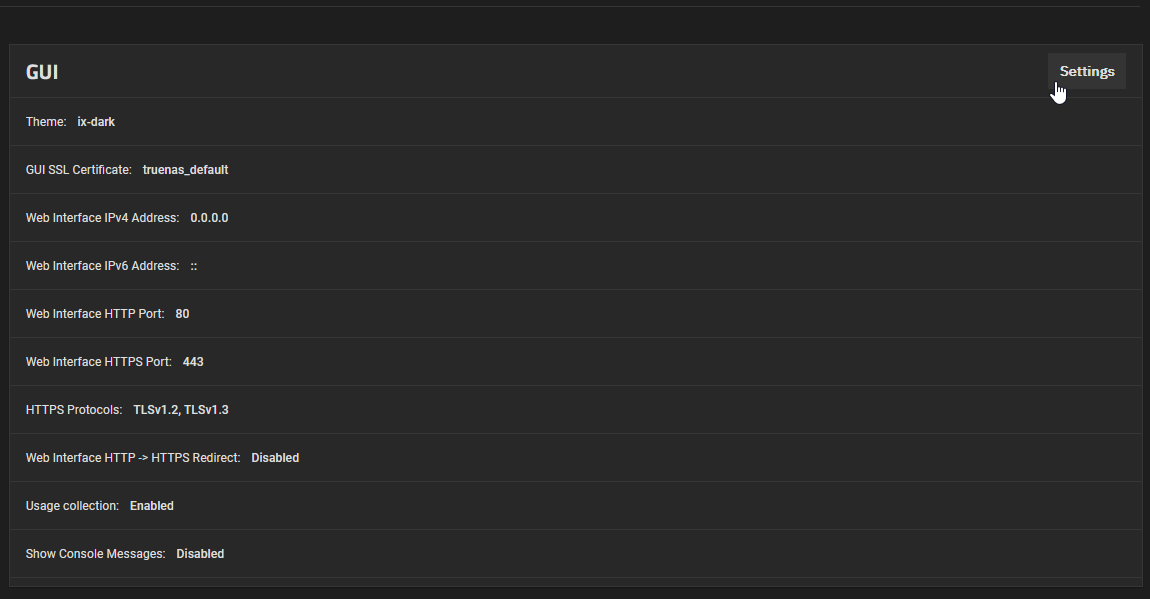
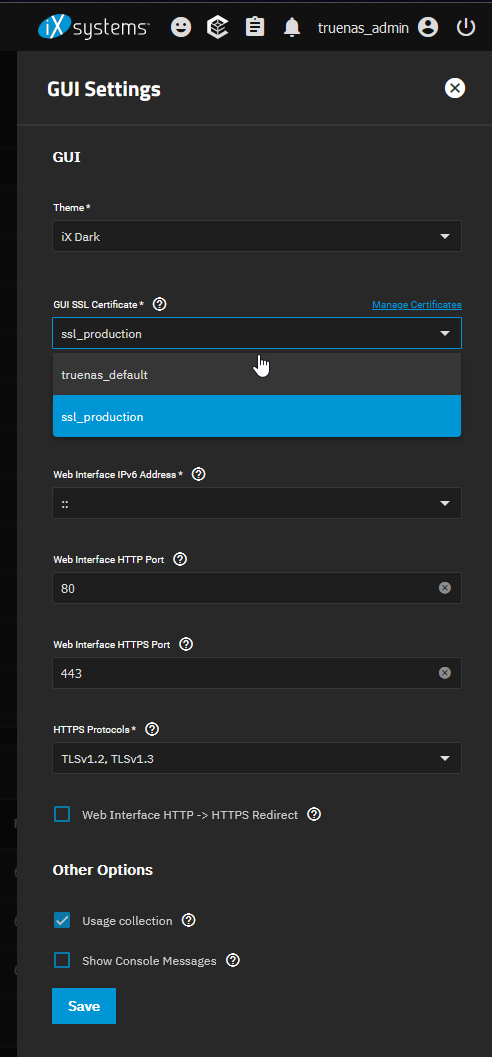
Look for the GUI SSL Certificate dropdown menu.
Change this selection from the default truenas_default (the self-signed cert) to the new certificate name you just imported.
Scroll to the bottom of the page and click Save.
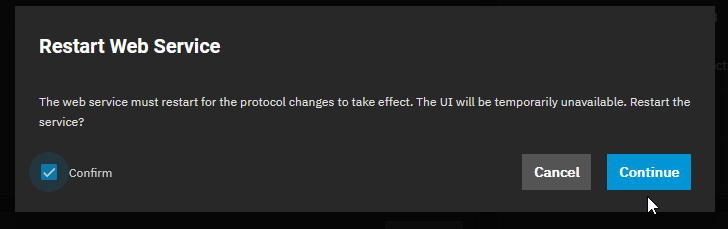
6. Restart the Web Service
TrueNAS will prompt you that the web service must be restarted for the changes to take effect. Confirm the prompt to restart the UI.
Wait a few moments, then refresh your browser page.
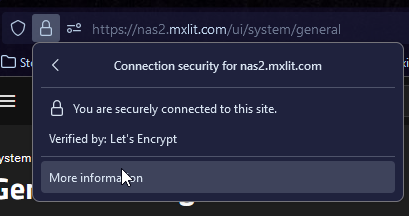
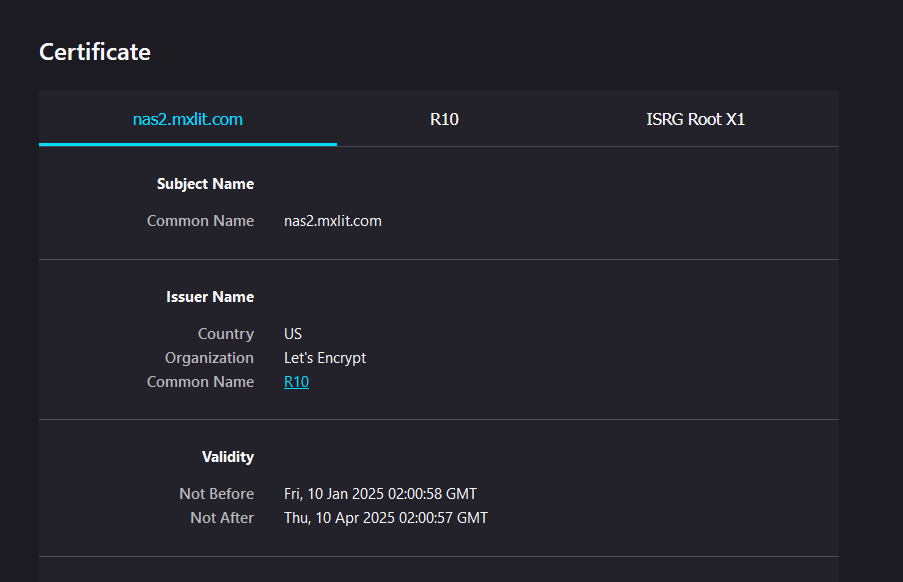
You will now observe the padlock icon in your browser’s address bar indicating a secure, trusted connection utilizing your newly imported SSL certificate.
Conclusion
Applying a trusted SSL certificate to your TrueNAS management interface eliminates annoying browser security warnings and drastically improves the security posture against Man-in-the-Middle (MitM) attacks. This process is highly recommended for environments where TrueNAS is integrated into a larger enterprise network fabric or exposed beyond a strictly isolated homelab segment. Always ensure you keep track of your certificate’s expiration date to avoid abrupt lockouts or warnings in the future.