The primary purpose of deploying TrueNAS is often to act as a highly resilient network file server. Server Message Block (SMB), also known as CIFS, is the standard file-sharing protocol natively used by Windows, but it is also widely supported by macOS and Linux systems. To share data across your network, you must first create an isolated filesystem container (a ZFS Dataset) and then expose that dataset via the SMB service.
This guide quickly walks you through creating a new Dataset and sharing it over the network as a Windows (SMB) share.
Step-by-Step Guide
1. Create a Dataset
It is a bad practice to share the absolute root of your ZFS Pool over the network. Therefore, we purposefully compartmentalize our data by creating Datasets (think of them as logical folders functioning as independent partitions).
Navigate to Storage > Pools on the left menu. Locate the primary pool you intend to host the files (e.g., Tank). Click the three dots icon next to the pool name and select Add Dataset.
Assign a Name to your dataset (such as Marketing or DepartmentShares). For the Share Type option, select SMB if this data will primarily be accessed by Windows clients; this pre-configures the dataset properties for ACL permission compatibility.
Click Submit to finalize the creation of the dataset container.
2. Create the SMB Share
Now that we have created a logical location to store our files, we need to instruct the SMB service to broadcast it onto the local network.
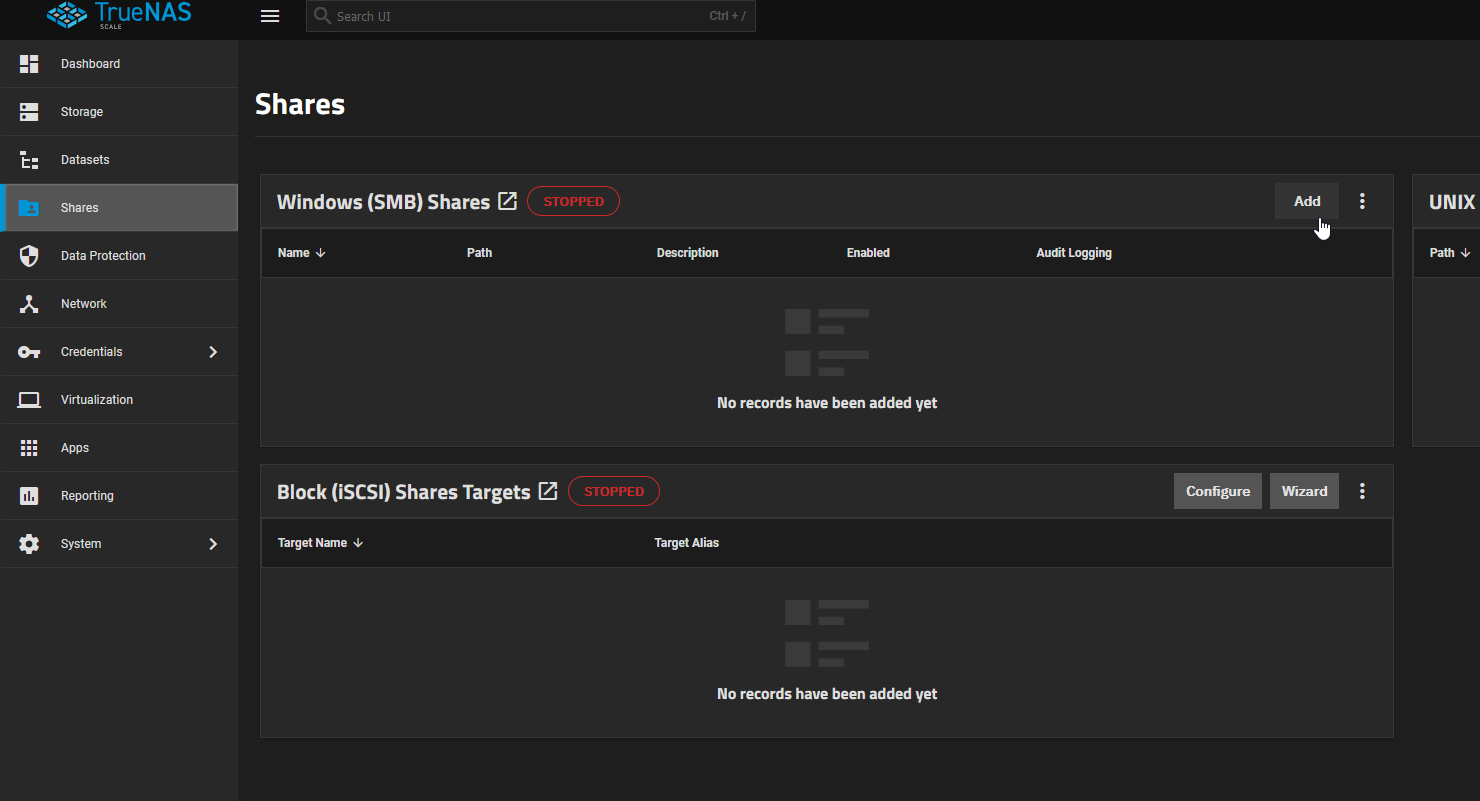
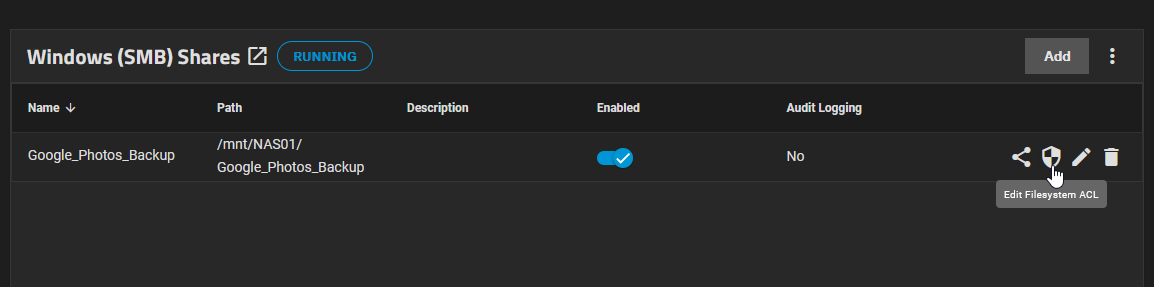
Navigate to Sharing > Windows Shares (SMB) in the left-hand menu and hit the Add button.
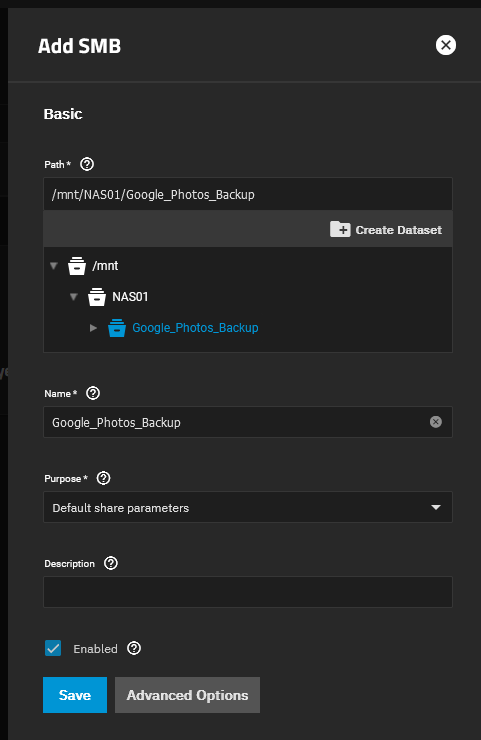
A path selection dialog will appear. Click through the folder tree interface to physically locate the Dataset you just created (/mnt/Tank/DepartmentShares).
Assign the share a recognizable Name; this constitutes the exact terminology clients will type when mapping the network drive (e.g., \\truenas\DepartmentShares).
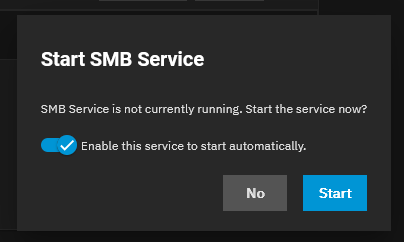
Click Save or Submit. Note: If the SMB service is currently turned off natively in TrueNAS, the system will instantly prompt you asking if you’d like to Enable the Service implicitly. Click Yes.
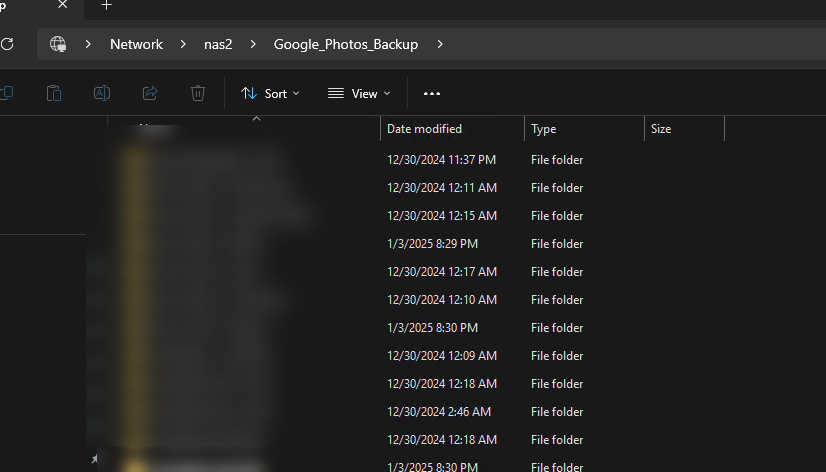
3. Verify the Share
Congratulations, the share is officially live. Depending on your environment, you can now enter the TrueNAS IP address into Windows File Explorer (\\192.168.1.50) and instantly see your new shared folder waiting for data!
Conclusion
Creating a Windows SMB share on TrueNAS encapsulates the elegance and simplicity of ZFS combined with a user-friendly UI. Following this two-step architecture—always abstracting data inside a ZFS Dataset before broadcasting the SMB footprint—ensures that you can individually manage snapshots, quotas, compression sizes, and robust ACL permission models separately for every single network share without affecting your global storage pool.