
Keeping your TrueNAS installation up-to-date is crucial for maintaining system stability, improving ZFS performance, and patching critical security vulnerabilities. Fortunately, TrueNAS features a highly robust, built-in updater that handles downloading patches, applying them to a new boot environment, and safely rebooting the system without putting your data at risk.
This short guide demonstrates how to check for and apply system updates to your TrueNAS server.
Step-by-Step Guide
1. Check for Updates
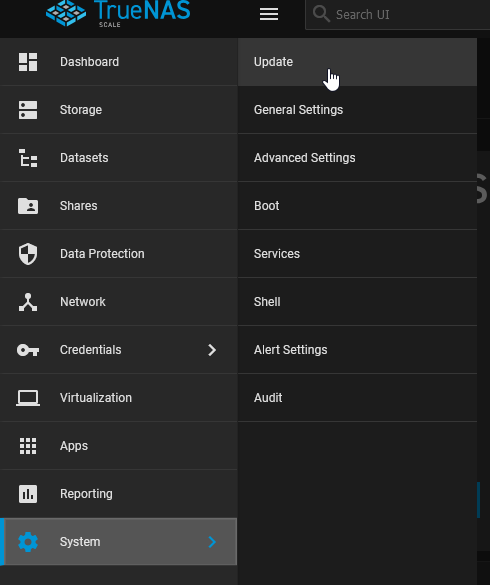
Log into your TrueNAS web interface as an administrator. Navigate to System > Update in the left-hand menu.

The system will automatically ping the iXsystems update servers (assuming your TrueNAS has outbound internet access and correct DNS settings). If a new update train or patch is available, it will be displayed prominently on the screen along with its version number.
2. Download and Apply
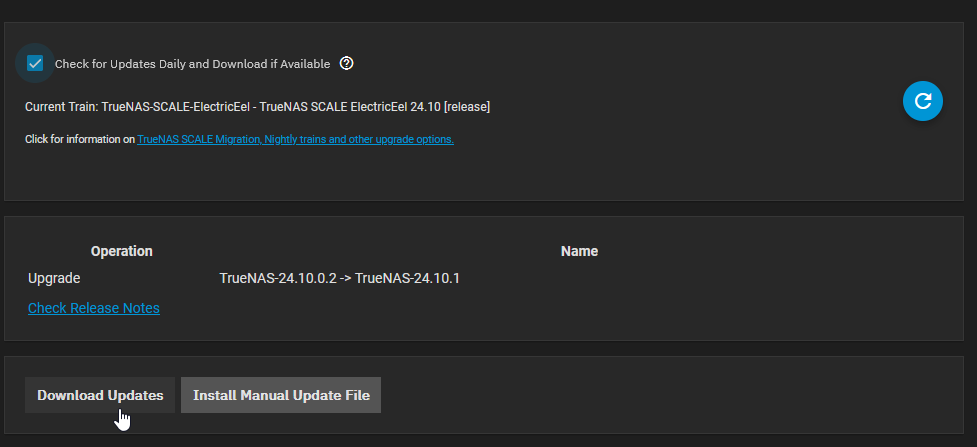
Click the Download Updates or Apply Pending Update button.
A small dialog box will appear. You will likely be presented with a checkbox asking if you want to save your configuration before updating.
 Always opt to save your configuration backup file (
.tar or .db format) to your local PC.
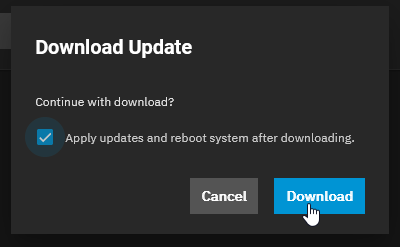
Once the backup is saved, the main “Download Update” prompt will appear.
Crucially, ensure the checkbox labeled “Apply updates and reboot system after downloading” is checked.
Click Download.

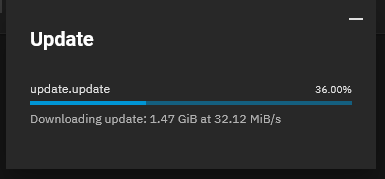
TrueNAS will begin downloading the update packages and applying them in the background.

3. System Reboot
Because you selected the auto-reboot option in the previous step, TrueNAS will automatically handle the transition.
As soon as the packages are successfully unpacked and staged, the web interface will disconnect. The server gracefully shuts down its background services, exports the ZFS pools to prevent data corruption, and restarts the physical hardware.
During this reboot, TrueNAS finalizes the patches. If you have a physical monitor attached to the server, you will see the console text scrolling as the new boot environment initializes.
4. Verify the Update
Wait a few minutes for the server to come back online, then refresh your web browser and log back in.

Navigate back to the System > Update page (or check your main Dashboard). It should now proudly declare that your system is running the latest version and there are no new updates available.
Conclusion
Applying updates to TrueNAS is designed to be a frictionless, safe experience. TrueNAS utilizes a fantastic feature called “Boot Environments"—this means every time you update, it clones your existing OS, applies the update to the clone, and boots from the new clone. If an update breaks your system or causes hardware incompatibility, you can simply reboot, select the previous Boot Environment from the GRUB menu, and instantly roll back in time to the exact state before you clicked update. Always keep your storage infrastructure patched!