
Scaling your virtualization environment by creating a Proxmox VE Cluster allows you to centrally manage multiple physical nodes from a single web interface. Clustering enables advanced enterprise features such as High Availability (HA), live migration, and shared storage management. This guide will show you how to securely join a new, standalone Proxmox host into an existing cluster.
1. Retrieve Cluster Join Information
First, log into the web interface of an existing node that is already part of the cluster you wish to join.
In the left-hand menu, select Datacenter, navigate to Cluster, and click on Join Information.
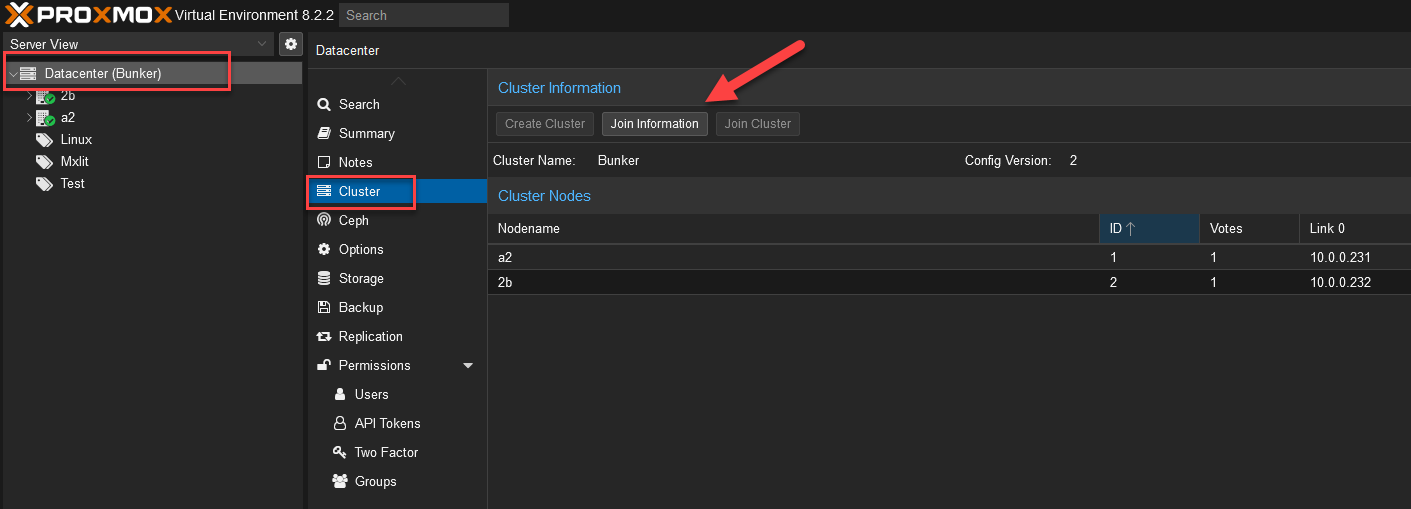
A window will appear containing a massive, Base64-encoded string. Click the Copy Information button to copy this secure join token to your clipboard.

2. Join the New Node
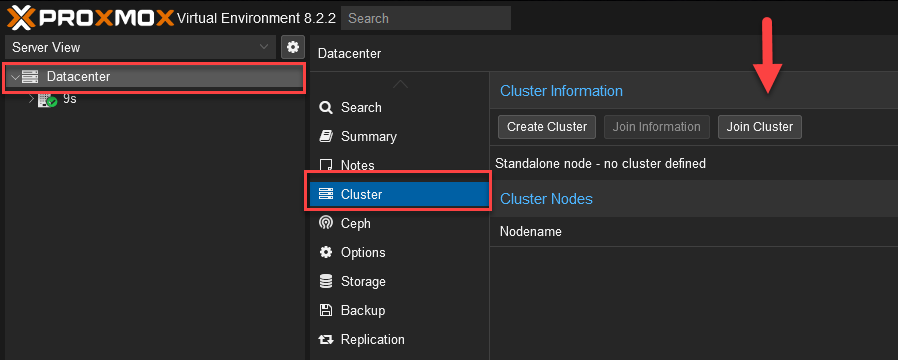
Now, log into the web interface of the new standalone node you want to add to the cluster.
Again, navigate to Datacenter > Cluster, but this time, click on Join Cluster.
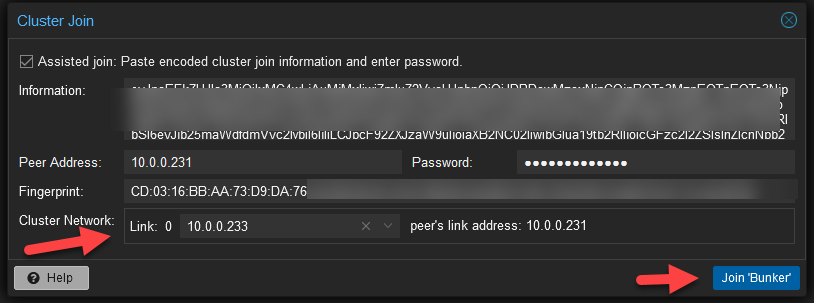
Paste the string you copied earlier into the Information field. You will also need to provide the root password for the remote node (the Peer Address) to establish the Secure Shell (SSH) connection.
Finally, select the internal Cluster Network link (typically the IP address face of the node used for backend communication). When everything is filled, click Join (Name of the cluster).
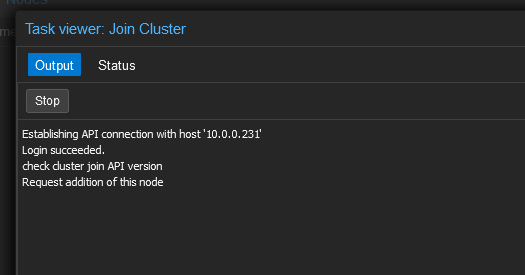
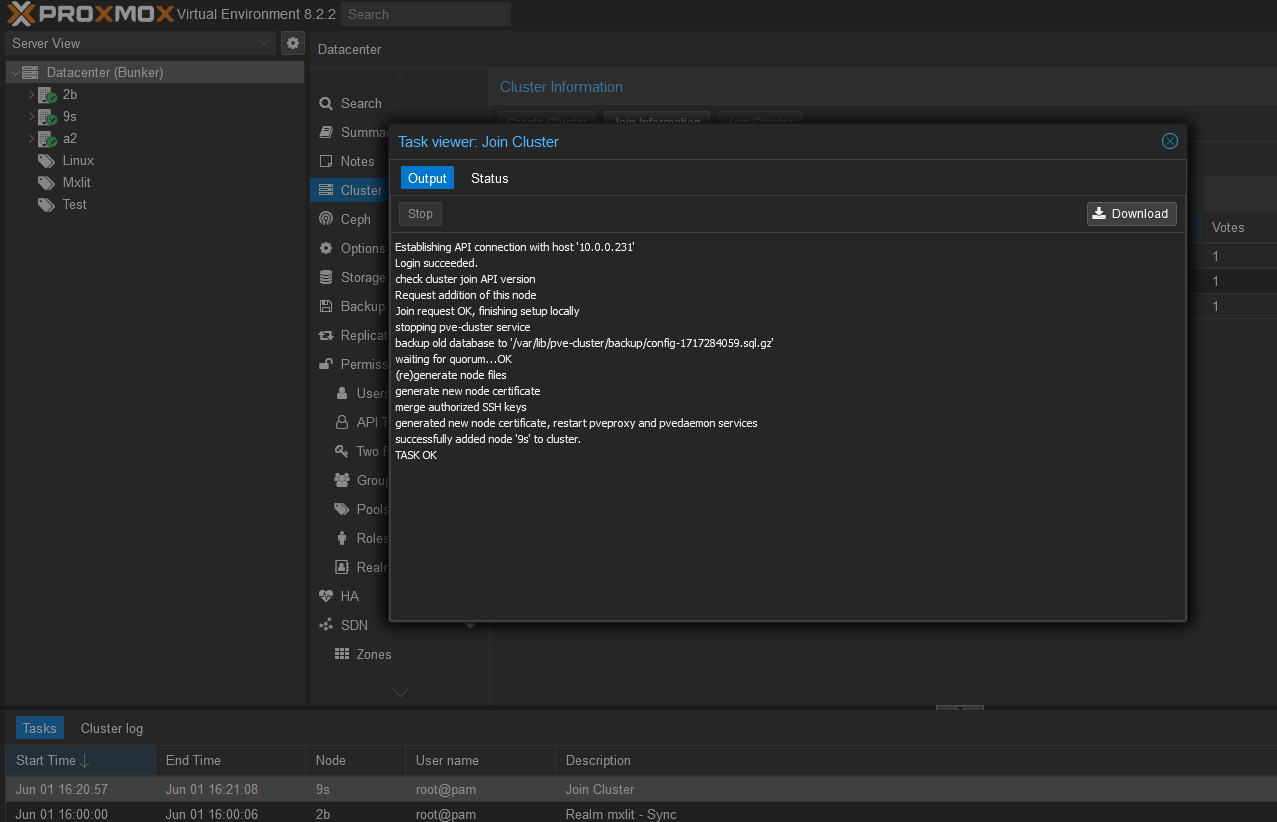
A task window will open tracking the complex process of synchronizing Corosync certificates, joining the quorum, and establishing the database. You will eventually see an “OK” confirmation that the login was successful and the cluster has been joined.
3. Verify Cluster Health
Note: After joining, the web interface of the node you just joined will temporarily disconnect and automatically reload its certificates.
Return to the active web session of your original cluster node. Look at the server view menu; you will now see the new node listed alongside the others (for example, node 9S).
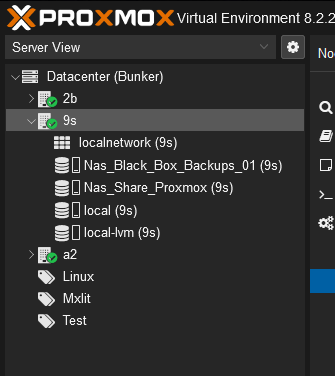
If you navigate to the newly joined node within the cluster view, you will see it fully active, synchronized, and ready to host virtual machines or containers. Reviewing the cluster log at the bottom of the screen will confirm that the Corosync cluster state is healthy.
Conclusion
Expanding a Proxmox VE cluster is purposely designed to be simple, relying on encrypted join tokens to establish secure Corosync links between the nodes automatically. Keep in mind that for a cluster to maintain quorum safely (meaning the cluster can vote and make decisions during an outage), you should always aim for an odd number of voting nodes (such as 3, 5, or 7). Welcome to scalable virtualization!