Migrating your infrastructure from Microsoft Hyper-V to Proxmox VE is a common step for organizations seeking a powerful, open-source virtualization platform. While Proxmox does not natively run .vhdx files, its underlying QEMU hypervisor architecture allows you to easily import and seamlessly convert Hyper-V disks into Proxmox-native formats (RAW or QCOW2) directly from the command line.
This guide will walk you through the process of exporting a Virtual Machine from Hyper-V, transferring the virtual disk, converting it into a Proxmox VM, and configuring the necessary VirtIO drivers to ensure Windows boots successfully.
1. Export the VM from Hyper-V
Before you begin, ensure the target Virtual Machine in Hyper-V is completely shut down.
Right-click the VM in your Hyper-V Manager and select Export.
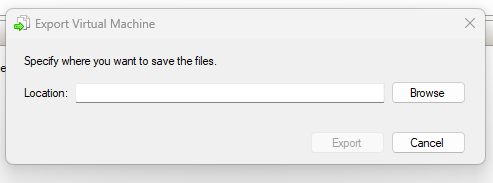
Choose a safe location (such as a network share or an external USB drive) to save the exported files.

Once the export completes, navigate to that directory. You will find the configuration files, snapshots, and, most importantly, the Virtual Hard Disks (.vhdx) folder.
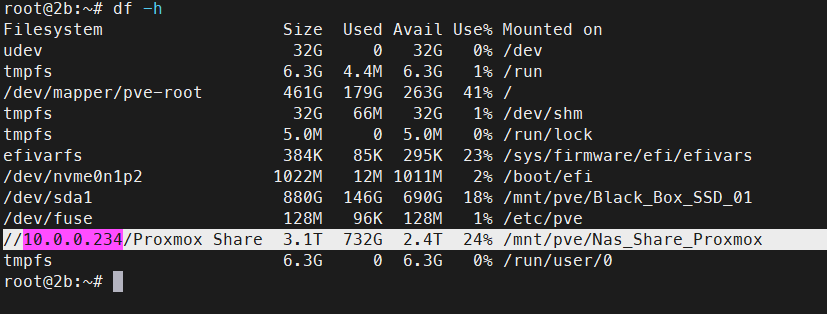
Copy the .vhdx file to your Proxmox server or to a network share (NAS) that your Proxmox server can access.
2. Prepare the VM Shell in Proxmox
Before we can import the disk, we must create a “shell” VM to attach it to.
Create a new VM in Proxmox just like you normally would. Crucial Step: When you reach the OS tab, select the correct guest operating system (e.g., Windows), and in the Disks tab, delete the default disk it tries to create. We don’t need it because we will import our own.
Take note of the VM ID assigned to this new machine (e.g., 130).
3. Import and Convert the VHDX Disk
Open the Proxmox Node Shell (either via the web interface or SSH).
We will use the qm disk import command to take the .vhdx file, convert it, and attach it to the VM ID we just created as an Unused Disk.
The syntax is:
qm disk import <VM_ID> <Path_to_VHDX> <Target_Storage>
For example, to import a disk located on an NFS share to the local storage pool for VM 130:
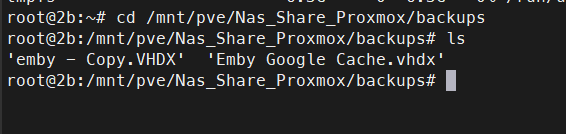
qm disk import 130 '/mnt/pve/Nas_Share_Proxmox/backups/emby - Copy.VHDX' local

If your VM has multiple disks, simply repeat the process for the secondary disks:
qm disk import 130 '/mnt/pve/Nas_Share_Proxmox/backups/Emby Google Cache.VHDX' local

4. Attach the Imported Disks
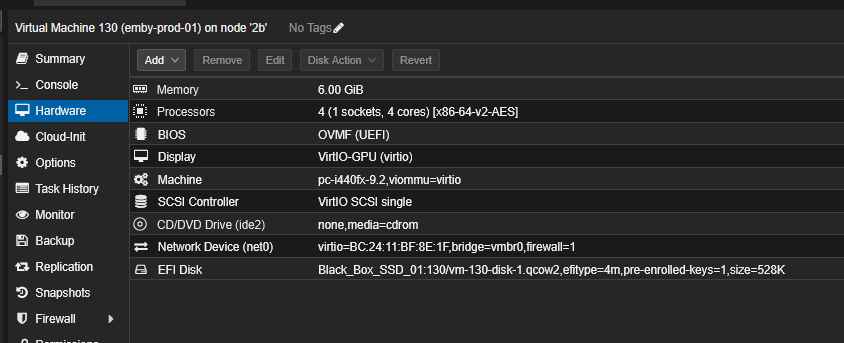
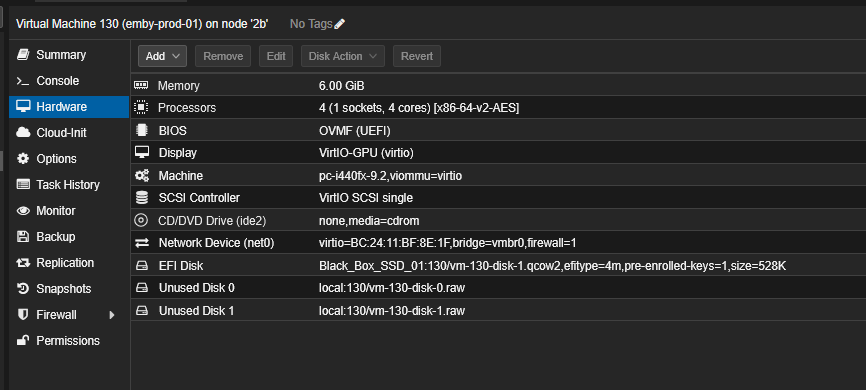
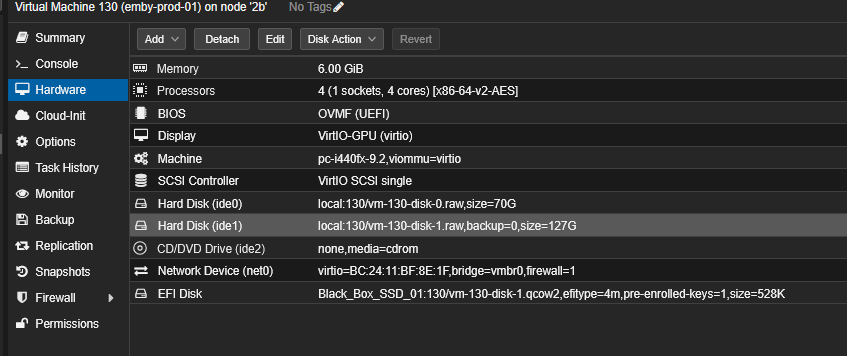
Return to the Proxmox web interface and navigate to the Hardware tab of your VM.
You will see the newly imported disks listed as Unused Disk 0 (and Unused Disk 1, etc.).

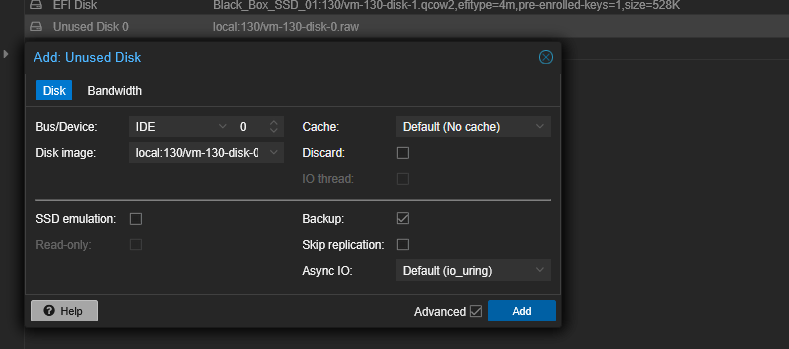
Double-click the Unused Disk to edit it.
Select the correct Bus/Device type. For maximum performance with Windows VMs, it is highly recommended to select VirtIO Block or SCSI (requires VirtIO SCSI single controller). Click Add.
5. Configure Boot Order and Drivers
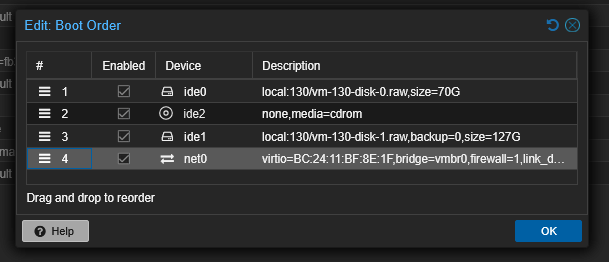
Now that the disk is attached, we must tell Proxmox to boot from it.
Go to the Options tab and double-click Boot Order. Enable your new disk (e.g., scsi0) and drag it to the top of the boot priority list.
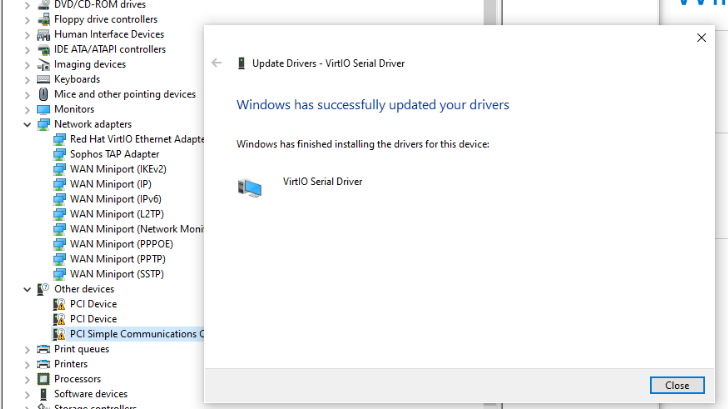
Because Windows does not natively include VirtIO drivers out of the box, it will likely bluescreen (INACCESSIBLE BOOT DEVICE) if you changed the bus to SCSI or VirtIO Block.
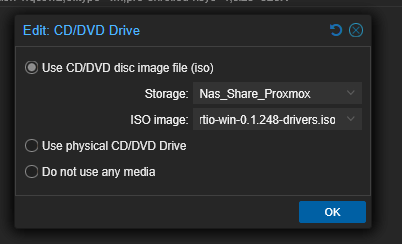
To fix this, go to the Hardware tab, add a new CD-ROM drive, and mount the VirtIO Windows Drivers ISO.
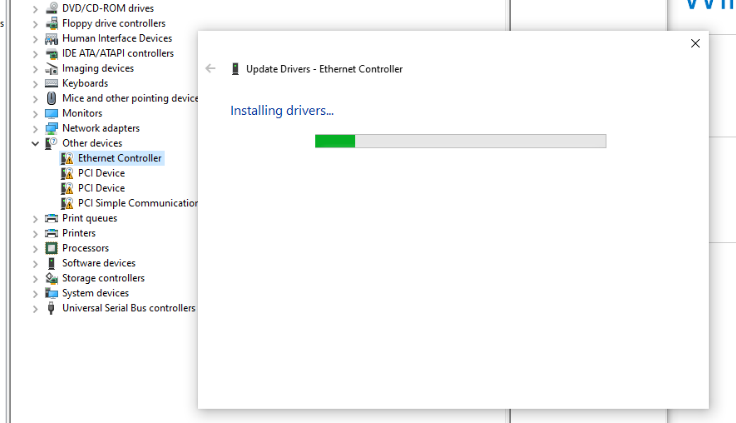
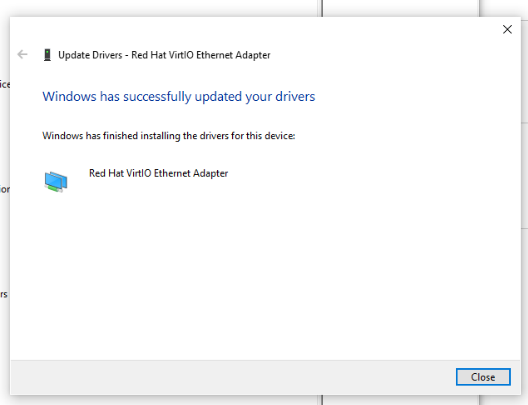
Boot the VM. If Windows fails to boot, it will enter Automatic Repair. From the Advanced Boot Options, you can open a Command Prompt, load the VirtIO storage drivers (viostor or vioscsi) directly from the ISO using drvload, and Windows will recognize the disk.

Conclusion
Importing Hyper-V Virtual Machines into Proxmox VE utilizing .vhdx files is a highly reliable process thanks to the qm disk import utility. By allowing QEMU to handle the format conversion natively, you avoid the need for clunky third-party conversion software. Just remember that moving any Windows installation to a new hypervisor means a sudden change in virtual hardware; always ensure you have the VirtIO ISO attached to provide the necessary drivers during the first boot transition!