
Maintaining absolute control over your visitors’ demographic and behavioral data is essential in the world of Enterprise technology. Umami Analytics has become the leading alternative for those seeking a lightweight, privacy-friendly, and, above all, easy-to-deploy solution through Docker.
Why Self-Hosted over the Cloud version?
While Umami offers a cloud version, self-hosting provides undeniable advantages for technical or corporate profiles:
- No retention limits: The cloud’s free version often has limits on how many events you can process or how long they are stored. On your own server, the only limit is your storage.
- Data Sovereignty: Data never leaves your infrastructure. This is vital for privacy compliance or simply for total control.
- Privacy by Design: By not relying on third-party servers, you eliminate an external tracking point.
- Zero Operational Cost: If you already have a server with Docker, adding an Umami container doesn’t increase your monthly costs.
1. Environment Preparation
Umami requires a database to store metrics. The cleanest and most self-contained way to deploy it is by using Docker Compose to spin up both the Umami application and a PostgreSQL database in the same stack.
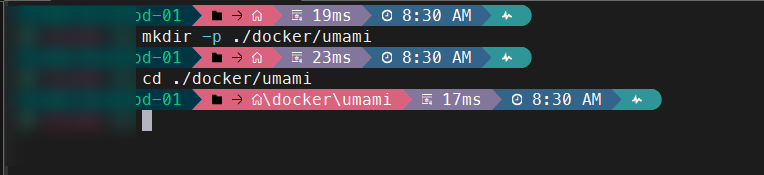
Create a dedicated directory on your server for this service:
# Create the directory for Umami
mkdir -p ./docker/umami
cd ./docker/umami
2. Docker Compose File
Create the docker-compose.yml file within the directory. Make sure to change the APP_SECRET value for a long, random string (you can generate one with openssl rand -hex 32), and modify the database passwords for security.
Configuration to expose Umami ports
# Docker Compose stack for Umami Analytics with PostgreSQL
networks:
  umami-net:
    driver: bridge

services:
  umami:
    image: ghcr.io/umami-software/umami:postgresql-latest
    container_name: VPC_CT_umami_app
    environment:
      # Database connection string format: postgresql://user:password@hostname:port/database_name
      DATABASE_URL: postgresql://umami_user:SuperSecretDBPassword!@umami_db:5432/umami_data
      DATABASE_TYPE: postgresql
      # Replace with your own random hash for session encryption
      APP_SECRET: replace_this_with_a_random_string_of_characters
    ports:
      # Expose port 3000 to the host
      - "3000:3000"
    depends_on:
      - umami_db
    networks:
      - umami-net
    restart: unless-stopped

  umami_db:
    image: postgres:15-alpine
    container_name: umami_db
    environment:
      # These must match the credentials in the DATABASE_URL above
      POSTGRES_DB: umami_data
      POSTGRES_USER: umami_user
      POSTGRES_PASSWORD: SuperSecretDBPassword!
    volumes:
      # Persist the database files on the host
      - umami-db-data:/var/lib/postgresql/data
    networks:
      - umami-net
    restart: unless-stopped

volumes:
  # Define the named volume for persistence
  umami-db-data:
Configuration with Cloudflare Tunnels (No exposed ports)
Using Cloudflare Tunnels is the most secure option for exposing services in an Enterprise environment. Unlike Port Forwarding, a tunnel establishes an outbound connection to Cloudflare, meaning you don’t have to open ports on your firewall or expose your public IP directly to the Internet.
This architecture not only mitigates attack vectors such as port scanning or direct DDoS attacks but also allows you to leverage Cloudflare’s WAF (Web Application Firewall) to filter malicious traffic before it even reaches your network. Additionally, it is the ultimate solution for self-hosters behind cgNAT, as it eliminates the need for a routable public IP.
We will dive deep into the architecture and deployment of Cloudflare Tunnels in future posts, where we will see how to configure them step by step.
# Docker Compose stack for Umami Analytics with PostgreSQL and Cloudflare Tunnels
networks:
  # External network managed outside this compose file (Cloudflare Tunnel network)
  cloudflare_internal_net:
    external: true

  # Isolated internal network for Umami to communicate with its database
  umami_internal_net:
    driver: bridge

services:
  umami:
    image: ghcr.io/umami-software/umami:postgresql-latest
    container_name: VPC_CT_umami_app
    environment:
      # Database connection string format: postgresql://user:password@hostname:port/database_name
      DATABASE_URL: postgresql://umami_user:SuperSecretDBPassword!@umami_db:5432/umami_data
      DATABASE_TYPE: postgresql
      # Replace with your own secure random hash for session encryption
      APP_SECRET: replace_this_with_a_random_string_of_characters
    depends_on:
      - umami_db
    networks:
      # Connect to Cloudflare tunnel network to expose the service
      - cloudflare_internal_net
      # Connect to internal network to reach the database
      - umami_internal_net
    restart: unless-stopped
    # The 'ports' directive is intentionally omitted. The service is only accessible within the Docker networks.

  umami_db:
    image: postgres:15-alpine
    container_name: umami_db
    environment:
      # These must match the credentials in the DATABASE_URL above
      POSTGRES_DB: umami_data
      POSTGRES_USER: umami_user
      POSTGRES_PASSWORD: SuperSecretDBPassword!
    volumes:
      # Persist the database files on the host
      - umami-db-data:/var/lib/postgresql/data
    networks:
      # The database is only connected to the internal network for security
      - umami_internal_net
    restart: unless-stopped

volumes:
  # Define the named volume for database persistence
  umami-db-data:
3. Deployment and Execution
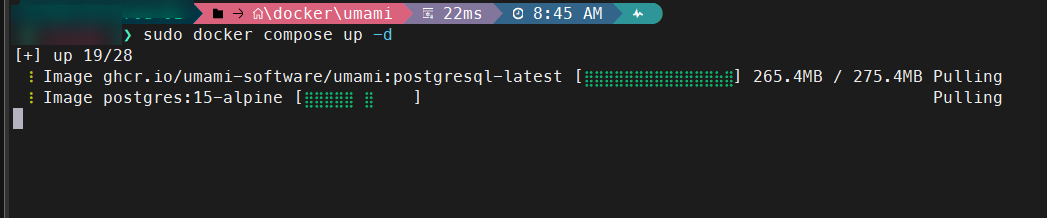
Once the file is saved, start the containers in the background:
# Start the containers in detached mode
sudo docker compose up -d

You can verify that both containers are running correctly and check the logs if something fails:
# Check container status
docker ps

# View application logs
docker logs -f umami
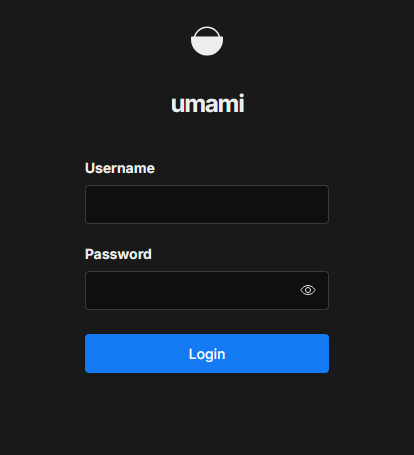
4. Initial Configuration in the Web Interface
Open your browser and access
http://<YOUR-SERVER-IP>:3000, (If you exposed your service via Cloudflare, open the subdomain you selected)Log in with the default credentials:
- User:
admin - Password:
umami
- User:
- Critical Step: Go to the Profile section in the top right corner and change the password immediately.
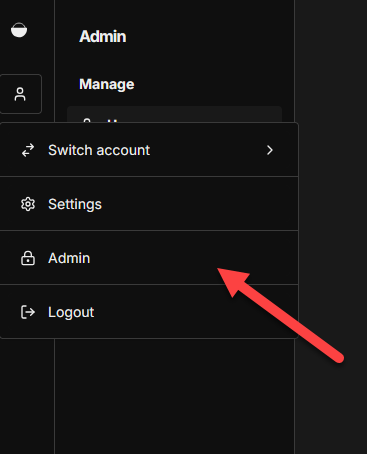
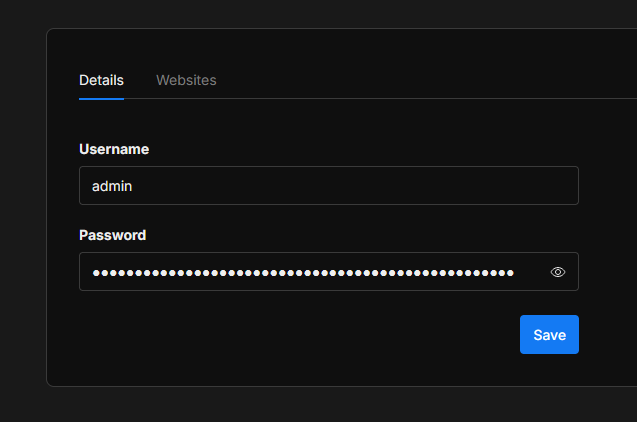
Create a new user, assign it as an administrator, log out, and log in with the new session.
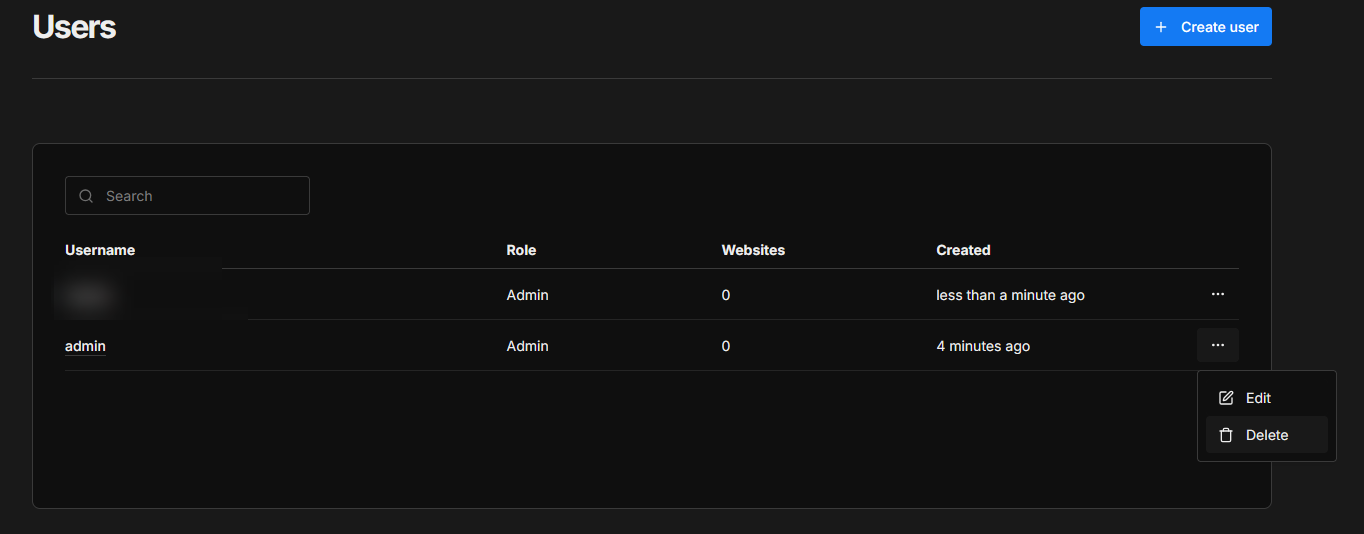
Now, go back to the administration and delete the admin user.
It is an excellent security practice to delete default users (such as admin) once you have created your own administrative account. Attackers often automate login attempts using these common usernames.
- Navigate to Websites > Add website.

- Enter the name of your site and the domain.
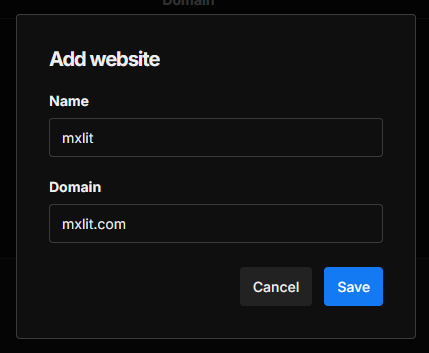
Your site’s icon will appear, click on the name.
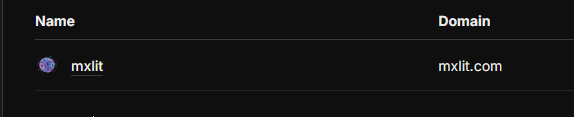
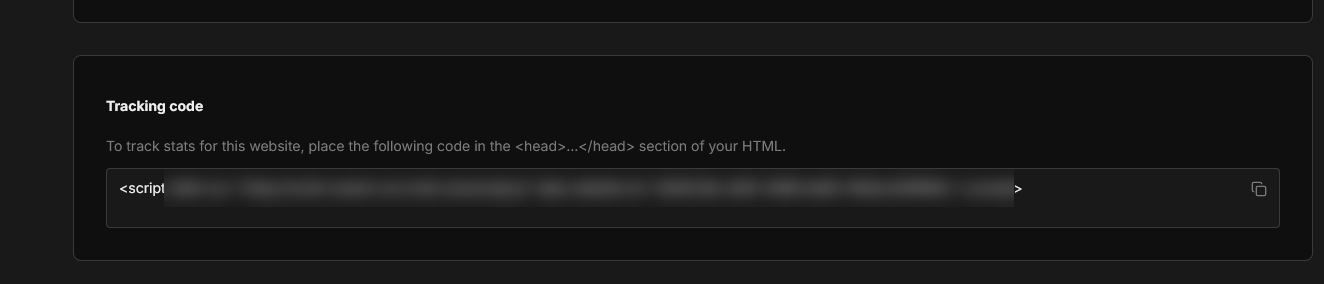
- Once created, click on the Edit button.
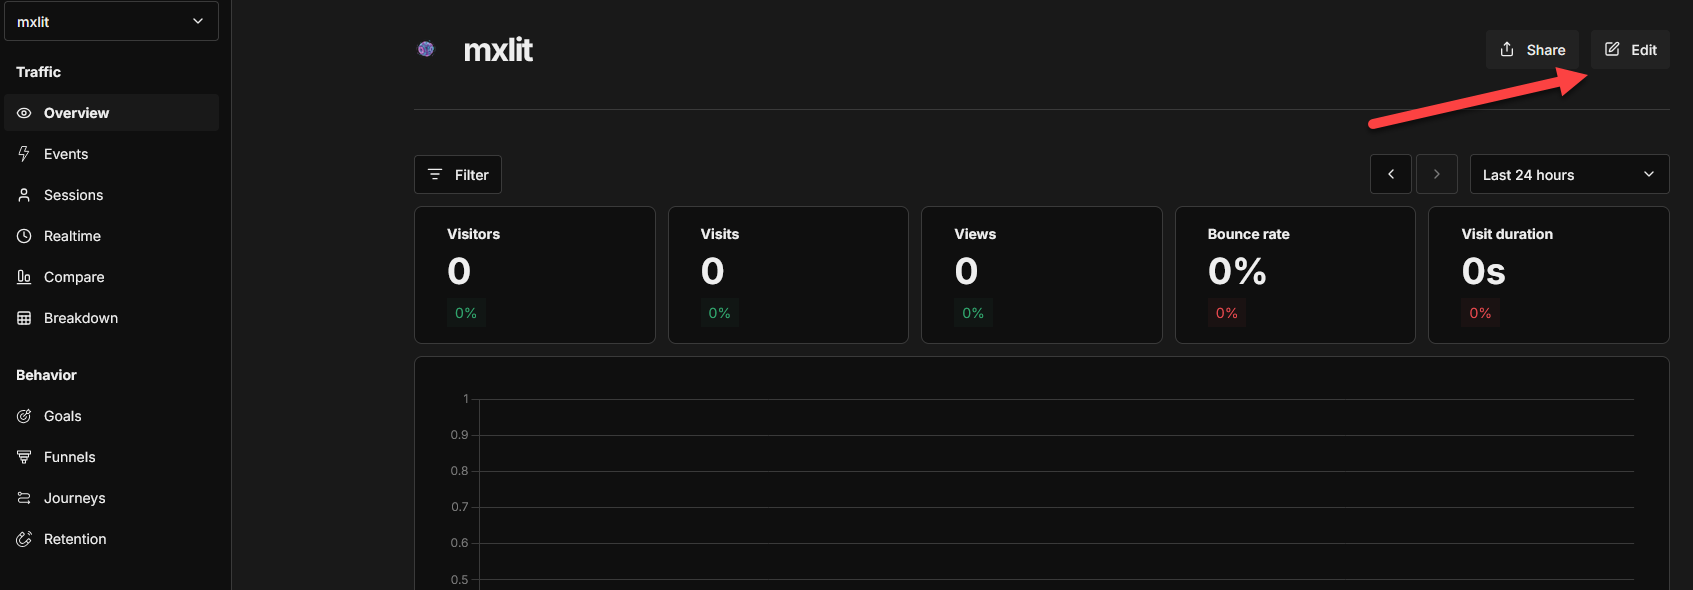
- Copy the provided JavaScript script; this is what you will inject into the header (
<head>) of your static site in Hugo.
Once you have added the code to the head.html file, you will be able to see the information in Umami.
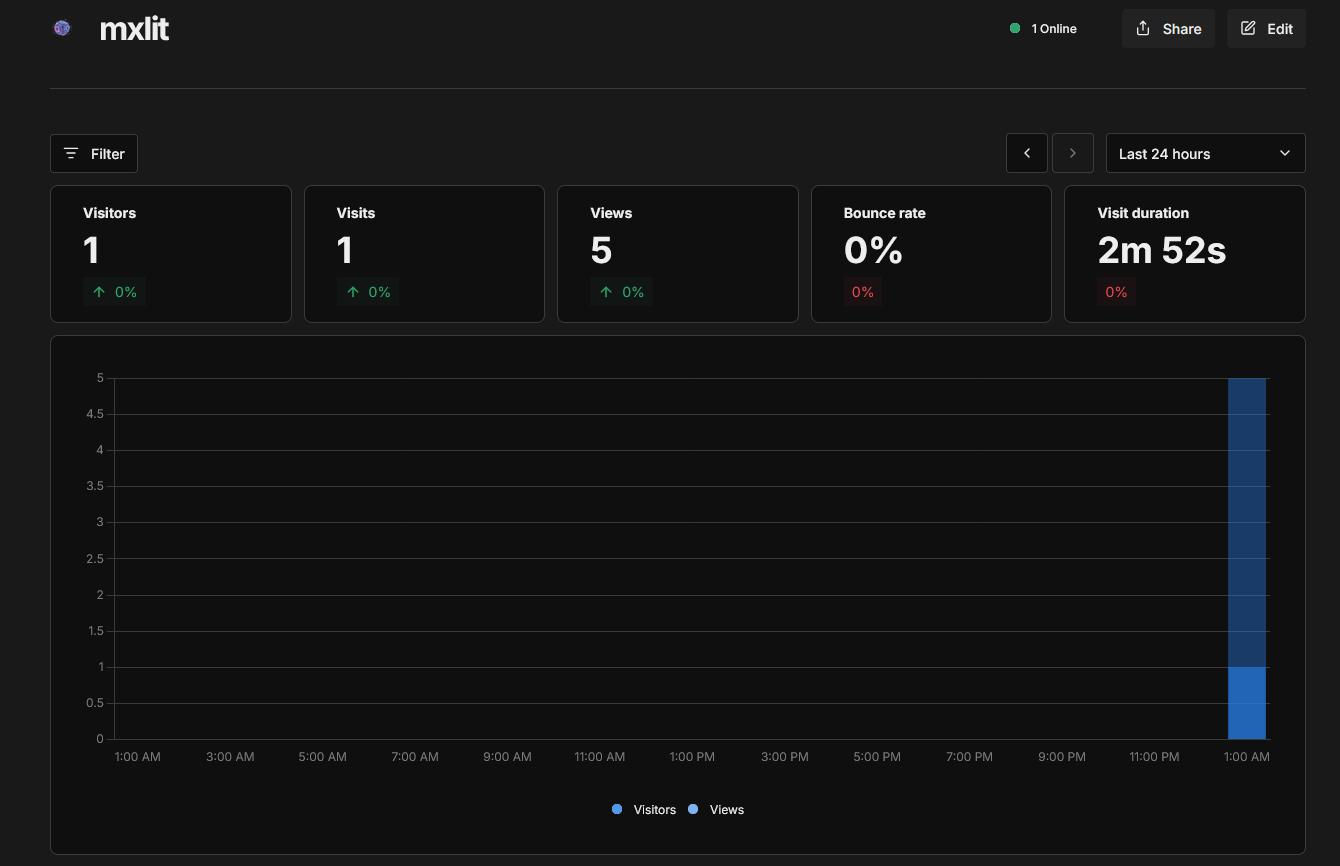
Conclusion
Implementing Umami via Docker not only gives you precise metrics without compromising your site’s loading speed, but it also strengthens your infrastructure’s robustness by integrating a professional-grade tool under your total command. Once the script is injected, traffic analysis becomes a trivial task within your technological ecosystem.