
There are multiple scenarios in infrastructure administration where a machine initially configured with Ubuntu Desktop ends up assuming exclusive server roles. Whether you are repurposing hardware for your home lab or transforming a development environment into a production node, the graphical environment (GNOME) becomes an unnecessary waste of CPU and RAM.
While the traditional solution would be to format and install the Ubuntu Server ISO, this is not always viable. If you already have complex configurations, automations, or running services, a clean setup means rework. In this article, we will address how to perform an in-place conversion from Ubuntu 24.04 Desktop to a pure headless environment, removing the graphical layer without compromising your current data or workloads.
Preliminary Considerations: What happens to my current configurations?
Before executing an invasive process like this, it is natural to wonder what will survive the desktop environment purge. The general rule is that only the presentation layer and its direct dependencies are removed. Backend services and system-level configurations remain intact:
- Docker Containers: All your volumes, networks, and containers stored in
/var/lib/dockerwill continue operating without interruptions. The Docker daemon is completely independent of the GUI. - SSH Keys and Configurations: Your public and private keys in
~/.ssh/, as well as security directives in/etc/ssh/sshd_config, will not be modified. - Duo MFA: If you have already hardened access to your server using Duo Security for multi-factor authentication, this configuration will persist, as it integrates at the PAM (Pluggable Authentication Modules) level and does not depend on GNOME.
Step 1: System Update
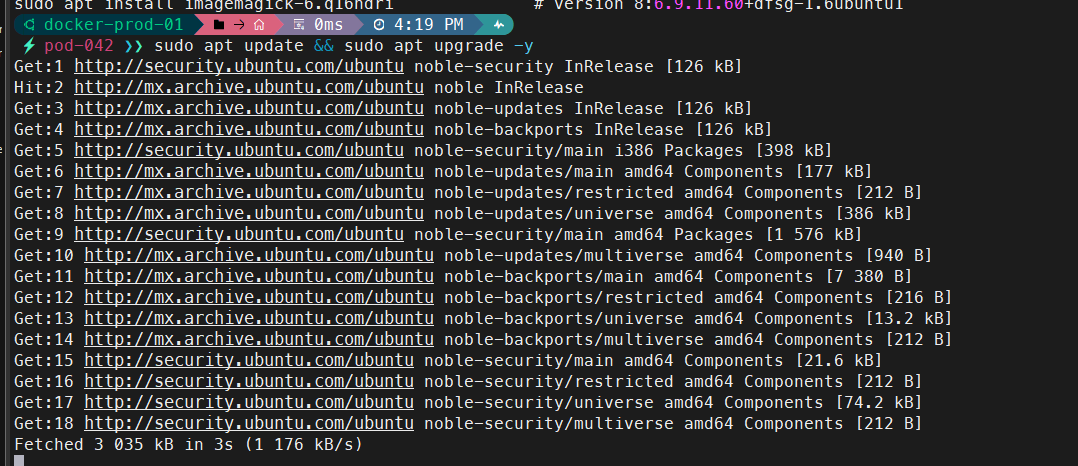
Before modifying base metapackages, we must ensure the system does not have broken dependencies or pending updates.
# Update repository lists and upgrade all installed packages
sudo apt update && sudo apt upgrade -y
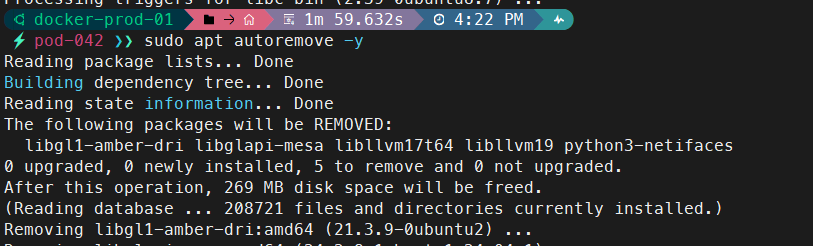
# Remove unnecessary dependencies to start with a clean state
sudo apt autoremove -y
Step 2: Installing the Server Metapackage
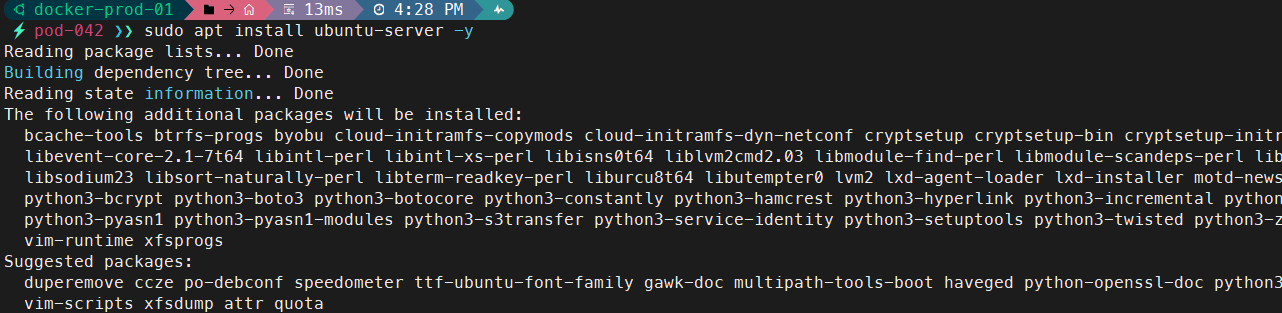
Ubuntu Server and Desktop share the same kernel. To ensure we have the standard utilities of the Server version (like advanced networking and management tools), we install the corresponding metapackage. The ^ symbol indicates that the complete task will be installed.
# Install the complete Ubuntu Server task
sudo apt install ubuntu-server^ -y
Step 3: Network Migration (From NetworkManager to Native Netplan)
This is the most critical step. Ubuntu Desktop uses NetworkManager for network management (ideal for graphical environments), while the robust standard in Server is to use systemd-networkd directly through Netplan.
First, identify the logical name of your network interface:
# List all network interfaces to identify the active one (e.g., enp3s0 or eth0)
ip link

3.1 Identify and back up the current configuration
It is very likely that your configuration file is not named 01-network-manager-all.yaml, but rather has an auto-generated name by NetworkManager based on a UUID.
List the content of the Netplan directory:
# List current Netplan configurations
ls /etc/netplan/

Identify the active .yaml file (for example, 90-NM-dfdf9dad-14e4...yaml) and view its content. You will need this data to build the new clean file.
# View the current configuration to extract IPs, gateways, and DNS
sudo cat /etc/netplan/<your-current-file>.yaml
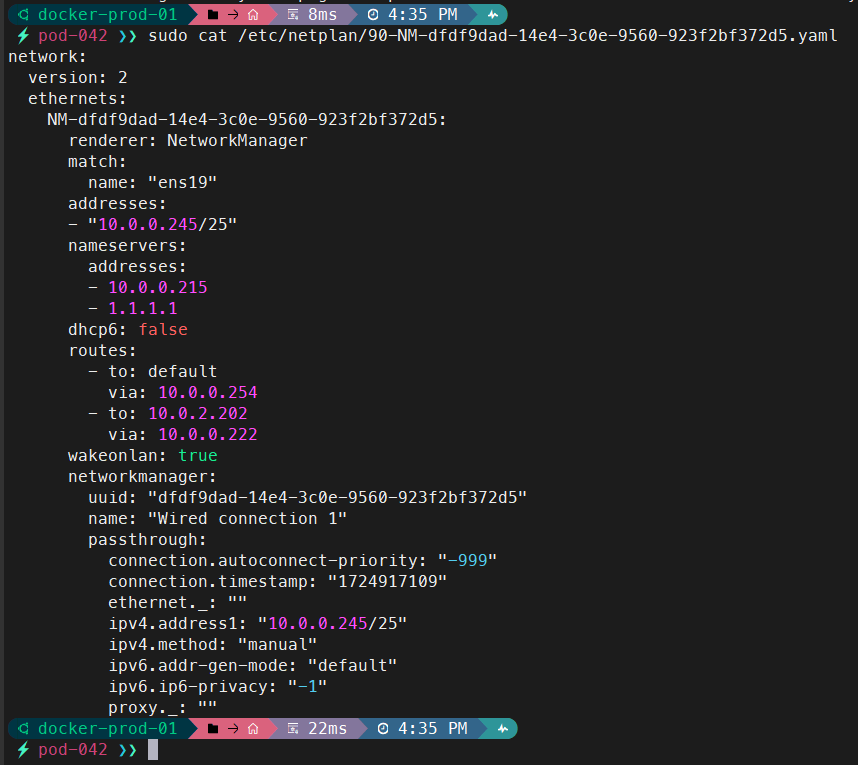
Once your configuration is clear (IP, subnet, gateway, and DNS), move this file to temporarily disable it (the system does not read .bak files):
# Backup and disable the NetworkManager configuration
sudo mv /etc/netplan/<your-current-file>.yaml /etc/netplan/old-networkmanager.yaml.bak

3.2 Create the new clean configuration for Server
Now we will create a cleanly structured file for networkd, removing any networkmanager-specific blocks (such as UUIDs, passthrough, or graphical interface configurations) that you might have seen in your original file.
# Create a new, clean Netplan configuration
sudo nano /etc/netplan/00-server-netconfig.yaml

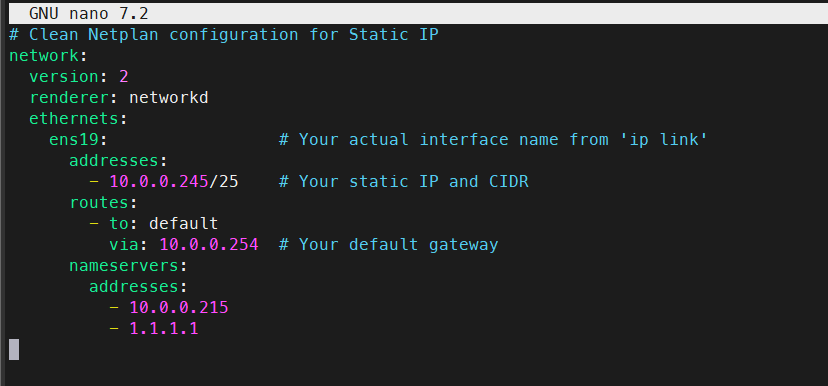
Example based on a real static configuration:
# Clean Netplan configuration for Static IP
network:
  version: 2
  renderer: networkd
  ethernets:
    ens19:                 # Your actual interface name from 'ip link'
      addresses:
        - 10.0.0.245/25    # Your static IP and CIDR
      routes:
        - to: default
          via: 10.0.0.254  # Your default gateway
      nameservers:
        addresses:
          - 10.0.0.215
          - 1.1.1.1
💡 Important Note: Notice how we changed
renderer: NetworkManagertorenderer: networkdand removed blocks likematch:(if using the direct interface name above) and the entirenetworkmanager:block generated by the GUI.
3.3 Preparation, Validation, and Application
Before telling Netplan to apply changes, we must ensure two things: that the file has the correct security permissions and that the network management service (systemd-networkd) is turned on. If skipped, Netplan will throw security warnings and fail to reload the service.
Run these preparation commands:
# 1. Secure the configuration file (Netplan requires 600 permissions)
sudo chmod 600 /etc/netplan/00-server-netconfig.yaml

# 2. Ensure systemd-networkd is enabled and running
sudo systemctl enable --now systemd-networkd

Now we are ready to validate the configuration. It is vital to use the try command, especially if connected via SSH; if there is a typo and you lose the network, changes will automatically revert.
# Test the new network configuration for 120 seconds
sudo netplan try
If the terminal shows the message “Press ENTER before the timeout to accept the new configuration” and your SSH session is still active, press ENTER. Congratulations, your network is now server-managed!
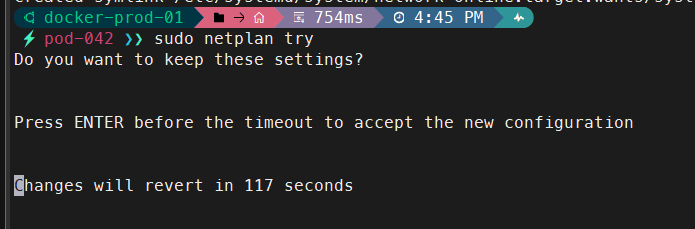
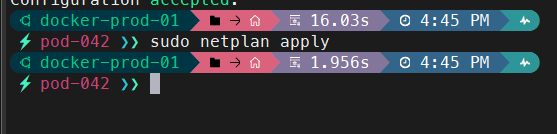
If you lose the connection, Netplan will automatically revert changes in 120 seconds. If the connection holds and you see the success message, press ENTER to confirm, or manually apply:
# Apply permanently
sudo netplan apply
Step 4: SSH Validation and Configuration
Since we are removing the graphical interface, remote console access will be our only administration path. It is crucial to verify that the SSH service is operating correctly.
# Check the current status of the SSH service
systemctl is-active ssh

If the above command returns active, you can skip to the next step. If it returns inactive, unknown, or if the service is not installed, proceed with the following:
# Install OpenSSH server if not present
sudo apt install openssh-server -y

# Enable the service to start automatically on boot and start it immediately
sudo systemctl enable --now ssh

# Verify the status again
sudo systemctl status ssh
Step 5: Removal of the Desktop Environment and Unnecessary Services
With network and remote access secured, we proceed to remove the graphical load.
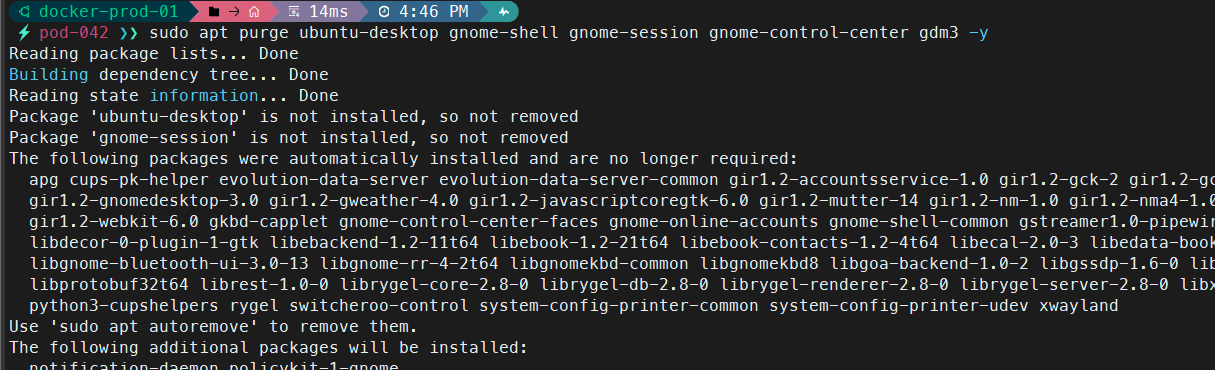
# Purge GNOME desktop and display managers
sudo apt purge ubuntu-desktop gnome-shell gnome-session gnome-control-center gdm3 -y
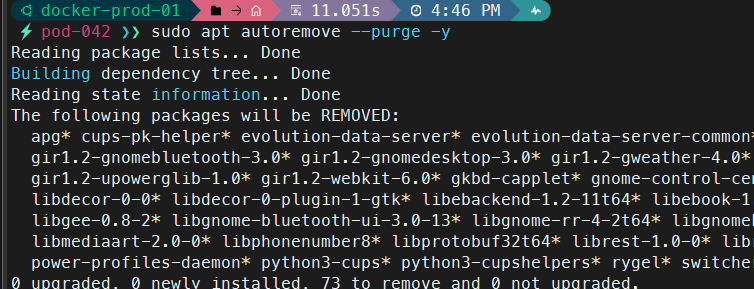
# Remove orphaned dependencies left behind by the desktop environment
sudo apt autoremove --purge -y
Even after purging the desktop environment, it is common for desktop-designed daemons to remain running in the background (printing, Bluetooth, error reporting).
Let’s verify which residual services are still active:
# Find leftover GUI daemons running on the system
systemctl list-units --type=service | grep -E 'avahi|cups|bluetooth|whoopsie'

If the command returns results, we remove them to free up even more resources:
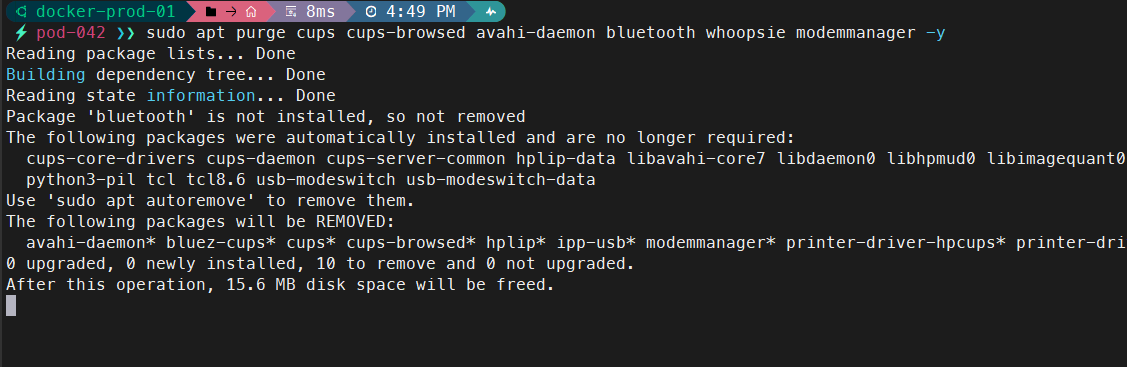
# Purge typical unwanted desktop services
sudo apt purge cups cups-browsed avahi-daemon bluetooth whoopsie modemmanager -y
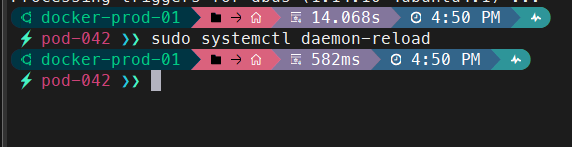
# Reload systemd to apply service changes
sudo systemctl daemon-reload
Step 6: Changing the Boot Target
Finally, we must tell systemd that the system should boot exclusively in console mode on the next restart, preventing it from trying to load non-existent graphical components that could cause a kernel panic or boot hang.
# Set the default boot target to CLI mode
sudo systemctl set-default multi-user.target

Conclusion
Migrating a Desktop node to Server locally is an excellent optimization strategy for existing infrastructures. Once these steps are completed and a simple sudo reboot is executed, your machine will boot directly into a pure tty terminal.

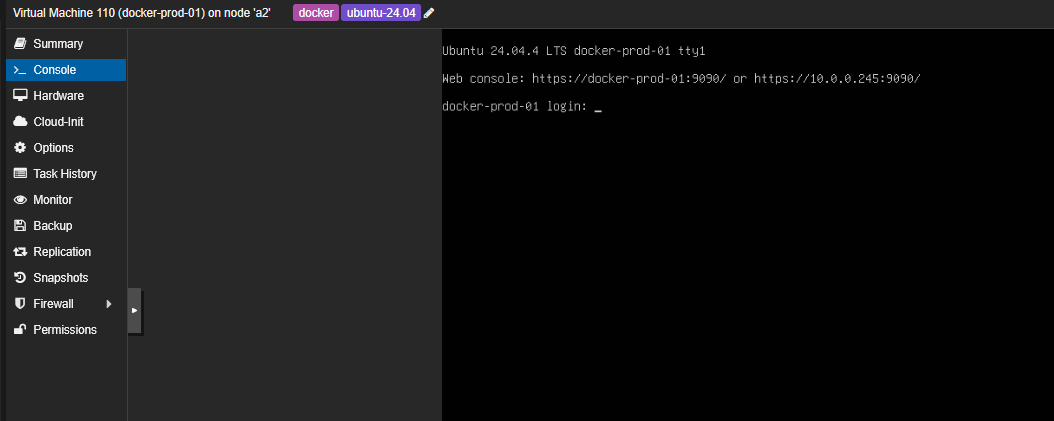
You will have recovered valuable gigabytes of RAM and CPU cycles previously wasted drawing windows, while keeping your security configurations, SSH keys, and Docker containers fully intact. The result is a much leaner system ready to integrate into your automation workflows.