
Introduction
Dell InsightIQ is the ultimate tool for monitoring and analyzing the performance, capacity, and events of your PowerScale / Isilon storage clusters. Starting with version 6.x, Dell completely modernized the application architecture, making it lighter, faster, and easier to manage thanks to a redesigned backend.
There are two ways to deploy InsightIQ: Simple Deployment and Scale Deployment. For environments of up to 10 clusters, the Simple option is indisputably the best choice.
Differences Between Simple and Scale Deployment
Here is a comparison to help you understand why to choose one over the other:
| Feature | Simple Deployment (OVA) | Scale Deployment |
|---|---|---|
| Maximum Capacity | Up to 10 clusters or 252 nodes. | Up to 20 clusters or 504 nodes. |
| Installation Method | Pre-configured OVA template. | Installation script (.sh) on a base OS. |
| Supported Platform | VMware vSphere / ESXi. | RHEL, SLES, or Ubuntu (Bare-metal or VM). |
| Complexity | Green (Low, fast deployment). | Orange (Medium, requires preparing the base OS). |
| Installer Size | < 5 GB (OVA). | Varies depending on the system. |
Note: With 3 clusters in your infrastructure and running VMware, Simple Deployment is the ideal option. It saves you from installing dependencies and managing a secondary Linux operating system.
Prerequisites (Simple Deployment)
Before you begin, make sure you have the following resources available in your VMware cluster:
- Hypervisor: VMware ESXi 7.0U3, 8.0U3 or higher.
- CPU: 8 vCPUs.
- RAM Memory: 16 GB.
- Storage: 1.5 TB of free space. Thin Provisioning format is recommended.
- Note: If you are using an NFS datastore for the VM, you require at least 500 GB of local disk and the NFS export must support the 1.5 TB requirement.
- Network: 1 Static IP address, Subnet Mask, Gateway, and DNS. The IP must have network connectivity to the PowerScale nodes.
Installation Steps (vSphere Client)
The entire process, from import to startup, takes about 15 minutes.
1. Prepare the OVA
- Download the installation file from the Dell support portal (
InsightIQ_6.3.0.ova) https://www.dell.com/support/product-details/en-sg/product/powerscale-insight-iq/drivers. - Log in to your VMware vSphere web client.
2. Deploy the Template
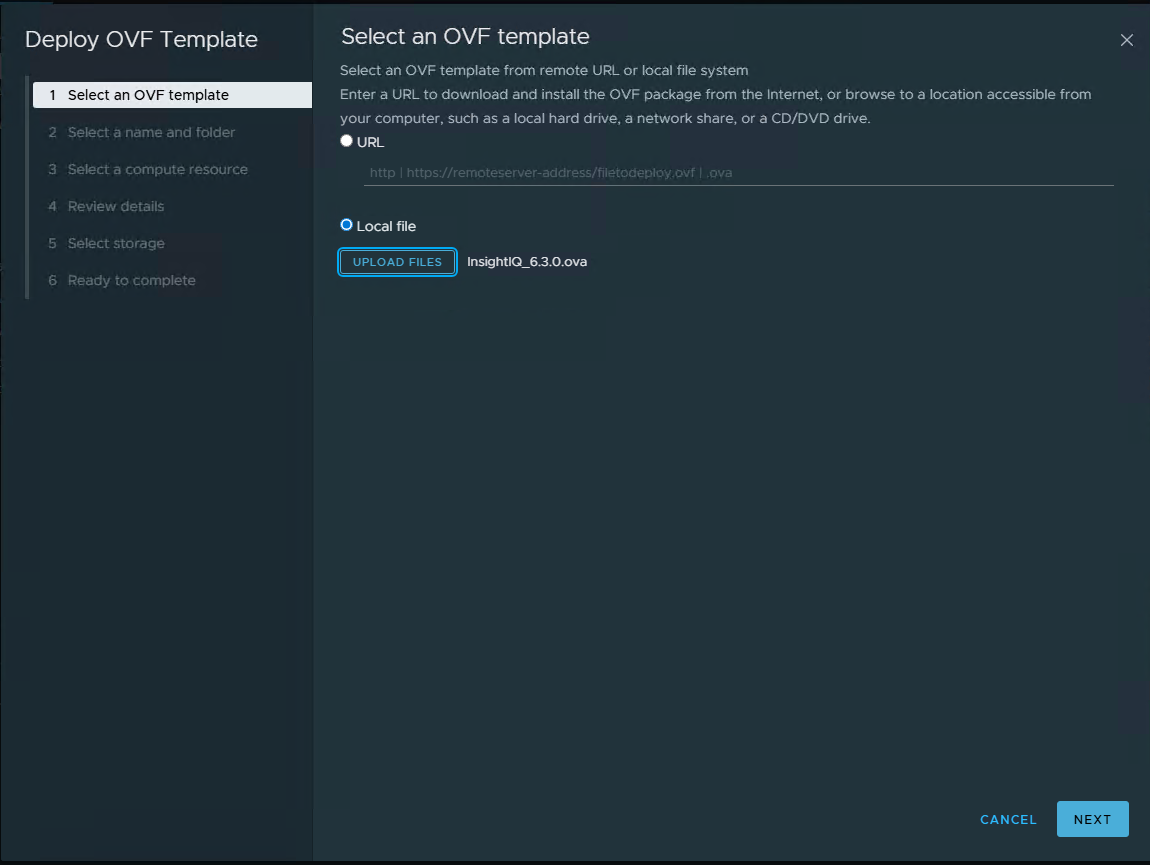
- Right-click on the desired cluster or folder and select Deploy OVF Template.
- Select Local file, choose your
.ovafile, and click Next.
- Assign a name to the virtual machine (e.g.,
SRV-InsightIQ-630) and select the destination folder. - Choose the Compute resource (the ESXi Host or cluster where it will run).
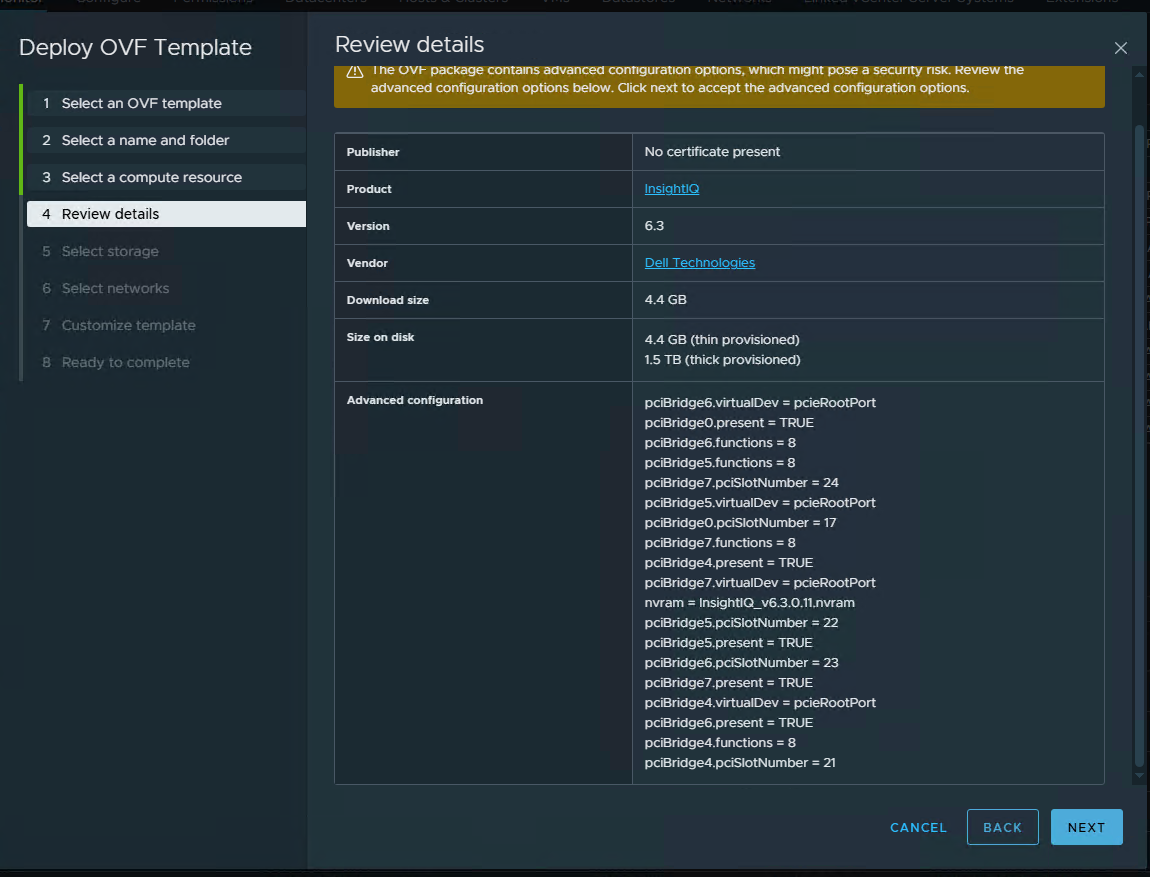
- Review the details of the Dell-signed certificate and press Next.
3. Storage and Networks
- In the Select storage section, choose the appropriate datastore.
- Key step: Select the virtual disk format as Thin Provisioning to optimize initial storage consumption.
- In the Select networks section, associate the network interface with the correct Port Group.
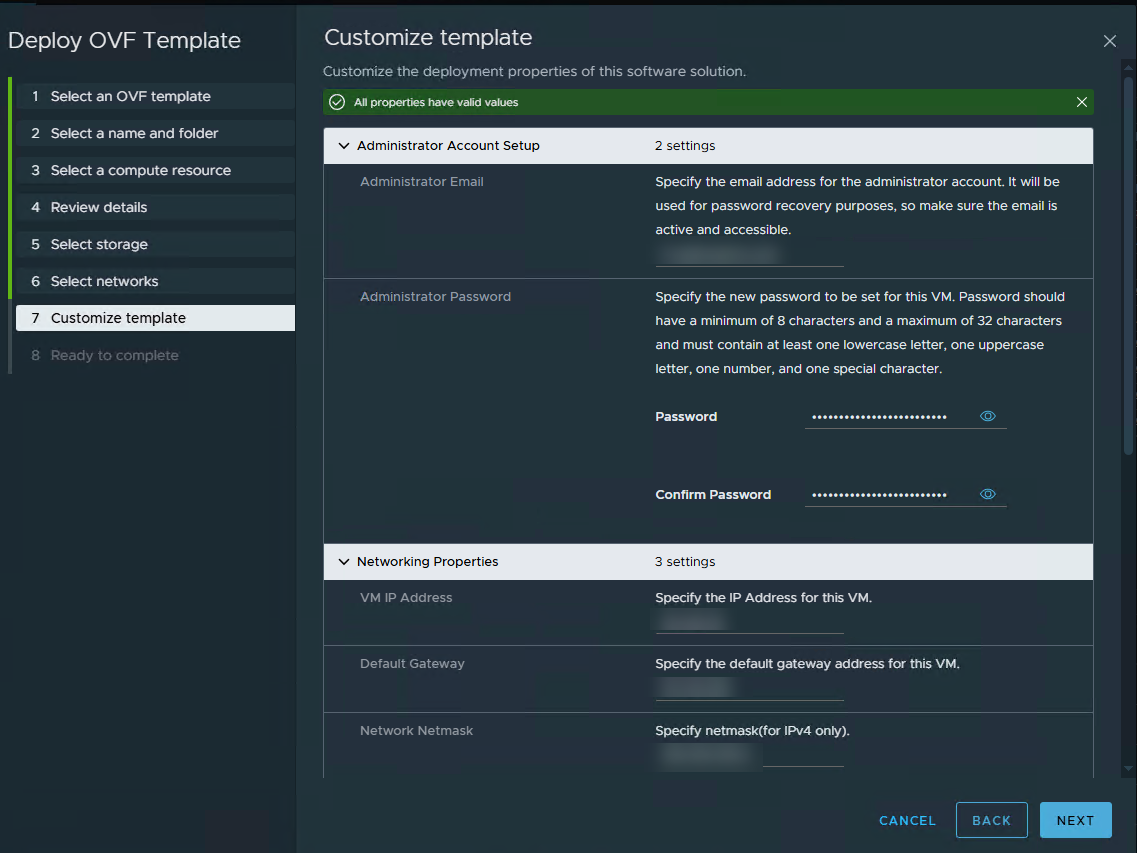
- Complete the network properties (Customize template): Enter the static IP, mask, gateway, and DNS.
4. Finish
- Review the configuration summary and click Finish.
- Wait for the OVA import to complete in your recent tasks and power on the virtual machine.
Post-Installation Configuration
Once the InsightIQ VM has finished its boot sequence:
Open a modern web browser and navigate to
https://<ASSIGNED_IP>.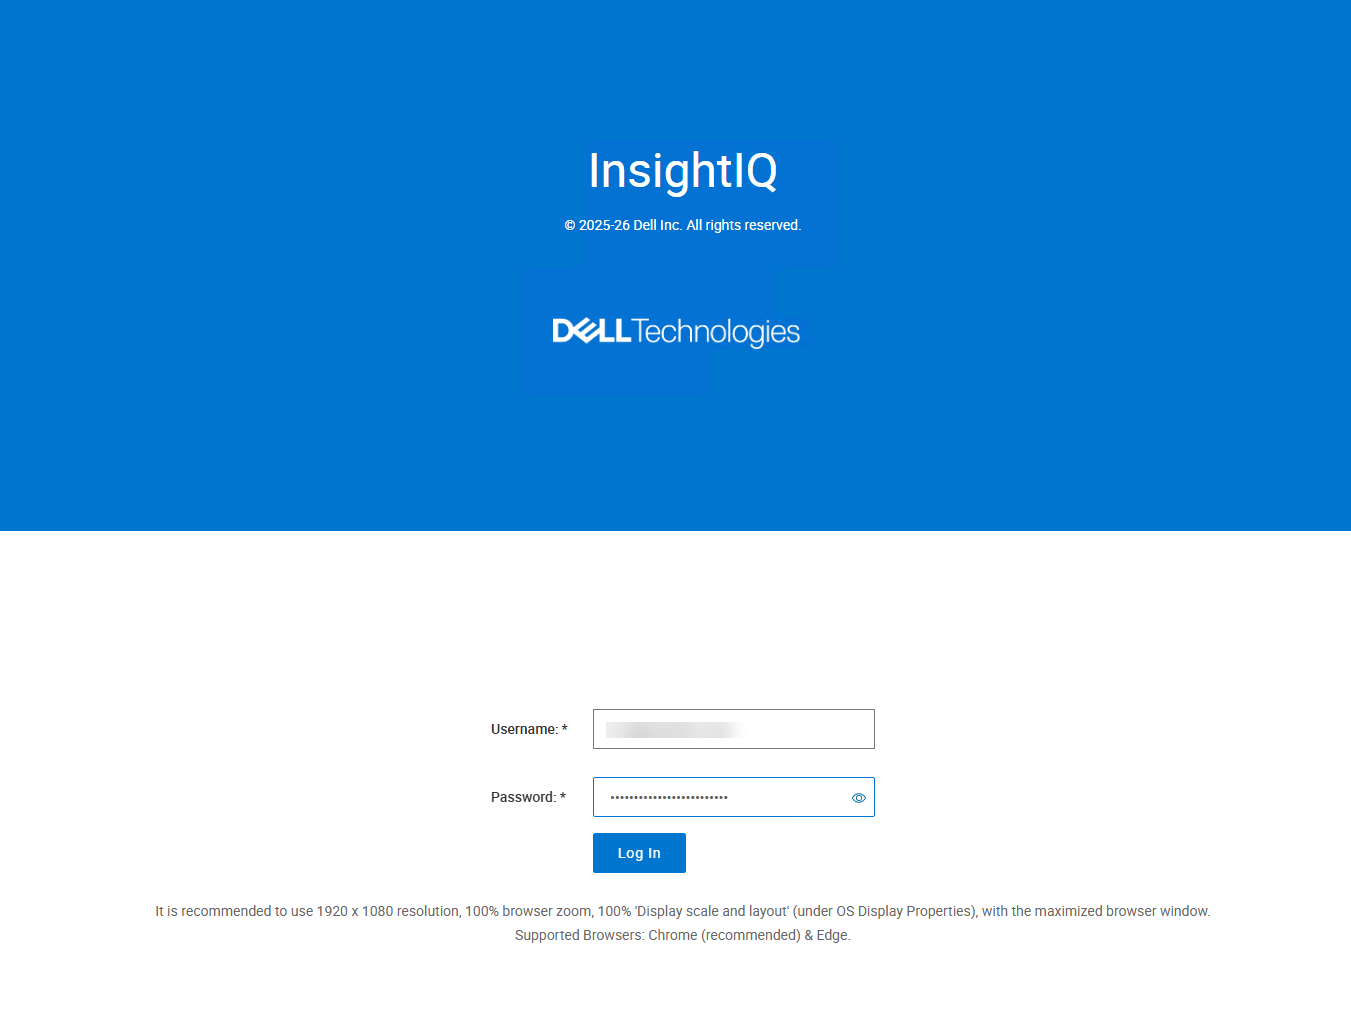
Log in. If this is the first boot, the system will prompt you to accept the End User License Agreement (EULA).
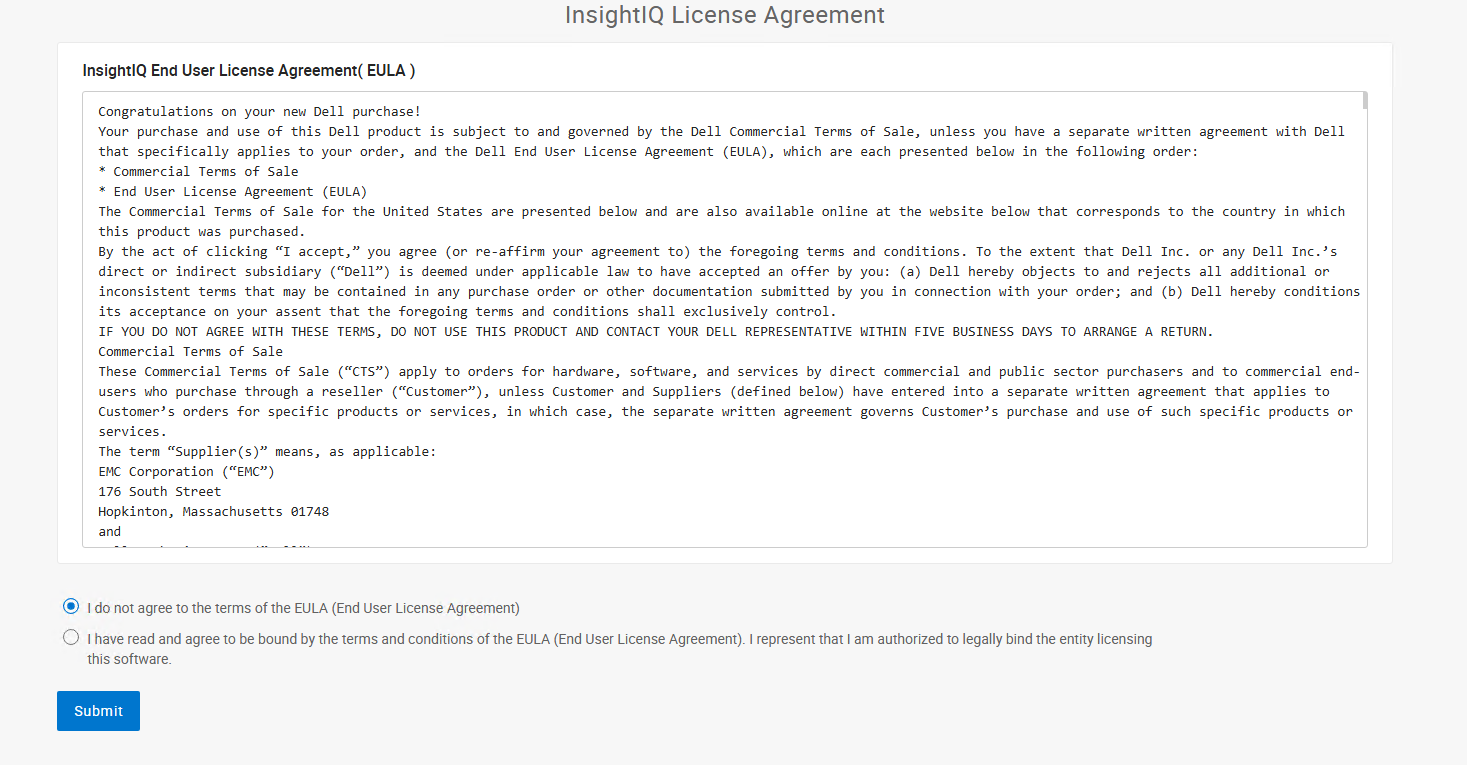
Change the administrator password to a permanent and secure one following the system’s rules.
In the main menu, head to the section to add clusters.
Click Add Cluster and provide the hostname/IP and credentials (for the monitoring user, e.g.,
insightiq) for each of your 3 clusters.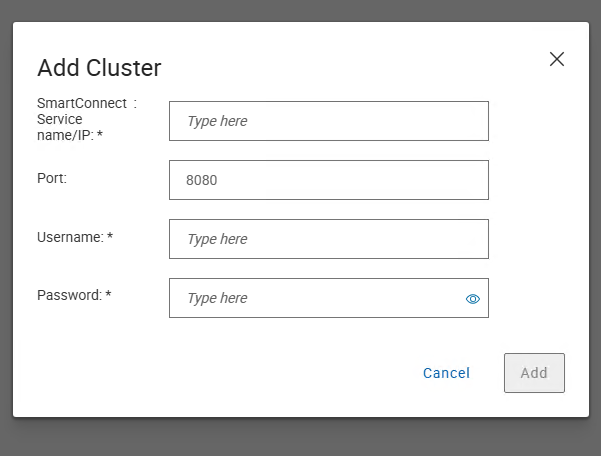
Conclusion
Deploying Dell InsightIQ via the OVA template (Simple Deployment) is the ideal option to quickly optimize the administration and monitoring of mid-sized PowerScale environments without infrastructure complications. Once connected, you will gain complete visibility into your clusters’ performance in just a few minutes.