
Proxmox’s official documentation can cause confusion regarding data loss when migrating from version 8 to 9. It is important to clarify that total data loss on local disks only occurs if a clean install from an ISO file is chosen. If the infrastructure is managed correctly, the major version upgrade should be performed via an in-place upgrade using the Debian package manager.
This method updates the base operating system and virtualization environment without modifying or formatting the logical volumes (LVM) or partitions (ext4) where virtual machine disks reside.
However, running this process without a recent backup on Proxmox Backup Server (PBS) is a technical oversight. While the in-place process does not format the disks, an interruption in dist-upgrade due to network failures or package dependencies can leave the node inoperable.
Prerequisites & Considerations
Console Access: Do not rely solely on an SSH session. During the upgrade, network services and authentication modules (PAM) will restart. If your nodes are protected by Duo MFA, the SSH session may close abruptly, leaving you without access to the interactive prompt. Use IPMI, iKVM, or a terminal multiplexer like
tmux.Storage: Verify that you have at least 5 GB of free space on the root partition.
Upgrade Procedure
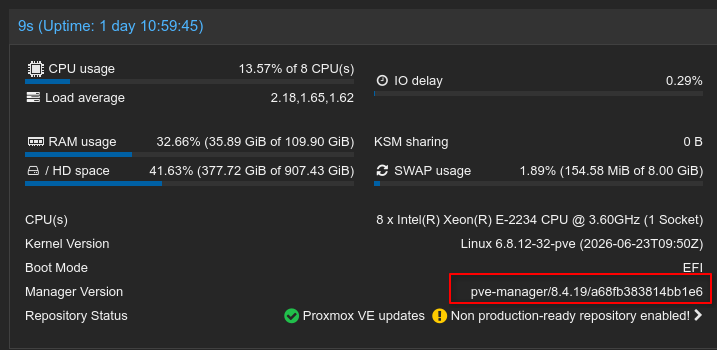
1. Base Upgrade of the Current Environment. The node must be on the latest minor version of Proxmox VE 8 before starting the migration.
# Update current repository metadata
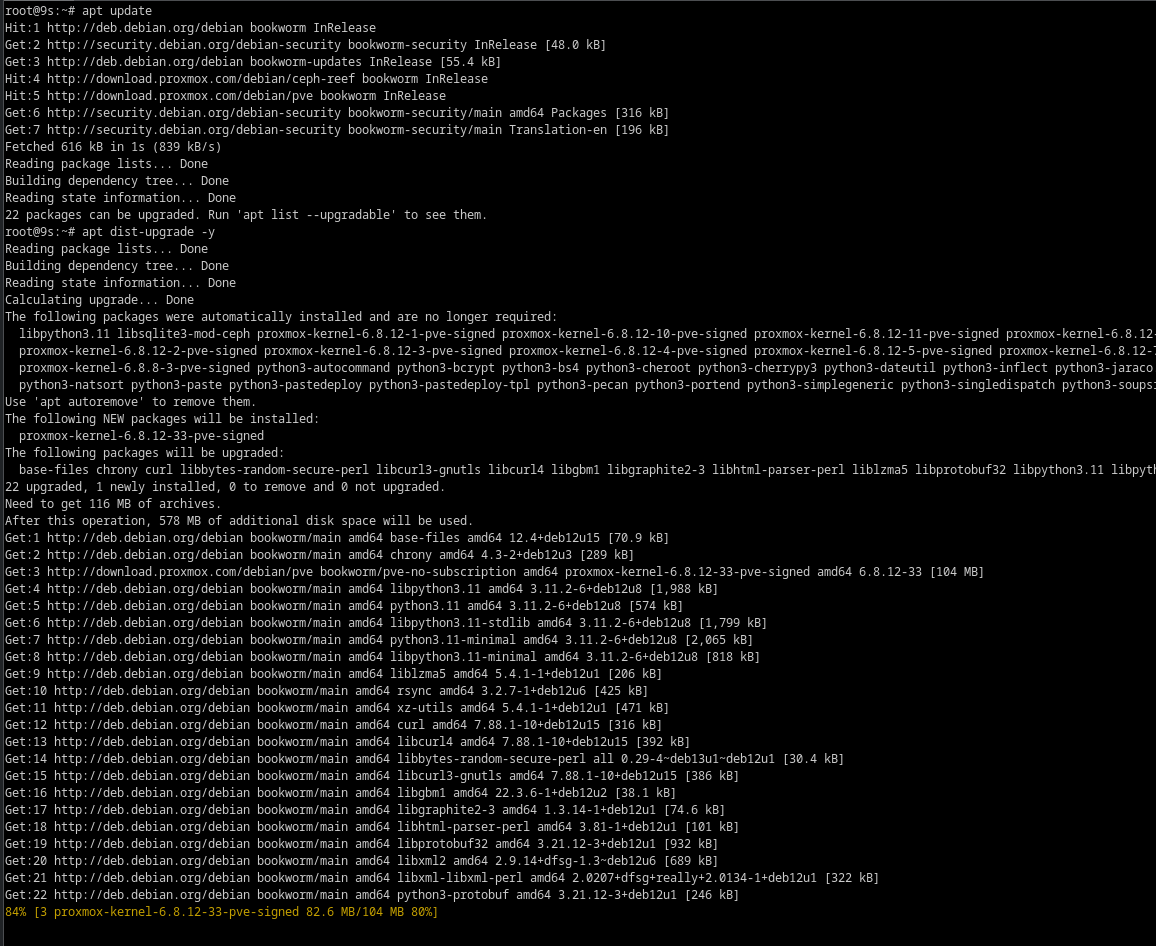
apt update

# Upgrade all current packages to their latest PVE 8 versions
apt dist-upgrade -y
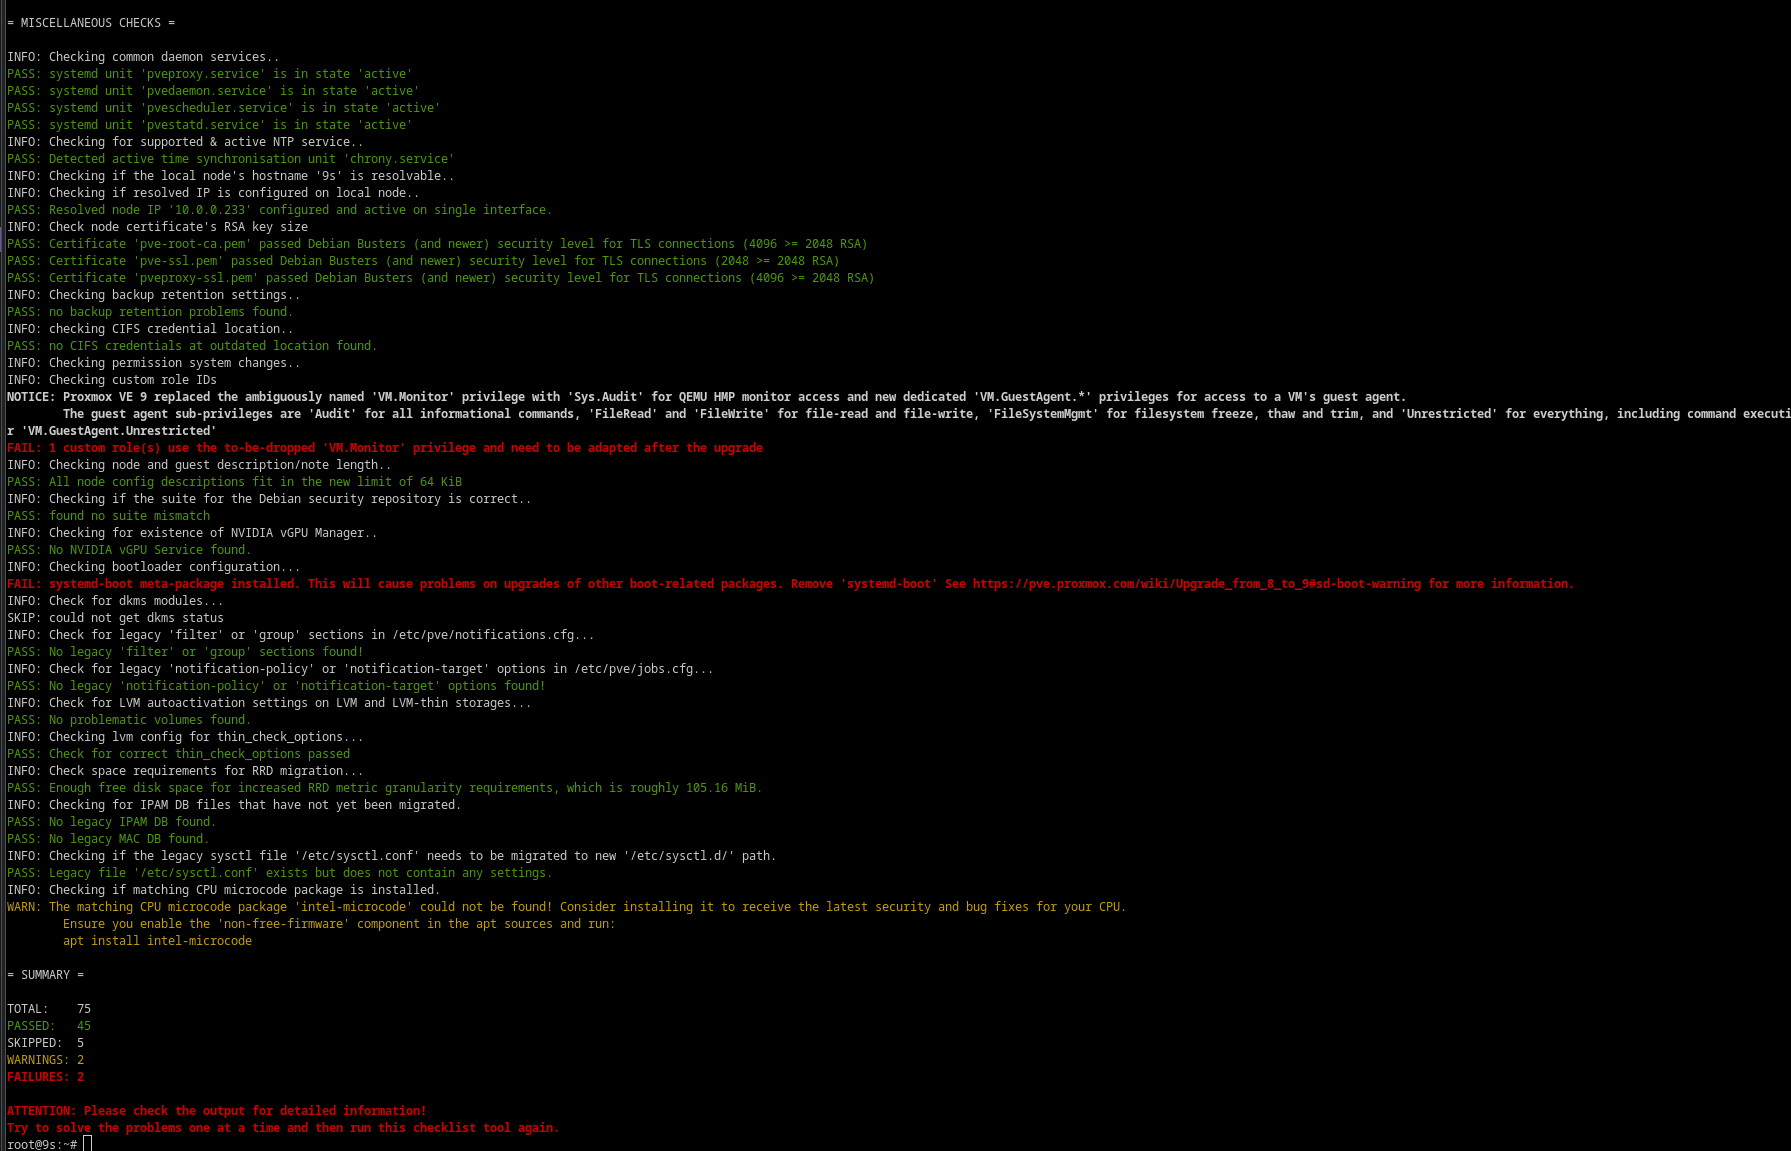
2. System Validation. Proxmox includes a diagnostic checklist script to detect incompatible configurations prior to migration.
# Run the pre-upgrade checklist script
pve8to9 --full
Any warning cataloged as FAIL must be resolved before proceeding to the next step. The most common failures detected at this point and their solutions are:
2.1. Conflict with the systemd-boot Meta-Package
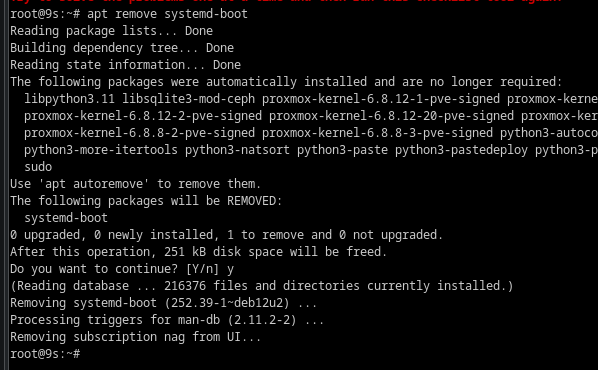
The script will throw an error if it detects the generic Debian systemd-boot package. Proxmox uses its own logic via proxmox-boot-tool to manage boot settings. This meta-package generates dependency conflicts during the major upgrade and must be removed. Deleting it will not affect the server’s current boot functionality, as only the Debian tracker package is removed.
# Remove the conflicting Debian meta-package
apt remove systemd-boot
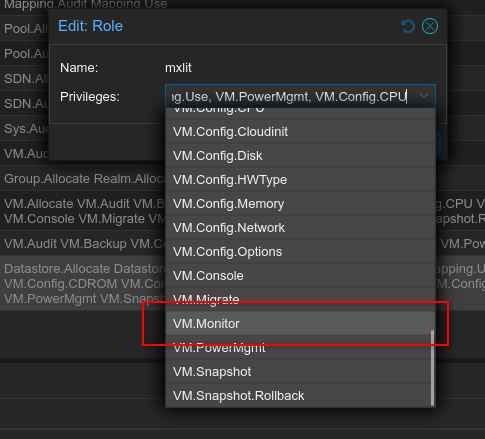
2.2. Deprecation of the VM.Monitor Privilege
In version 9, the VM.Monitor permission is removed due to ambiguity and divided into more specific components. If the script detects a custom role using this privilege, it will block the process. The solution requires modifying it via the web interface:
Navigate to Datacenter > Permissions > Roles.
Select and edit the affected custom role.
Uncheck the
VM.Monitorbox and save changes.If the role was used for monitoring tasks or metrics, it can be replaced with
Sys.Auditor the new permissions from theVM.GuestAgent.*family.
2.3. CPU Microcode Update (Warning)
Although presented as a WARN and not preventing the upgrade from continuing, it is infrastructure best practice to apply CPU stability and security patches before changing the OS version.
# Install the microcode package for hardware security patches
apt update && apt install intel-microcode
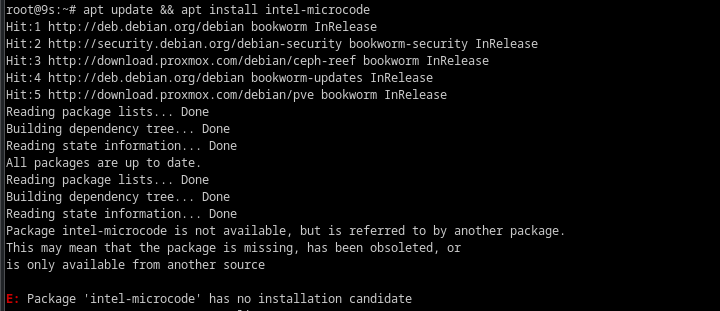
By default, the Proxmox base system (Debian) only enables open-source repositories. If you receive the error Package 'intel-microcode' has no installation candidate when trying to install the package, you must enable proprietary components:
- Edit the base repositories file:
nano /etc/apt/sources.list - Add
non-freeandnon-free-firmwareto the end of the corresponding Debian lines. The file should look like this:deb http://deb.debian.org/debian bookworm main contrib non-free non-free-firmware deb http://deb.debian.org/debian bookworm-updates main contrib non-free non-free-firmware deb http://security.debian.org/debian-security bookworm-security main contrib non-free non-free-firmware - Update package indexes and install the microcode:
# Update package indexes and install the Intel microcode firmware
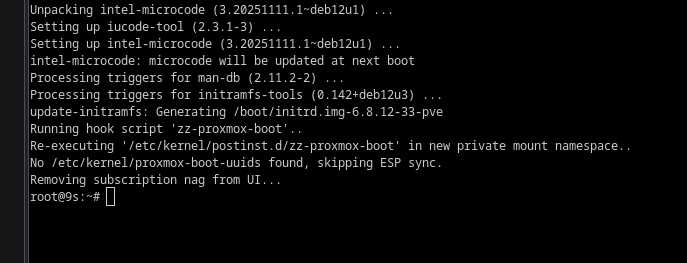
apt update && apt install intel-microcode -y
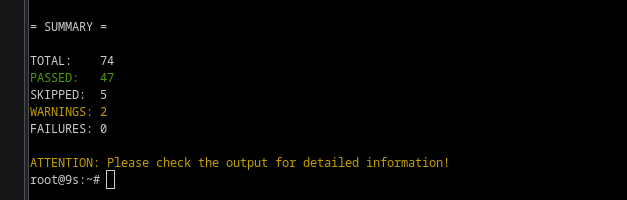
Once the previous points are resolved, run the diagnostic command again to ensure the final FAILURES counter is zero.
3. Repository Modification & Cleanup
Package lists must point to the new Debian base distribution (Trixie). Additionally, it is crucial to remove commercial repositories if you lack a subscription, and update distributed storage sources (Ceph) to their corresponding version (Squid).
3.1. Update Base Debian Repositories
# Update base Debian repositories from bookworm to trixie
sed -i 's/bookworm/trixie/g' /etc/apt/sources.list
3.2. Update the Proxmox Repository
The following example assumes the use of the free repository (pve-no-subscription).
# Update Proxmox repositories for no-subscription environments
sed -i 's/bookworm/trixie/g' /etc/apt/sources.list.d/pve-install-repo.list
3.3. Remove Incompatible or Commercial Repositories
If you have the Enterprise repository enabled without an active subscription, the package manager will throw 401 Unauthorized errors that block the upgrade. Similarly, you must remove test repositories (pvetest) if they are enabled and pointing to the previous version.
# Remove the enterprise repository list to prevent 401 Unauthorized errors
rm -f /etc/apt/sources.list.d/pve-enterprise.list
rm -f /etc/apt/sources.list.d/pve-enterprise.sources

# Remove beta/test repositories if present
rm -f /etc/apt/sources.list.d/pvetest-for-beta.list
3.4. Update the Ceph Repository (If applicable)
If your node has Ceph installed, you must update its repository to the version compatible with Proxmox 9 (Ceph Squid) on Trixie. Keeping the old Ceph-Reef repository will cause severe dependency conflicts.
# Point Ceph to the Squid release for Debian Trixie (no-subscription)
echo "deb http://download.proxmox.com/debian/ceph-squid trixie no-subscription" > /etc/apt/sources.list.d/ceph.list
4. Major Upgrade Execution
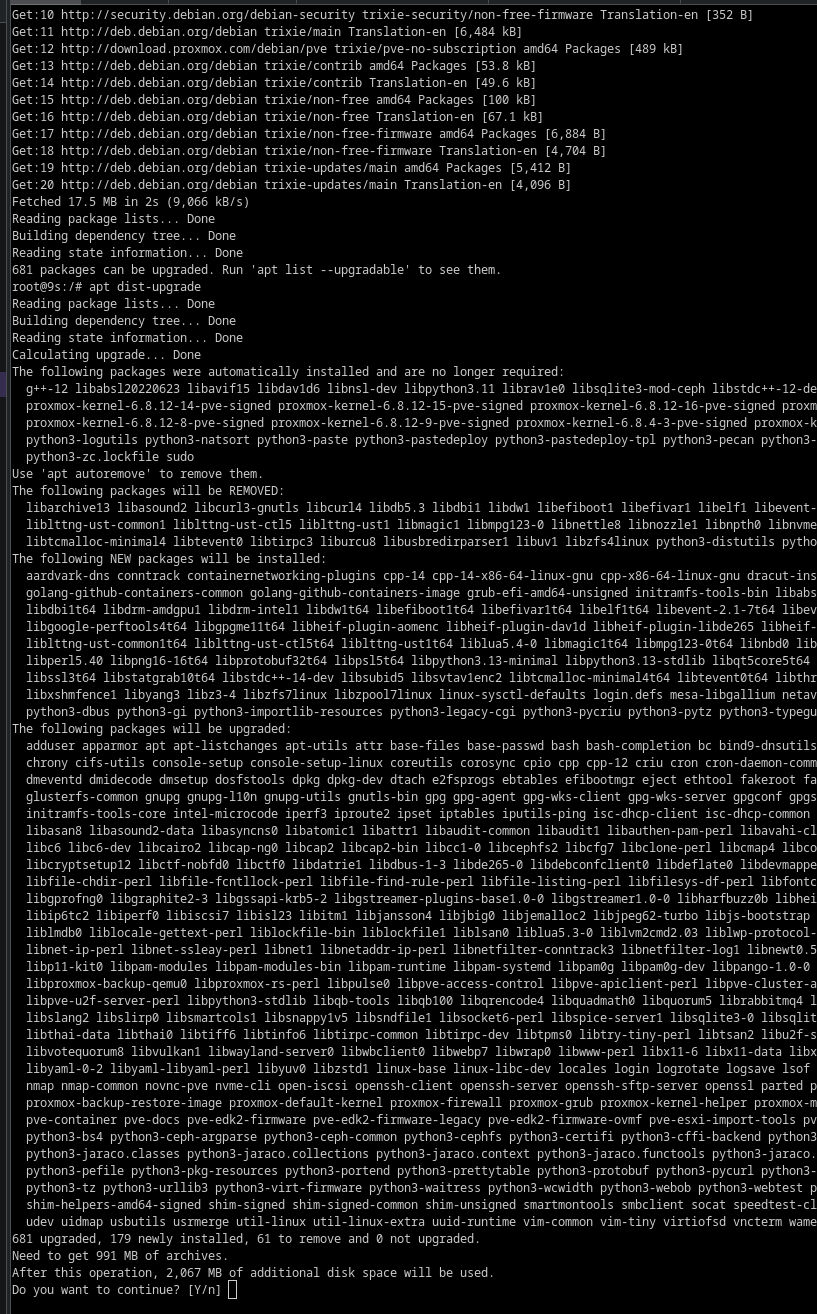
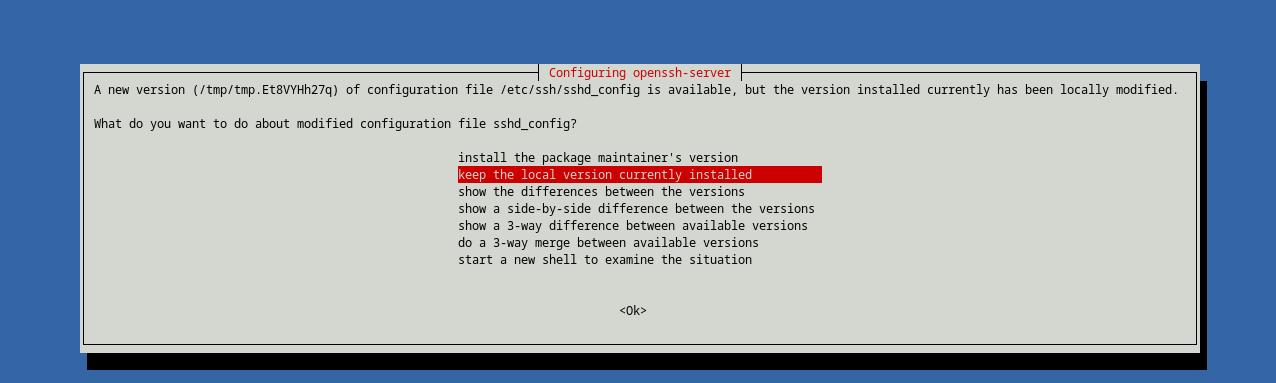
During the download and installation of the new version, the system will prompt for confirmation to overwrite configuration files (such as grub, sshd, or interfaces). The standard practice is to keep the current configuration (option ‘N’ or ‘O’) to avoid losing connectivity.
# Fetch new repository metadata for Debian Trixie
apt update

# Perform the major distribution upgrade
apt dist-upgrade

5. Hypervisor Reboot. Once the package manager completes without errors, the server must be rebooted to apply the new Linux kernel and load the updated services.
# Reboot the node to apply kernel and service changes
reboot

Upon rebooting, the node will run on the new major version. The definition files in /etc/pve/qemu-server/ and local storage disks will remain untouched.
Conclusion
Performing an in-place upgrade of Proxmox VE from version 8 to 9 is a highly efficient procedure that avoids unnecessary reinstalls and protects the persistence of virtual machines and containers. However, its success lies in the thoroughness of preparation: running the diagnostic script pve8to9, resolving all conflicts and dependencies beforehand (such as systemd-boot and deprecated privileges), and, above all, having robust, up-to-date backups. By following these steps methodically, the infrastructure transition is completed smoothly.