Nessus is one of the most popular and widely used vulnerability scanners in the field of information security. To facilitate its use in personal labs and educational environments, Tenable offers Nessus Essentials, a free and fully functional version that allows unlimited security audits and analysis on a maximum of 16 IP addresses (hosts). This is an excellent option for students, enthusiasts, and administrators looking to learn about vulnerability management without incurring licensing costs.
In this step-by-step guide, we will explain how to deploy and install Nessus Essentials using the Tenable Core installation image, a preconfigured virtual appliance based on Oracle Linux 8 that automates installation and optimizes the performance and security of the Nessus engine.
Step 1: Obtain a Nessus Essentials License
To activate the free version of Nessus, we must first register our email to receive an activation key.
- Go to the official registration page for education and community: Tenable Nessus Essentials
- Enter your first name, last name, email, and organization.
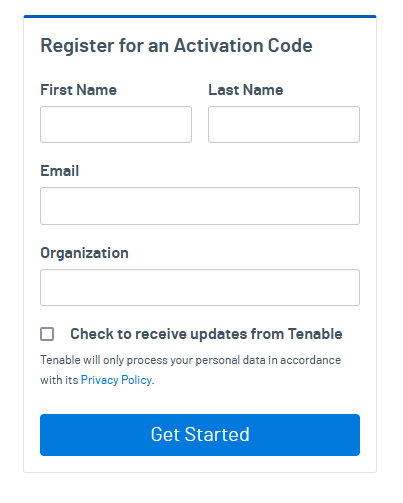
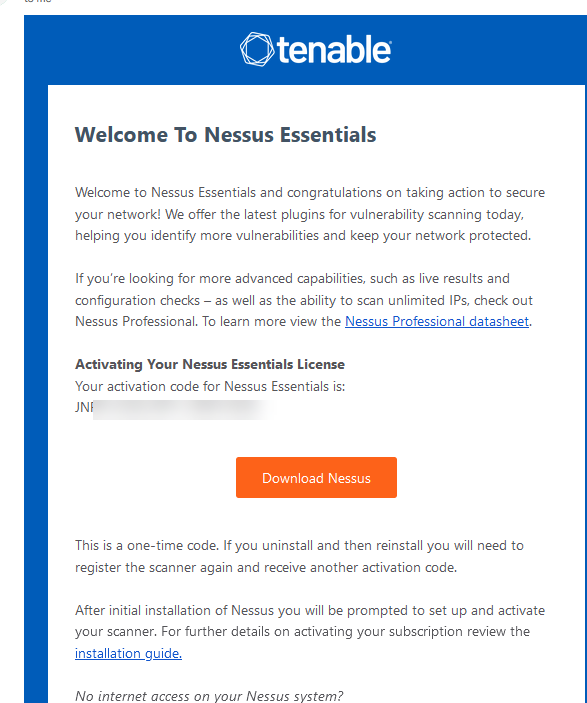
Once registered, you will receive an email from Tenable with your activation code. Save it, as we will use it during the initial setup process.
Step 2: Download the Installation Image (ISO)
- Navigate to the official Tenable downloads page: Nessus Downloads
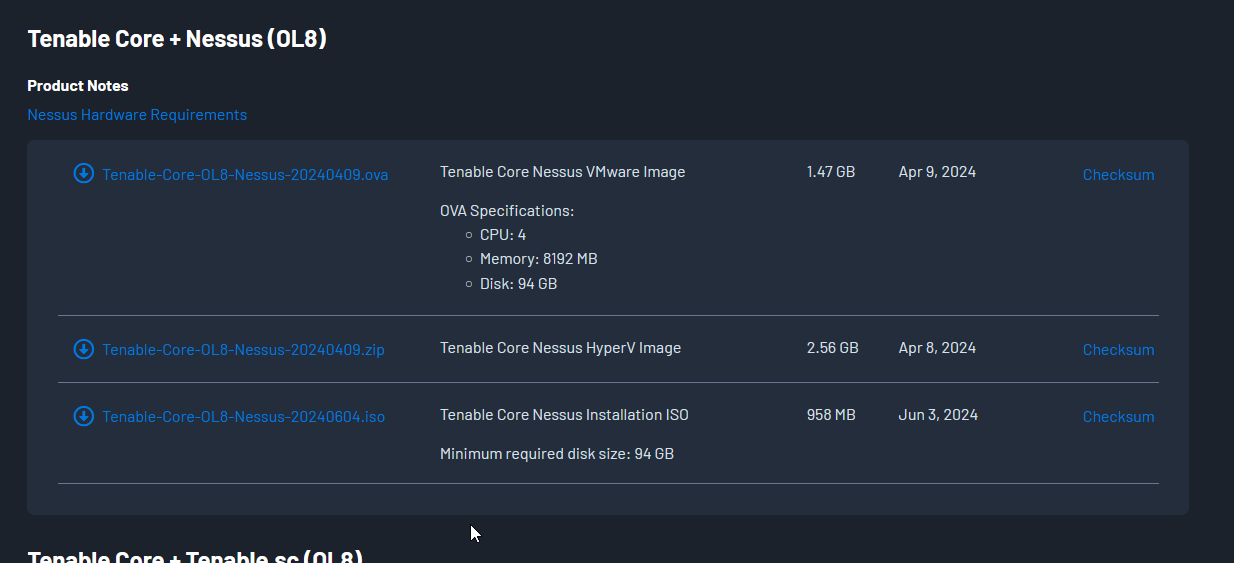
- Select the Tenable Core + Nessus (OL8) option and download the ISO installation image (
Tenable-Core-OL8-Nessus-20240604.iso).
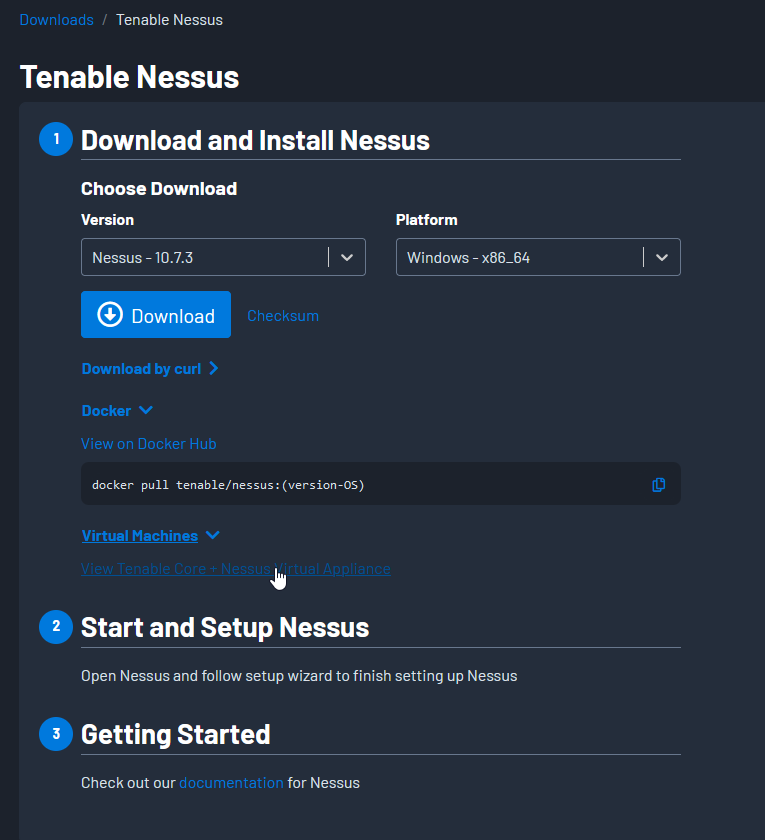
Accept the license agreement to start downloading the installer on your system.
Step 3: Installing Tenable Core (ISO) in the Virtual Machine
Since we downloaded the official Tenable Core + Nessus ISO image, we are not installing a single package. Instead, we are deploying a complete operating system (based on Oracle Linux 8) pre-configured and optimized to run Nessus.
- Create a new virtual machine in your hypervisor (Proxmox, VMware, Hyper-V, etc.) or prepare your physical hardware, mount the downloaded ISO image, and boot the system.
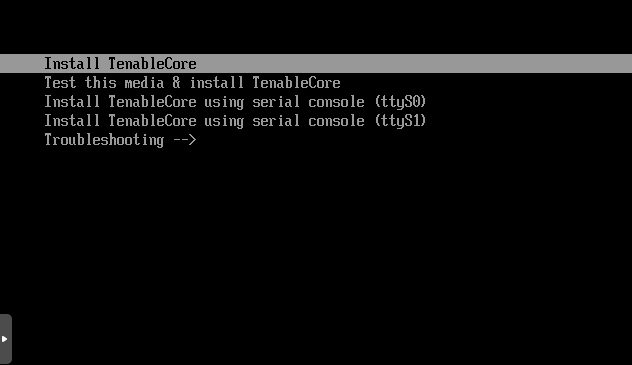
- In the boot menu, select Install TenableCore to launch the installation wizard.
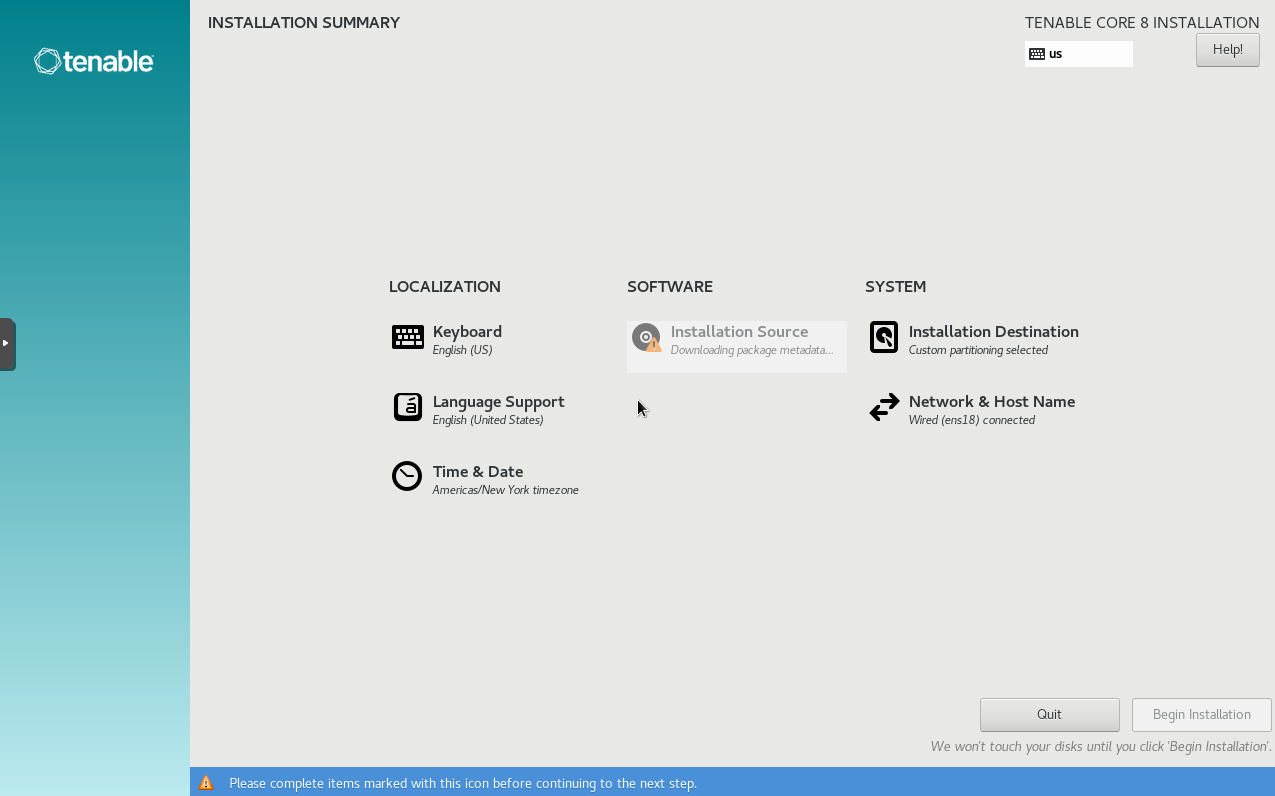
- The graphical installer will load. Configure the basic operating system settings such as language, keyboard layout, network configuration (Network & Host Name), and the target installation disk (Installation Destination).
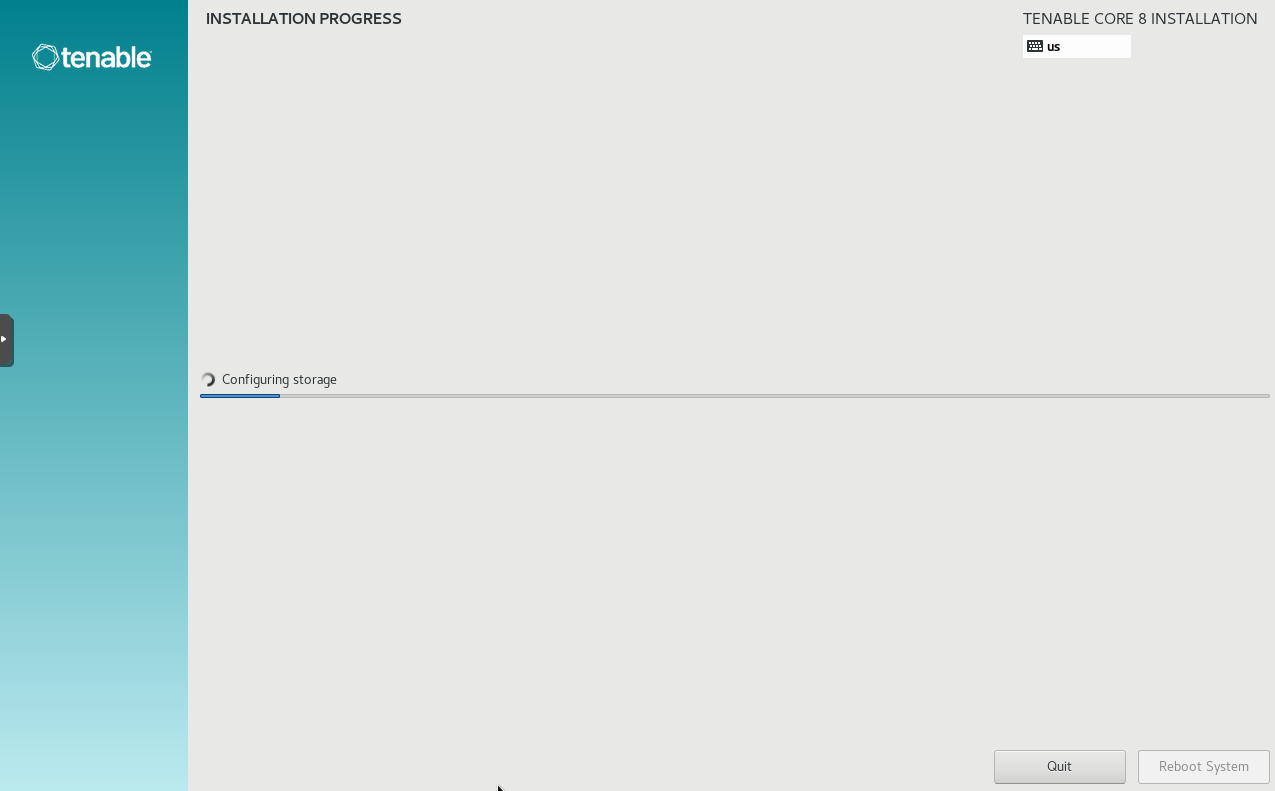
- Begin the installation and wait for it to complete. Once finished, the system will reboot automatically.
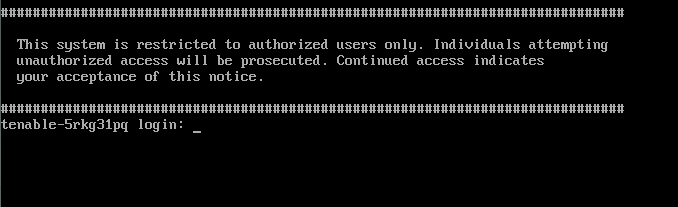
Step 4: Initial Network Configuration & Admin User Creation (Console)
After rebooting the server, the Tenable Core operating system will load a text-based initial configuration utility on the terminal console.
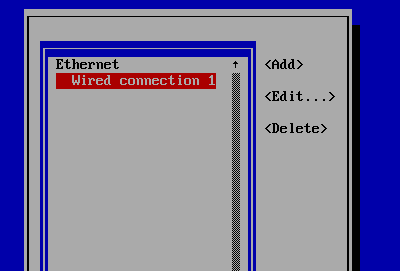
- The network management menu (TUI) will be displayed. Select the network interface to configure (e.g., Wired connection 1 and select Edit…).
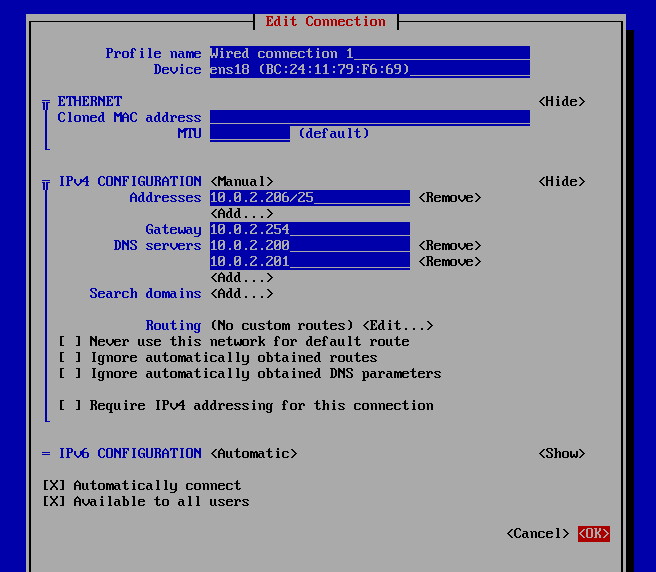
- Manually configure a static IP layout by assigning the IP address (e.g.,
10.0.2.206/25), gateway (Gateway10.0.2.254), and DNS servers (10.0.2.200,10.0.2.201). Save changes by selecting.
- Upon exiting the network manager, the console will prompt you to create the main administrator account:
An administrator account needs to be created to use Tenable Core. Create an administrator account now? (y/n)Typeyand press Enter.

- Define the username (e.g.,
sojeda) and set the password.

Note: The password must meet the system’s length and safety policy (at least 14 characters long), otherwise a warning will state that it does not meet the requirements.
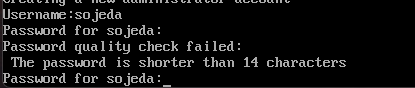
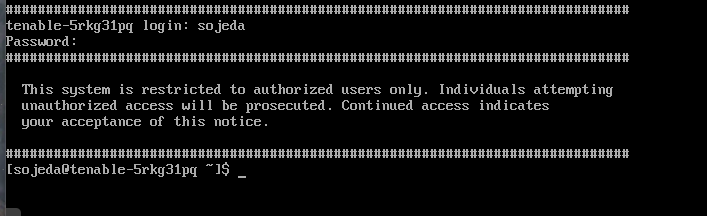
- Once the administrator user is configured, log into the local terminal console using the account you just created to verify access.
Step 5: Initial Setup & Offline Registration (Web Console)
Once the network configuration and user creation on the console are done, we can access the web administration dashboard.
- Open your web browser and navigate to the assigned IP address of the server on port
8834(using HTTPS):https://10.0.2.206:8834/#/ - On the welcome screen, log in with the credentials you created on the console (
sojedain this case). Then, select the Register Offline option and click Continue.
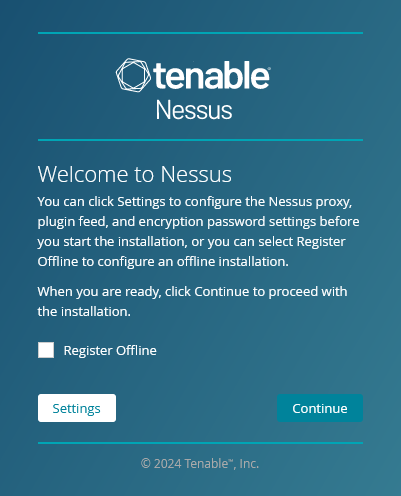
- Leave the default registration option selected and click continue.
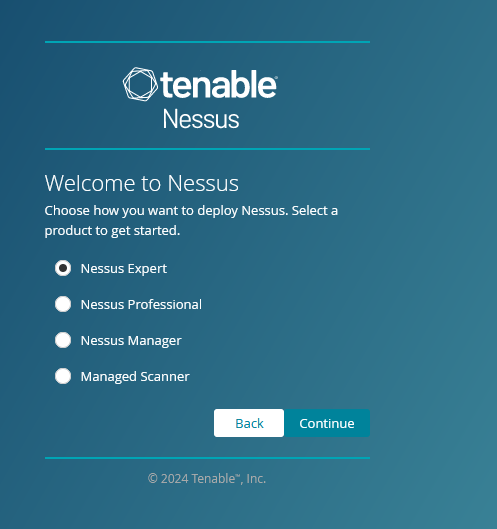
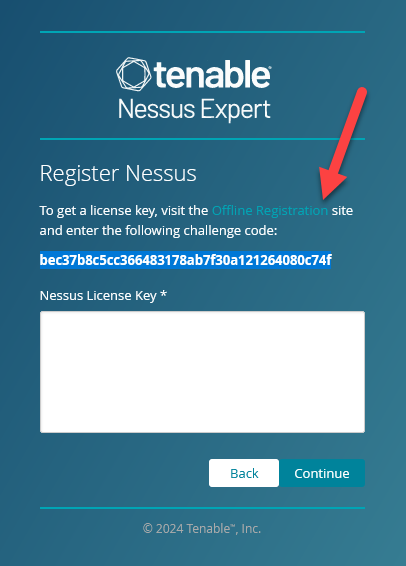
- Copy the challenge code generated by Nessus.
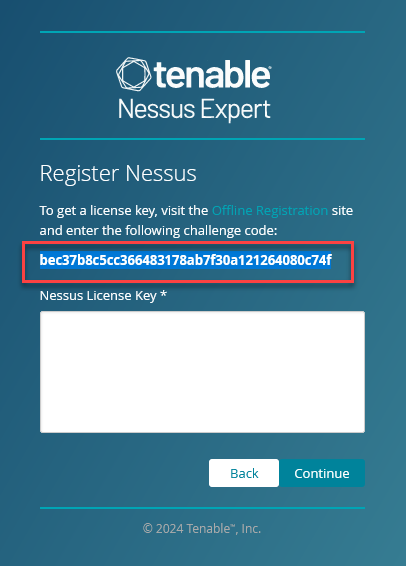
- Navigate to the offline registration link provided on the screen.
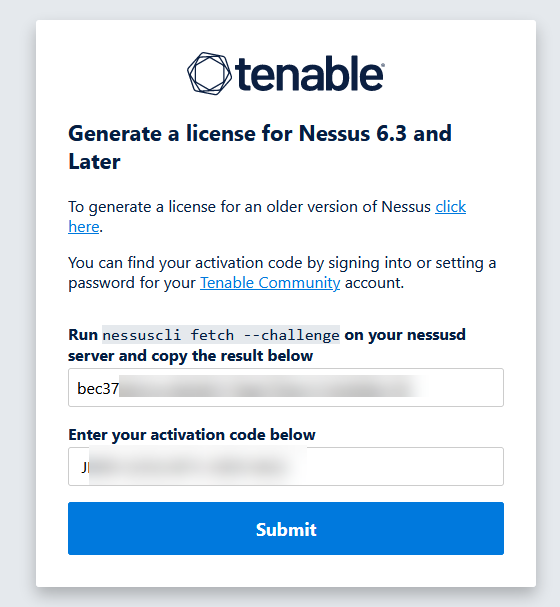
- Input the challenge code and the activation key received by email, then click Submit.
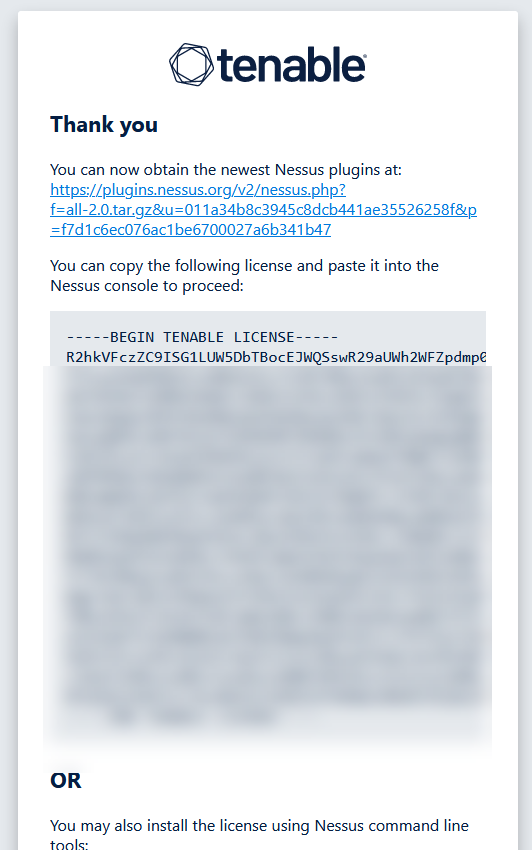
- Copy the complete generated license key.
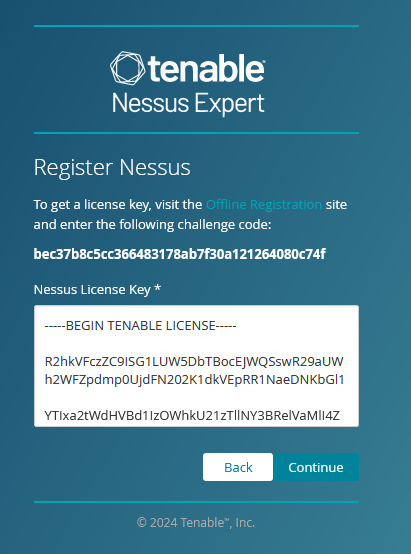
- Go back to the Nessus page in your browser, paste the license key in the text field, and click continue.
Step 6: Nessus Web Admin User Creation & Plugin Updates
- Define the username and password for the admin account of the Nessus web console.

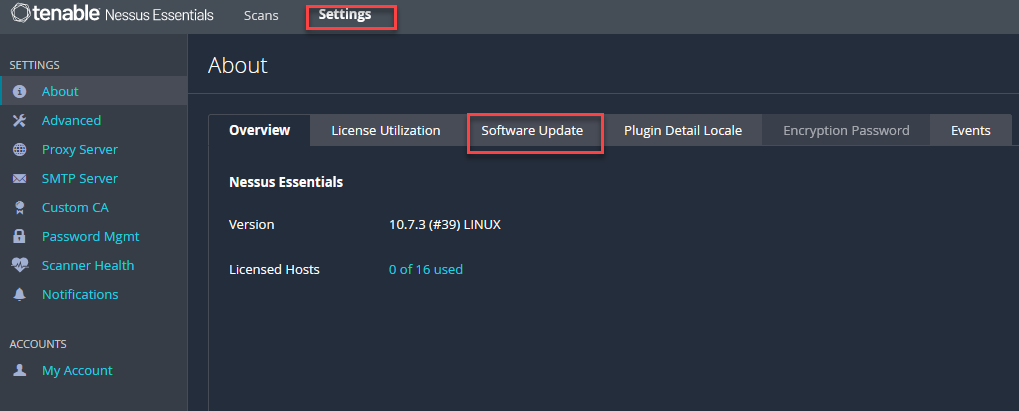
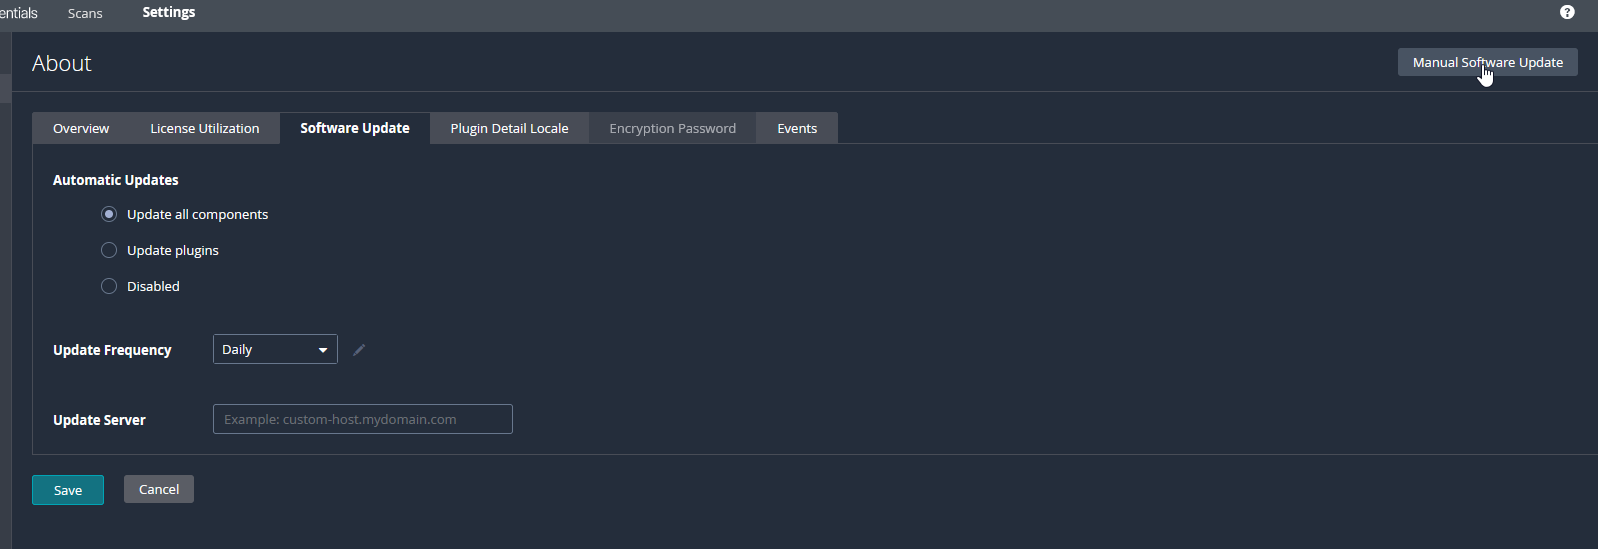
- Once logged into the dashboard, go to Settings and select Software Update in the side menu.
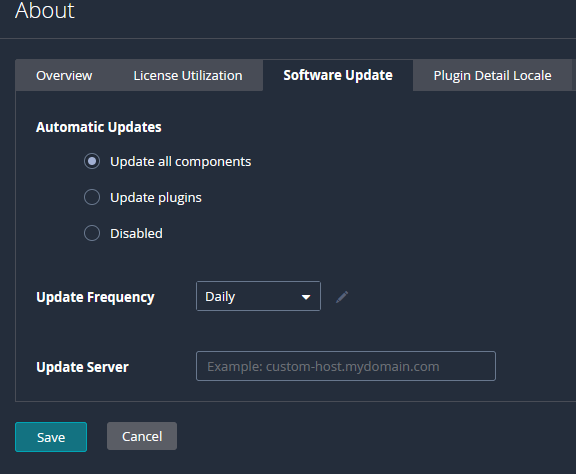
- Select the Update all components option and save the changes.
- Click on Manual Software Update to force the initial download of plugins and vulnerability signatures.
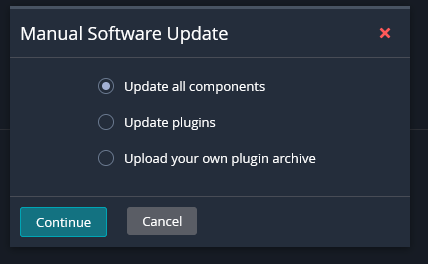
- If you check the events tab, you will notice that the system starts downloading and compiling the vulnerability plugins. Note: This initial process is resource-heavy and can take a while depending on your hardware specs and internet connection speed.
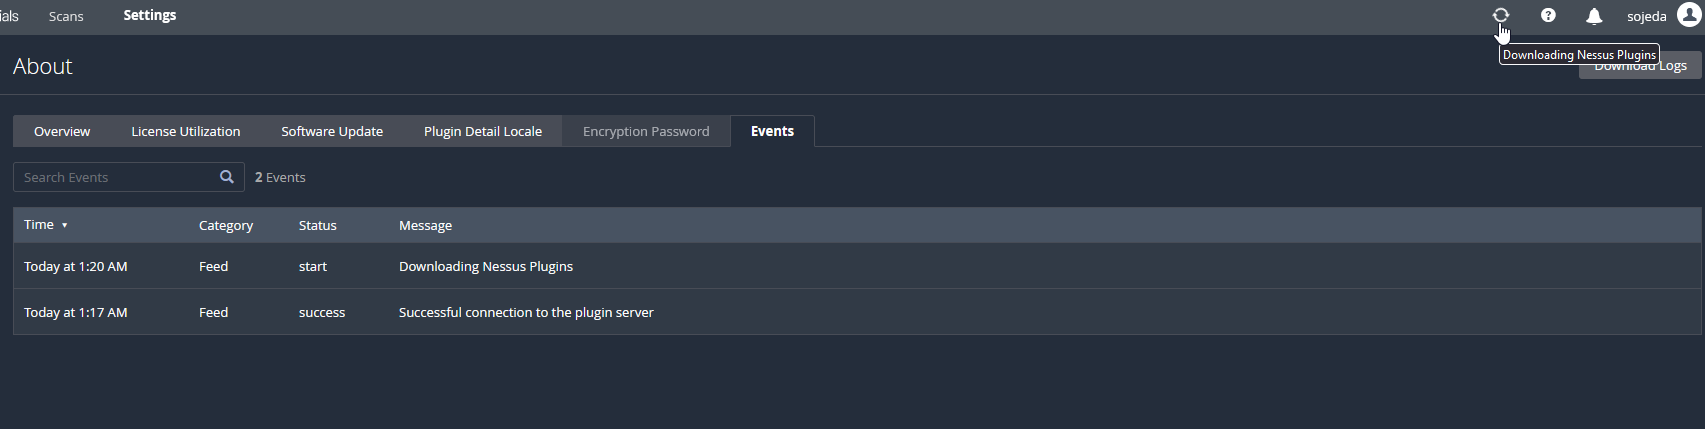
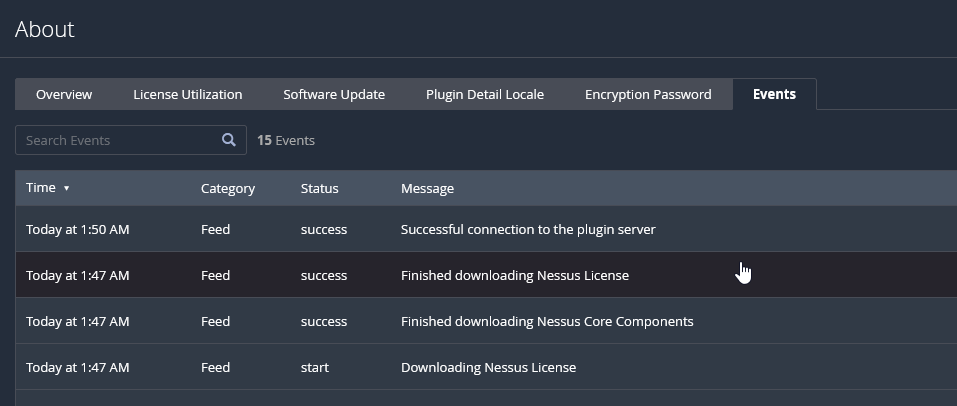
Once the status indicator shows that the update process has completed successfully, the platform is ready.
Step 7: Verifying the Scanning Environment
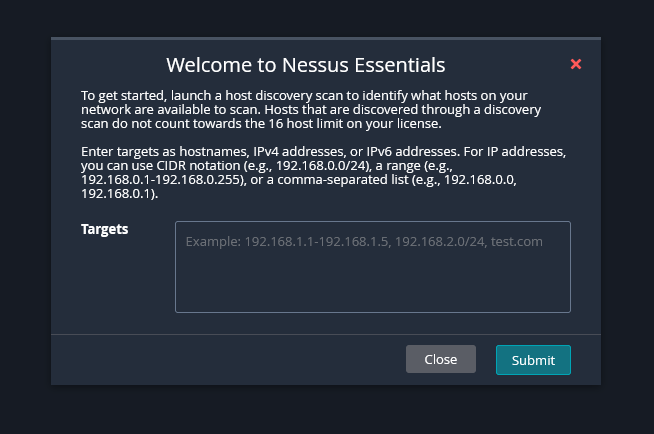
If you return to the main scan menu, you will see that the web console will allow you to create new scans by providing target network ranges. Keep in mind that due to the free license tier (Essentials), the scanning capability is strictly limited to a maximum of 16 IP addresses (hosts).
Conclusion
In conclusion, deploying Nessus via the Tenable Core virtual appliance (ISO) greatly simplifies the lifecycle management of the tool, automating OS-level security and network configuration. Nessus Essentials represents the ideal option for students and testing labs, offering full vulnerability scanning features for free with a single restriction of 16 hosts. Keeping components and plugins up to date is the ultimate step to ensure accurate and efficient network audits.