Once the Nessus appliance (Tenable Core) is installed and configured, the next critical step in security management is performing vulnerability analysis and scans within our network infrastructure.
In this guide, we will explain in detail how to create and configure a basic network scan using the Nessus Essentials web console, analyzing the types of policies available, entering host credentials, and interpreting the vulnerability reports.
Step 1: Initialize the Network Scan
Once the plugins are fully downloaded and compiled in the Nessus web interface, the platform allows us to start auditing our systems.
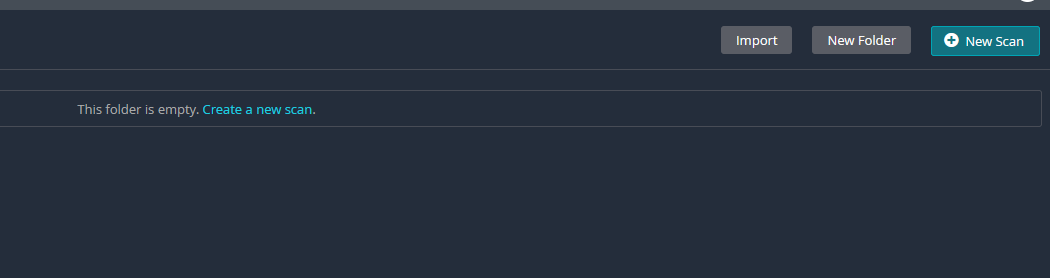
- Navigate to the main Scans tab in the web console.
- In the top right corner, click on the New Scan (or Create a new scan) button to open the policy template library.
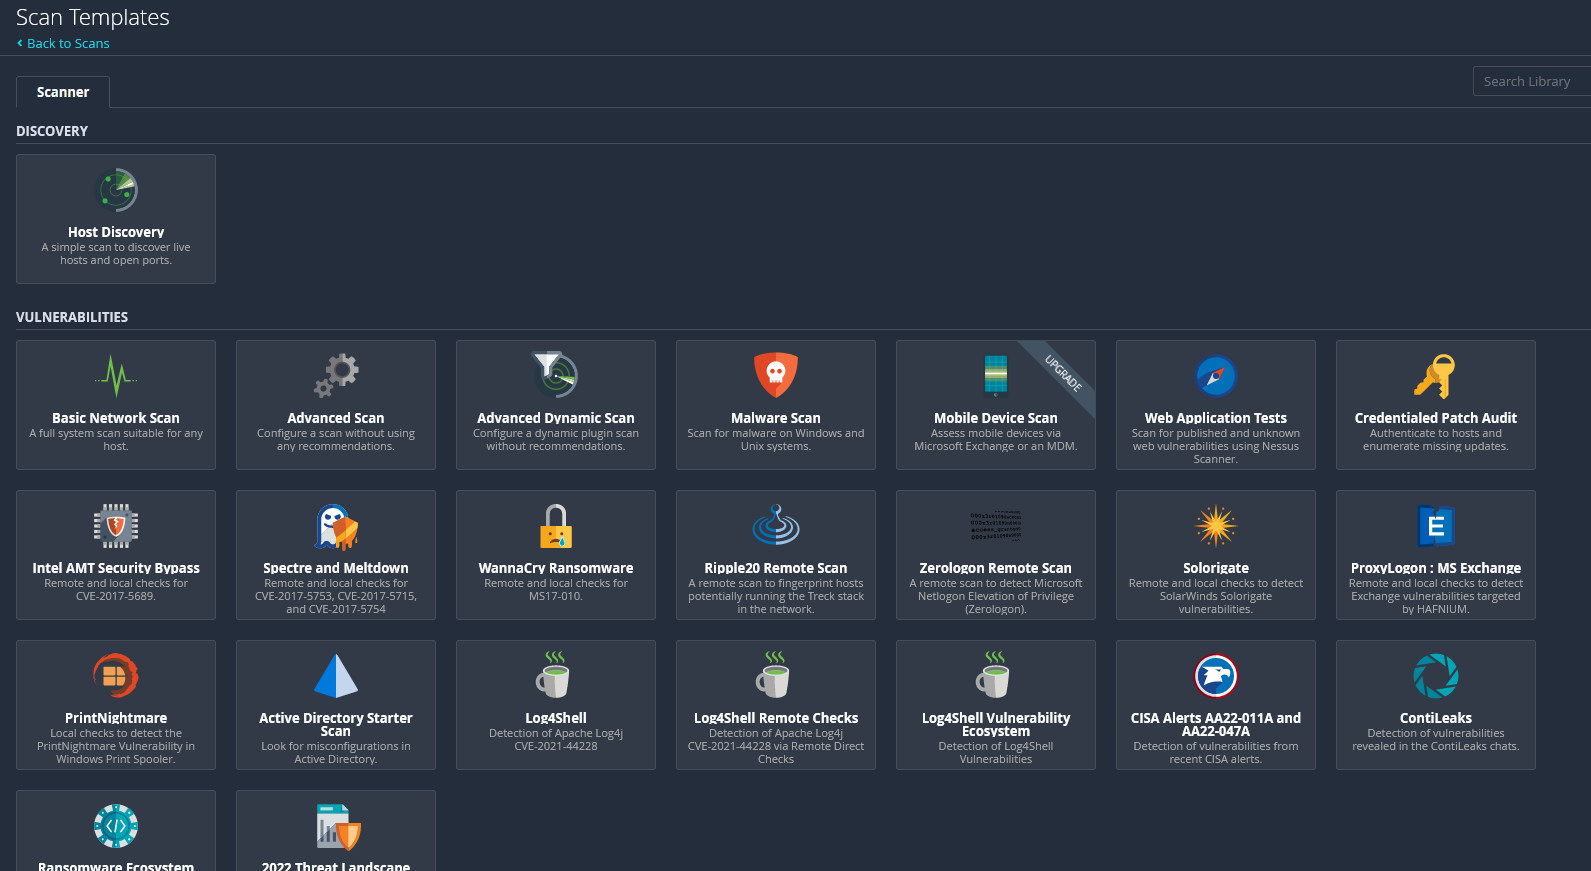
Nessus Essentials includes a wide variety of preconfigured templates. You will notice that some of them correspond to advanced features that require a license upgrade (like compliance audits or cloud scans), but the fundamental options for network and credential analysis are fully enabled.
Step 2: Select and Configure the Scan Template
For most local network audits, we will use the Basic Network Scan template, which performs a general analysis of active operating systems, open ports, and running services.
- Select the Basic Network Scan option from the templates menu.
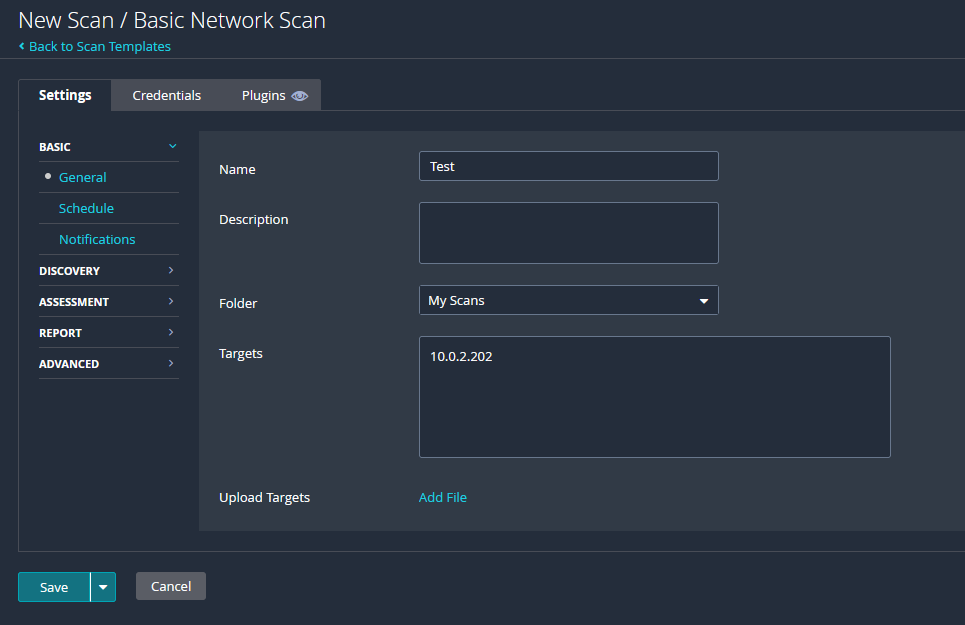
- Complete the basic details for the scan configuration:
- Name: A descriptive identifier for the scan.
- Description: Details about the scanned infrastructure.
- Targets: The target IP addresses or specific hosts you want to analyze. Keep in mind that Nessus Essentials limits the targets to a maximum of 16 IP addresses.
Step 3: Configure Target Credentials
Scans without credentials (black box or external scans) only analyze open ports and service banners. To obtain a complete report with internal software vulnerabilities and missing security patches, we must provide administrative credentials for the target hosts.
- Click on the Credentials tab in the top menu of the template.
- Select the corresponding authentication family (e.g., SSH for Linux/Unix systems or Windows for Active Directory/Workgroup environments) and input username and password credentials with sufficient privileges.
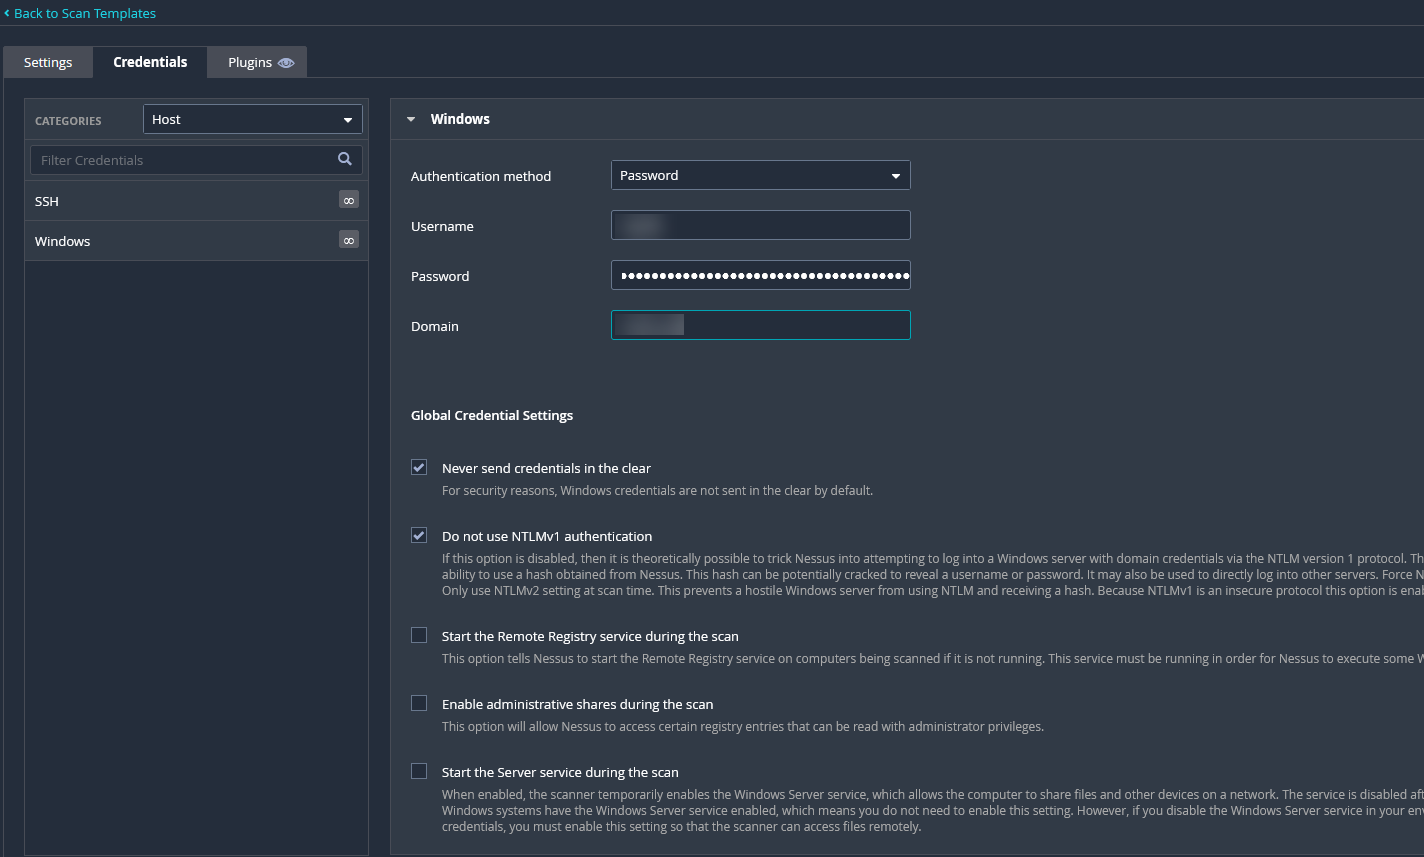
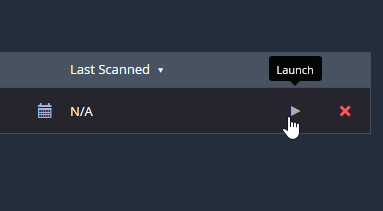
Save the scan configuration. Once saved, to launch the scan, click on the Launch icon represented by the play button next to the scan item.
Step 4: Monitor and Analyze Results
The scanning process can take several minutes as Nessus runs vulnerability tests based on current signatures. You can monitor the scan status and progress in real-time.

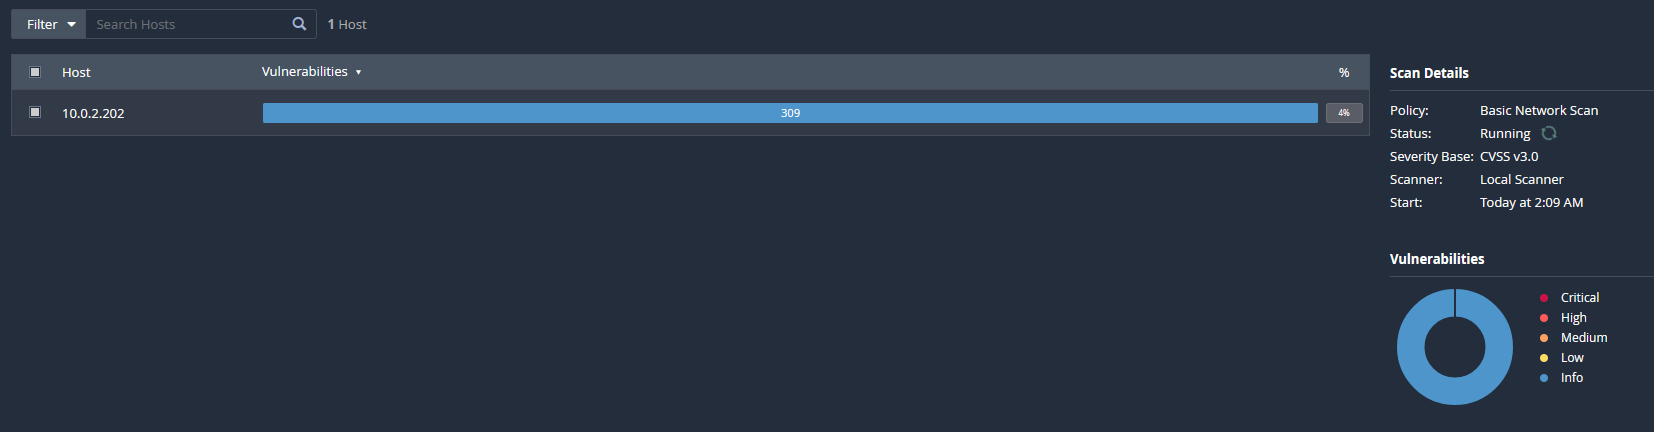
Upon completion, the dashboard will show a detailed chart segmented by severity level:
- Critical: Serious issues that demand immediate remediation (known active exploits).
- High: Significant security flaws that compromise the host.
- Medium / Low: Moderate risks or minor configuration issues.
- Info: Open ports and system information without direct risk associated.
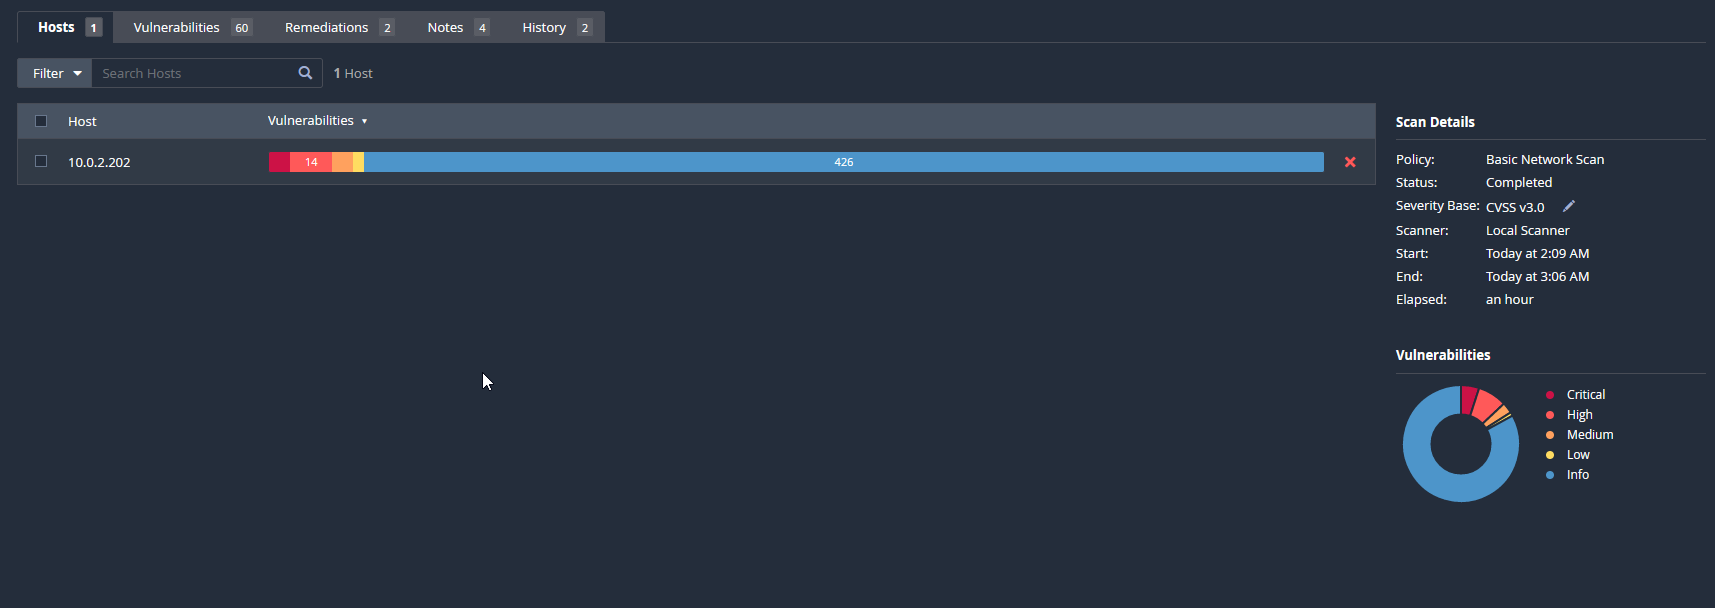
Clicking on the completed scan will let you browse the detailed list of detected vulnerabilities for each host.
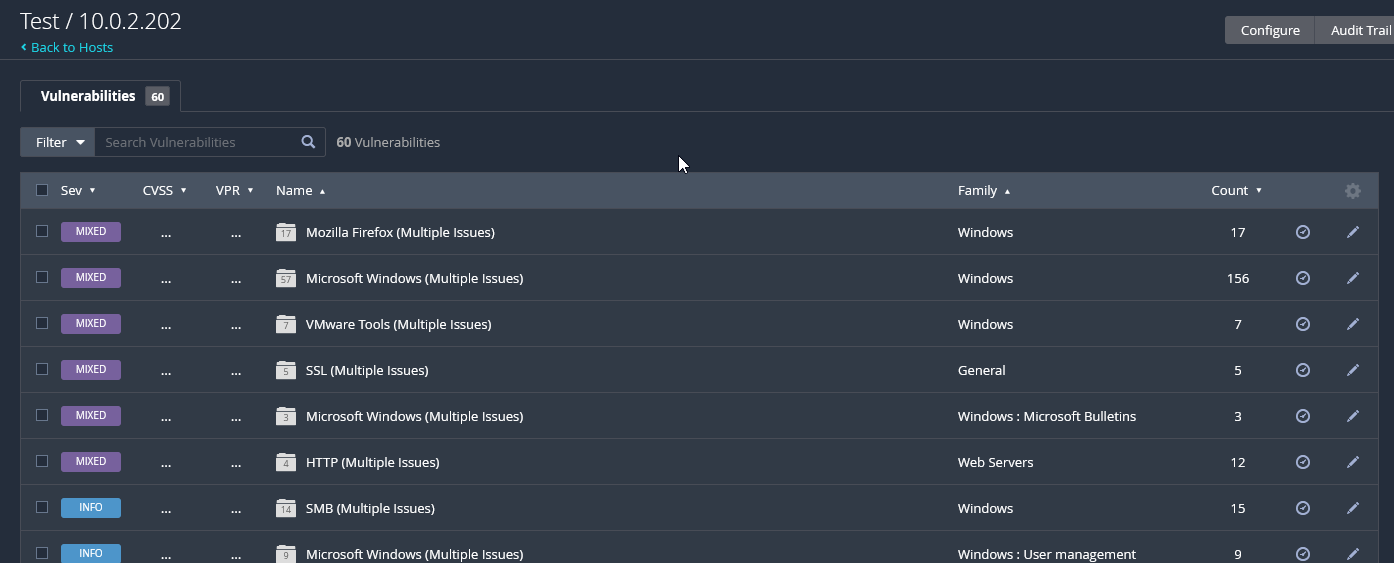
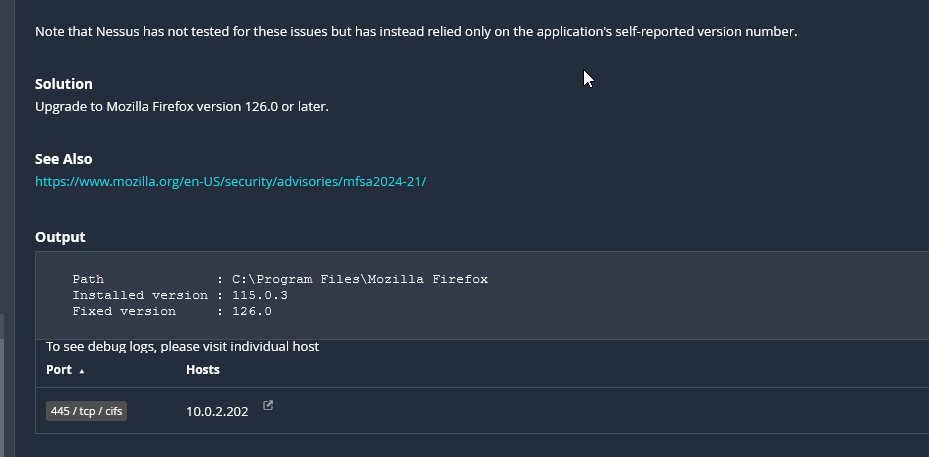
In this practical example, Nessus detected a medium-severity vulnerability due to an outdated Firefox browser version on the target server, recommending package updates.
Conclusion
Running periodic vulnerability scans is an essential practice in the security lifecycle. By using credentials in Nessus Essentials, we can simulate highly detailed internal audits to detect pending security patches and identify misconfigurations that could be exploited. Although the free version limits scans to 16 hosts, it is an excellent solution for auditing local parameters and laboratory networks, serving as a solid base for server hardening.