Managing DNS records for your personal domain or homelab can quickly become tedious if you have to constantly log into the official Cloudflare dashboard. Plus, the official dashboard exposes all your critical domain records (such as TXT, MX, DKIM, DMARC), which makes it easy to accidentally delete or modify something important.
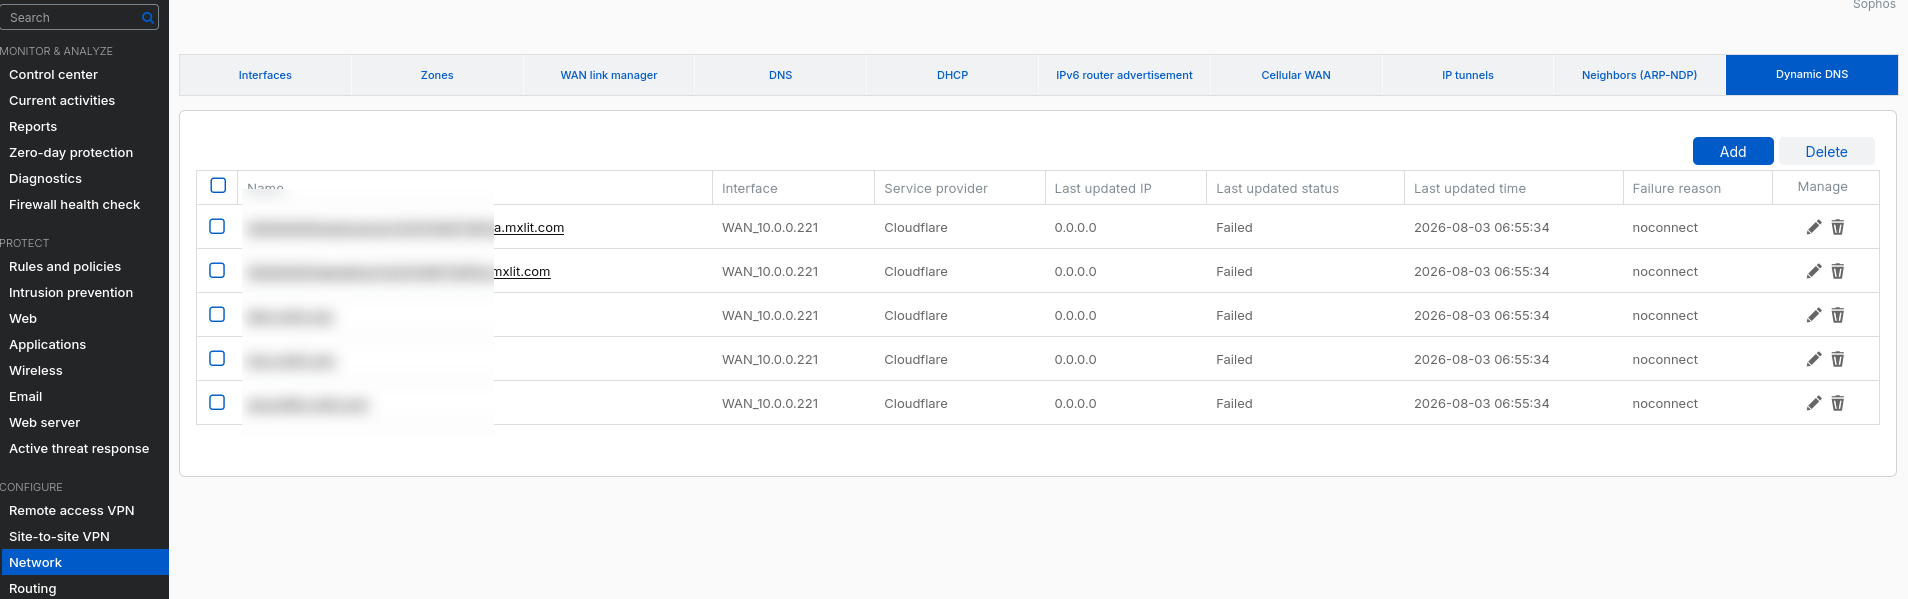
Additionally, there was the challenge of keeping the A records pointing to homelab services updated under a dynamic public IP address (provided by my ISP). For years, I relied on the built-in DDNS client of my Sophos firewall for this task. However, it suddenly stopped working recently because Sophos requires authentication using the Cloudflare Global API Key (along with the account email). Cloudflare has deprecated this legacy method and now recommends using API Tokens. Handing over your Global API Key (which basically gives full control over your entire Cloudflare account) to a third-party appliance is simply no longer a good security practice.
To solve both the exposure of critical records and the DDNS service failure, I decided to build my own Cloudflare DNS GUI: a small, self-hosted Dockerized web application (NodeJS + Vanilla JS) that uses the Cloudflare API to manage only the records I actually use every day (A and CNAME).
But beyond functionality, my main focus was security. I wanted to build this tool keeping Zero Trust principles in mind.
Below, I detail some of the security configurations I applied to the project.
1. Zero Trust: Action-Based MFA (Step-up Authentication)
The standard in many platforms is to prompt for your 6-digit code (Google Authenticator or Authy) at login, and from then on, blindly trust your session. Even Cloudflare operates this way.
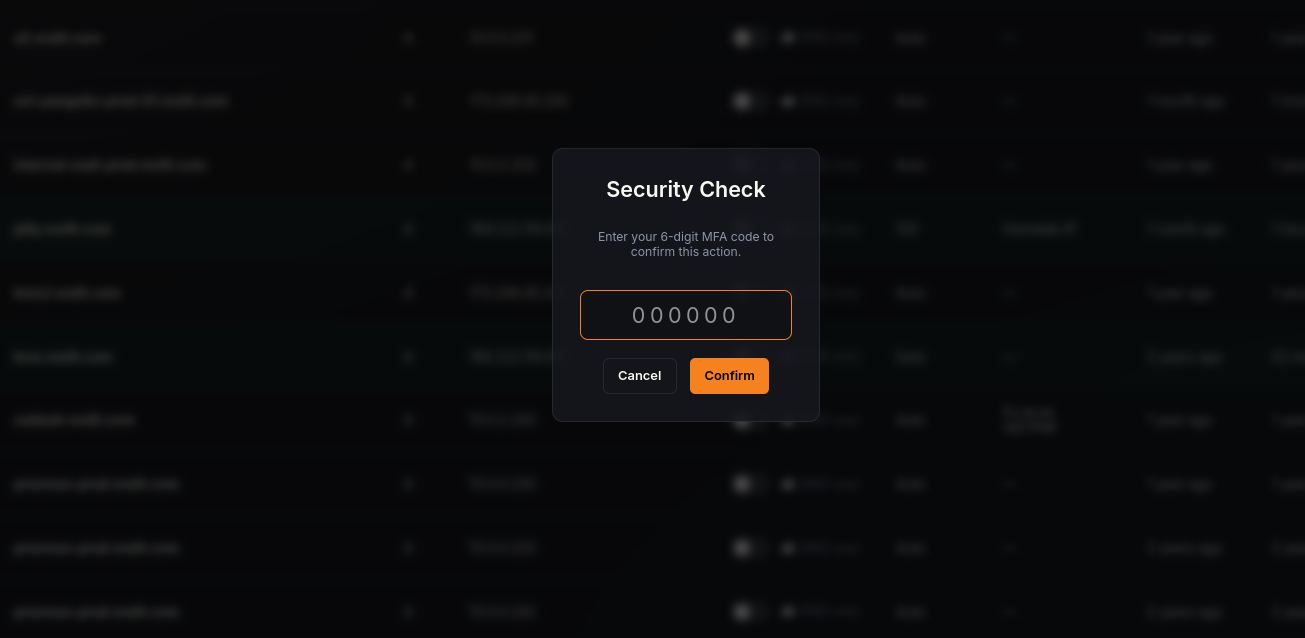
For this panel, I implemented Action-Based MFA (Step-up Authentication). If someone managed to hijack my session cookie, or if I just left my computer unlocked, they would be able to see the dashboard, but wouldn’t be able to make any changes.
Every time I attempt to Edit, Delete, or toggle the Proxy status of a record, the backend rejects the request unless I attach the current 6-digit code generated by my phone. This ensures that no one can modify the records without having physical access to my phone.
2. Principle of Least Privilege (PoLP) in the UI
An accidental click on a sensitive TXT or MX record can easily break your domain’s email configuration. Following the principle of least privilege, I designed the backend to simply filter out and hide anything that isn’t an A or CNAME record.
The application only works with these two record types. If the web panel were ever compromised, the impact is minimized because critical domain records aren’t even accessible from this interface.
3. Hard Session Expiration (Hard TTL)
Many portals keep your session alive as long as you keep moving the mouse. To avoid leaving sessions open longer than necessary, I implemented a strict 5-minute TTL:
- On the Frontend: A visual countdown timer shows the remaining time and forces a logout when it reaches zero, regardless of user activity.
- On the Backend: The
auth_tokencookie expires on the server after exactly 5 minutes. - There is no option to extend the session; the idea is to log in, make the DNS change, and exit immediately.

4. Rate Limiting and MFA Protection
Although the service runs on my private network and is not exposed to the internet, I protected the login endpoint against brute-force attacks using express-rate-limit. The server automatically blocks the IP after 10 failed login attempts.
I also added a feature where if someone (already authenticated) inputs an incorrect OTP code 3 times in a row while attempting a change, the session gets immediately destroyed as a precaution.
5. Docker Container Hardening (Non-Root User)
A common security mistake is running Docker containers as root. To avoid this, I configured the Dockerfile to use an unprivileged user named node (UID 1000).
# Create directory and transfer ownership
RUN mkdir -p /app/data && chown -R node:node /app
# Transition to unprivileged user
USER node
# Copied files must also belong to the 'node' user
COPY --chown=node:node server.js ./
COPY --chown=node:node public ./public
On the host, the permissions for the folder where the session database is stored (/app/data) are strictly mapped to UID 1000. This way, if a vulnerability in NodeJS were exploited to access the container, the attacker would just be stuck as an unprivileged user with no system permissions.
6. Built-in DDNS Engine
To stop depending on Sophos, I integrated a DDNS update script directly into the NodeJS panel. The workflow is very simple:
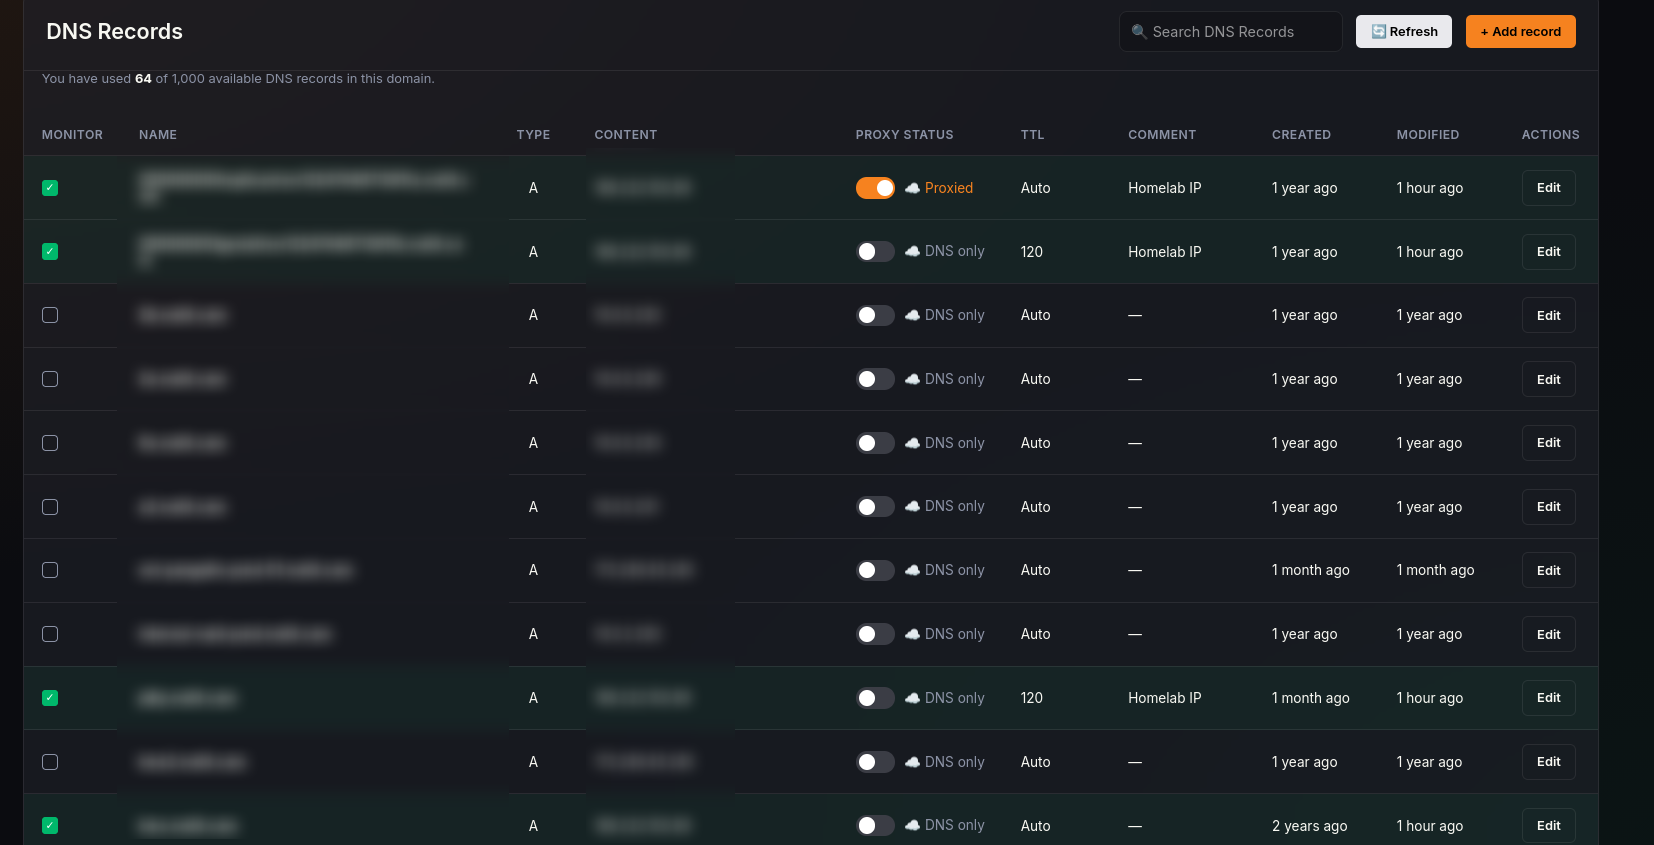
If I want a subdomain to always point to my home public IP, I just check the Monitoring box (which asks me to confirm with my MFA code).
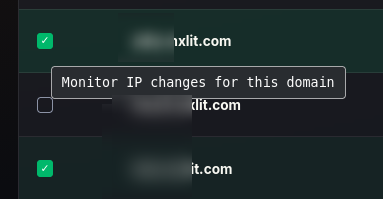
The backend periodically checks my public IP address. If it notices a change, it automatically updates the record in Cloudflare using an API Token that only has permissions to edit that specific DNS zone.
Any record being actively monitored is highlighted in green in the UI, making it easy to see which subdomains are linked to my home network.
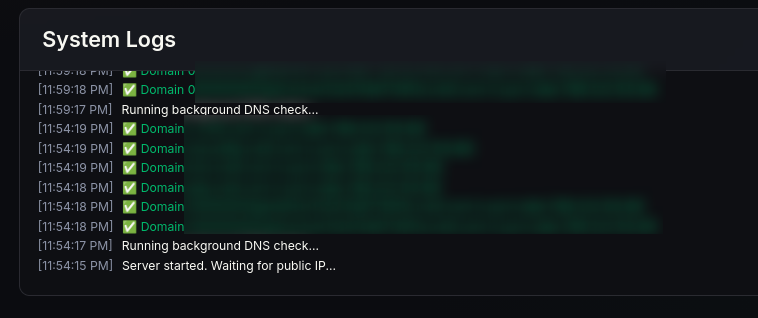
At the bottom, I added a System Logs area, where I can see a history of when my IP changed and if the DNS update was successful.
7. Quick Start
I’ve published the production-ready image on Docker Hub. You can find it here: mxlit/cloudflare-dns-gui on Docker Hub.
Option 1: Docker Compose (Recommended for Production)
The most secure method to prevent your passwords from being logged in your terminal history is to use Docker Compose with a .env file.
Create a file named
.envwith your secrets:API_TOKEN=your_cloudflare_restricted_api_token PASSWORD=your_secure_master_passwordCreate a
docker-compose.ymlfile:services: cloudflare-dns-gui: image: mxlit/cloudflare-dns-gui:latest container_name: cloudflare-dns-gui ports: - "3000:3000" env_file: - .env volumes: - ./data:/app/data restart: unless-stoppedRun it:
docker compose up -d
Option 2: Docker Run (Quick Start)
If you prefer a single command (Warning: your secrets will be saved in your terminal’s history file), you can pass them via -e flags:
docker run -d \
  --name cloudflare-dns-gui \
  -p 3000:3000 \
  -e API_TOKEN="your_cloudflare_restricted_api_token" \
  -e PASSWORD="your_secure_master_password" \
  -v /path/to/your/data:/app/data \
  --restart unless-stopped \
  mxlit/cloudflare-dns-gui:latest
Environment Variables
API_TOKEN: Create this in Cloudflare. It only needsZone.DNS(Edit) permissions for your specific zones.PASSWORD: The master password to log into the web interface.
Volumes
/app/data: Stores yourmonitored.json(DDNS targets) andmfa.json(your OTP secret). Ensure the host directory is owned by UID1000(chown -R 1000:1000 /path/to/your/data).
MFA Setup
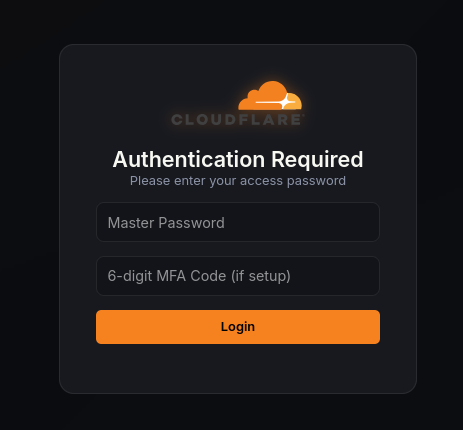
- Log into the panel with your
PASSWORD. - On your first login, a QR code will be displayed.
- Scan it with your Authenticator app.
- Input the code to verify. From then on, all destructive actions will require a token.
Conclusion
Developing custom tools for our Homelab doesn’t mean we should neglect security. By implementing action-based MFA, API tokens with reduced privileges, and properly securing containers, we can keep our self-hosted panels very secure.
What security measures or best practices do you apply to your self-hosted services?