
When deploying critical tools like ManageEngine’s ADSelfService Plus, infrastructure security must be the top priority. Exposing the ADSelfService server directly to the internet is generally poor practice, as it significantly increases the attack surface of your internal network.
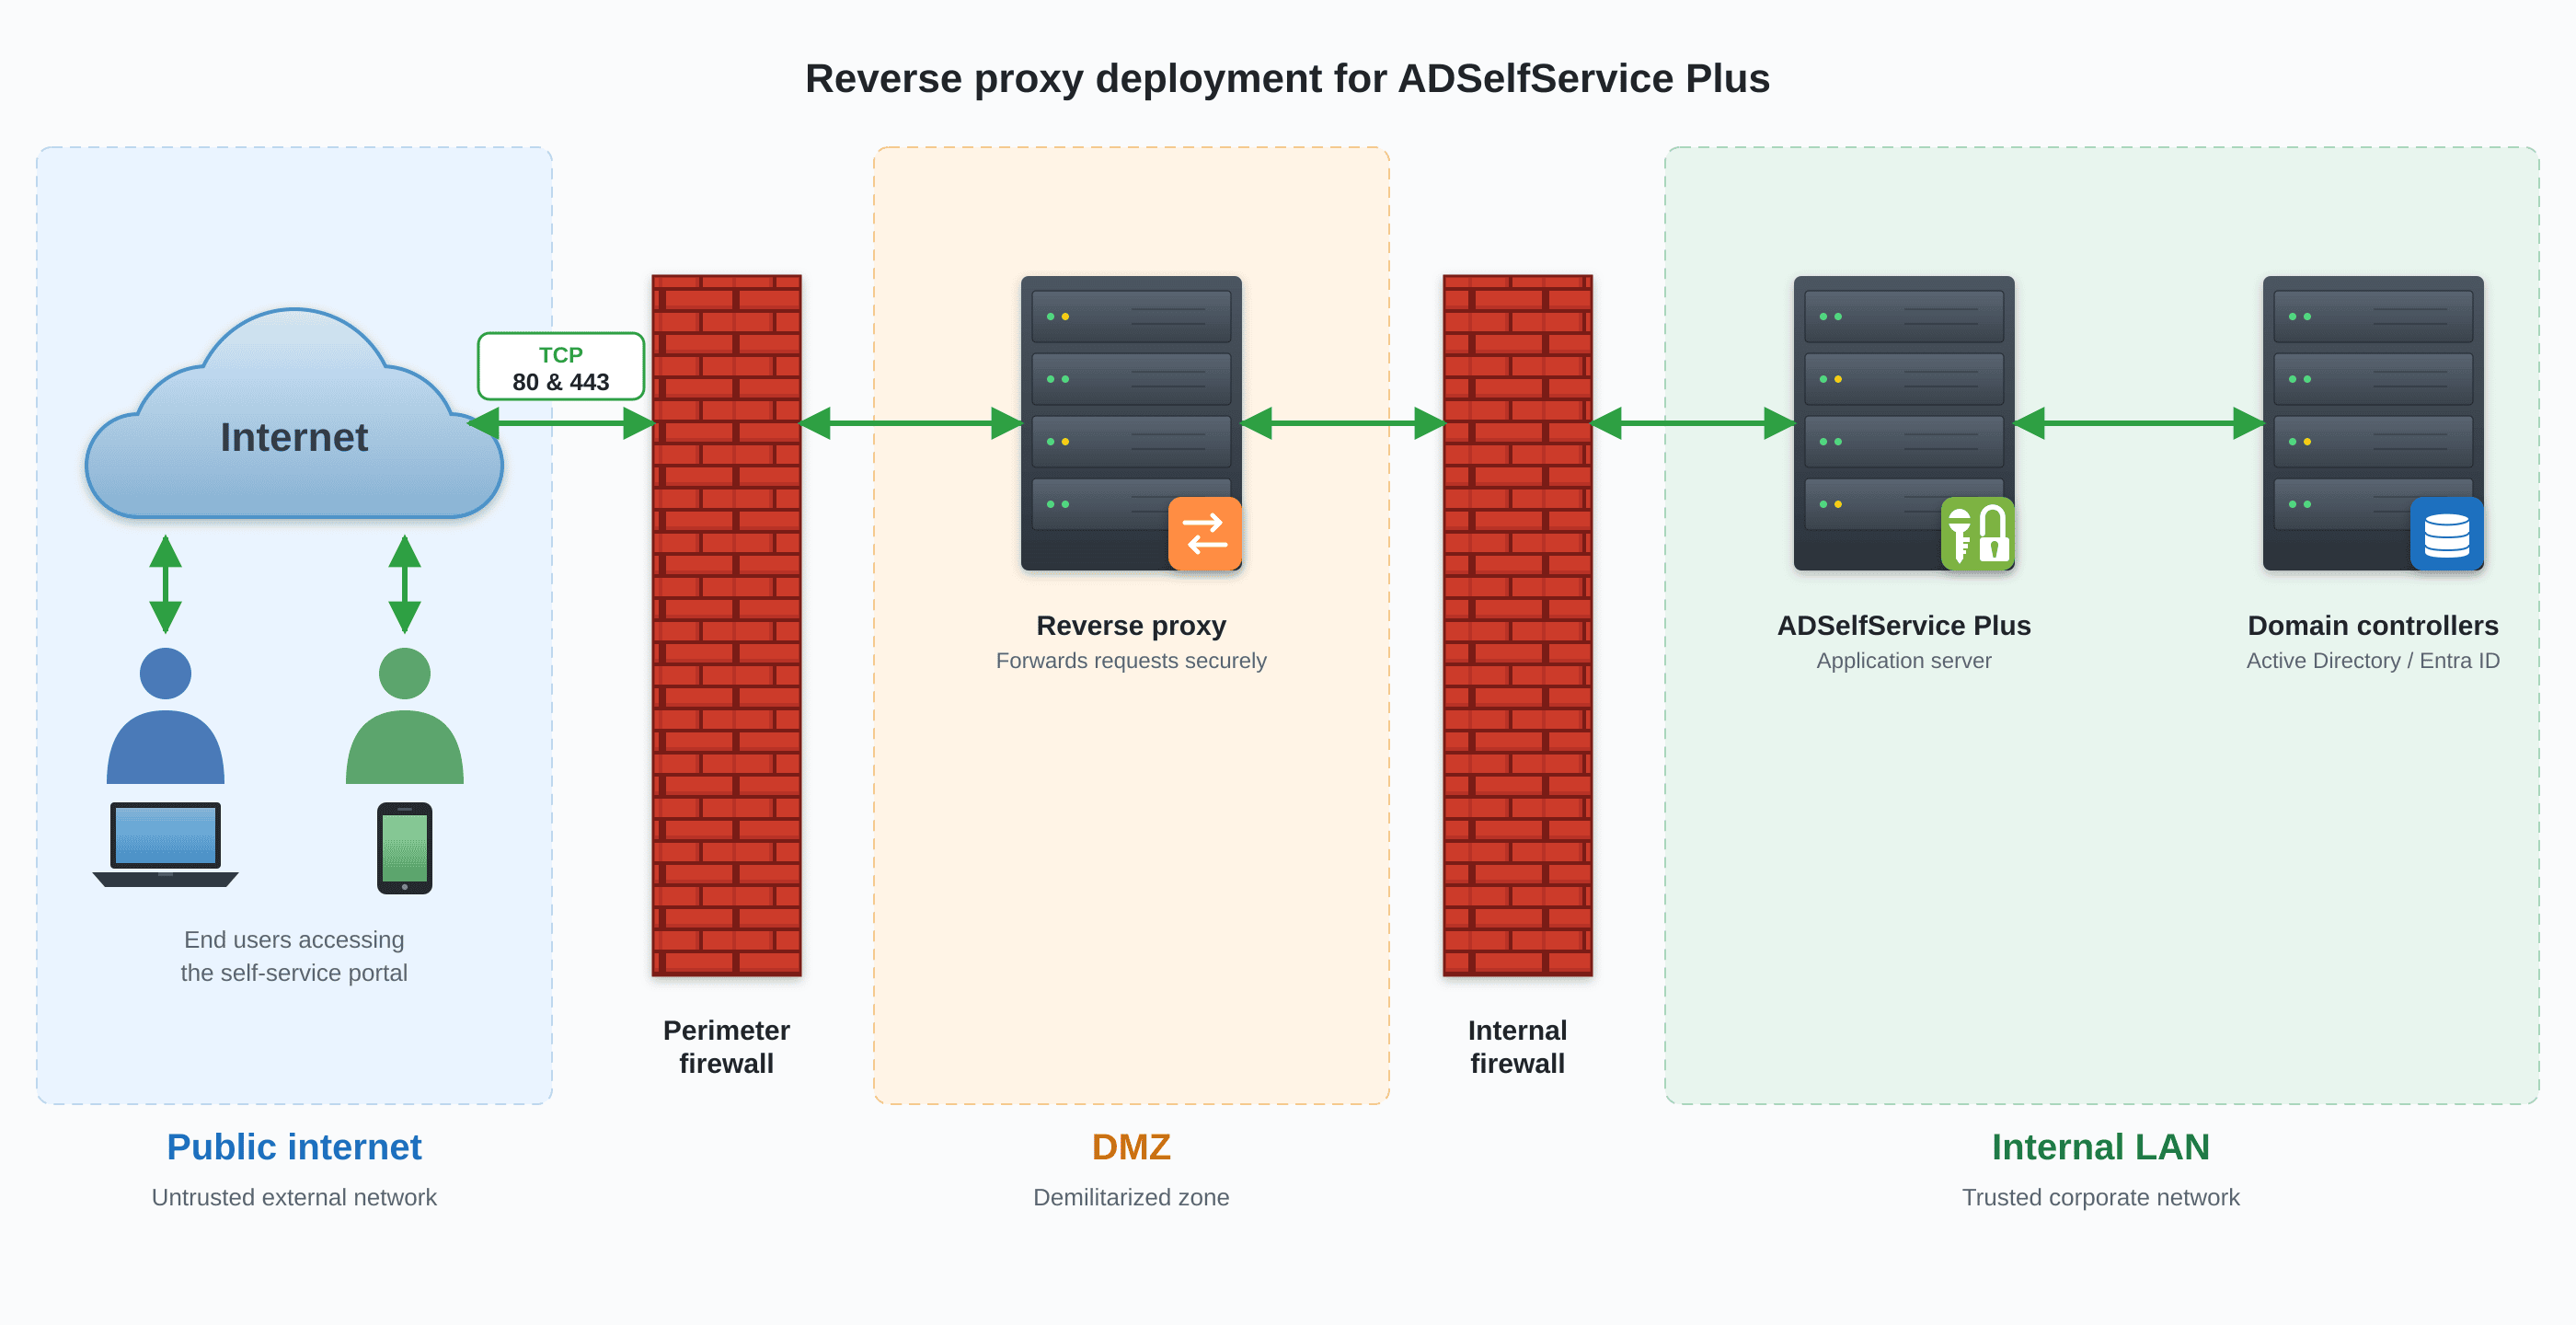
The best way to secure it is by placing a Reverse Proxy inside a Demilitarized Zone (DMZ). This way, internet traffic hits the isolated proxy first, and your firewall only allows this proxy to communicate specifically with the internal ADSelfService server on the required port, creating an essential protective barrier.
This guide is based on the official ManageEngine documentation. However, in practice, the official guide is incomplete. When deploying it, critical details regarding SSL certificate configuration and the Windows hosts file are missing, especially when the proxy is completely isolated in the DMZ without access to internal DNS servers. Below is a step-by-step guide on how to configure it correctly for a real-world production environment.
Recommended Architecture
As mentioned, the goal is to place the AD360 reverse proxy server in the DMZ while keeping the main ADSelfService Plus server protected within the internal network.
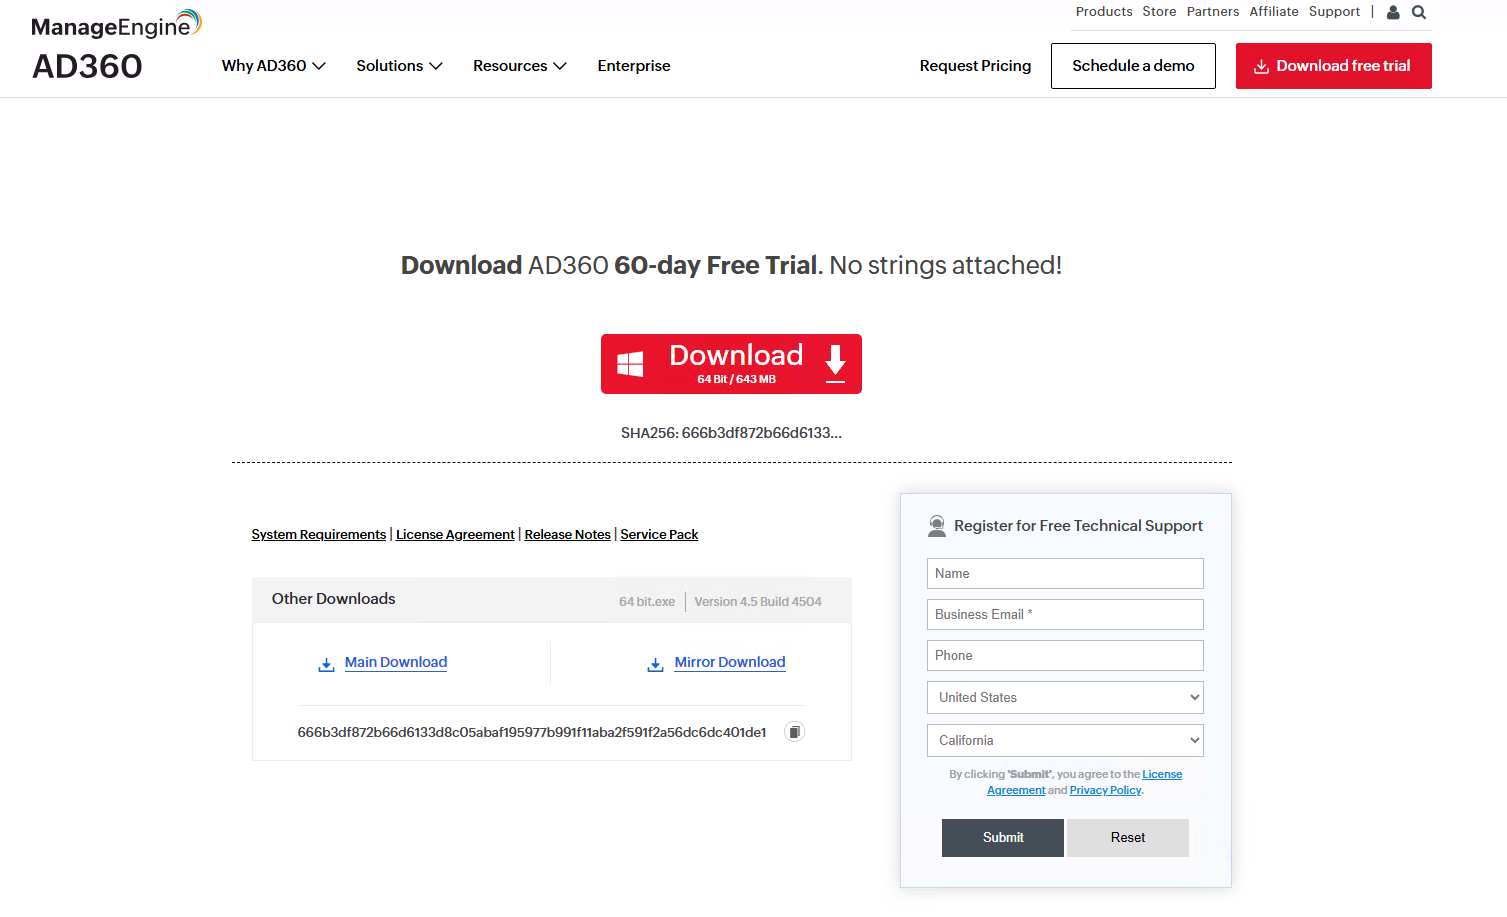
Step 1: Download & Install AD360
1. Download the Installer
Visit the official website, download the ManageEngine AD360 installer, and run it.
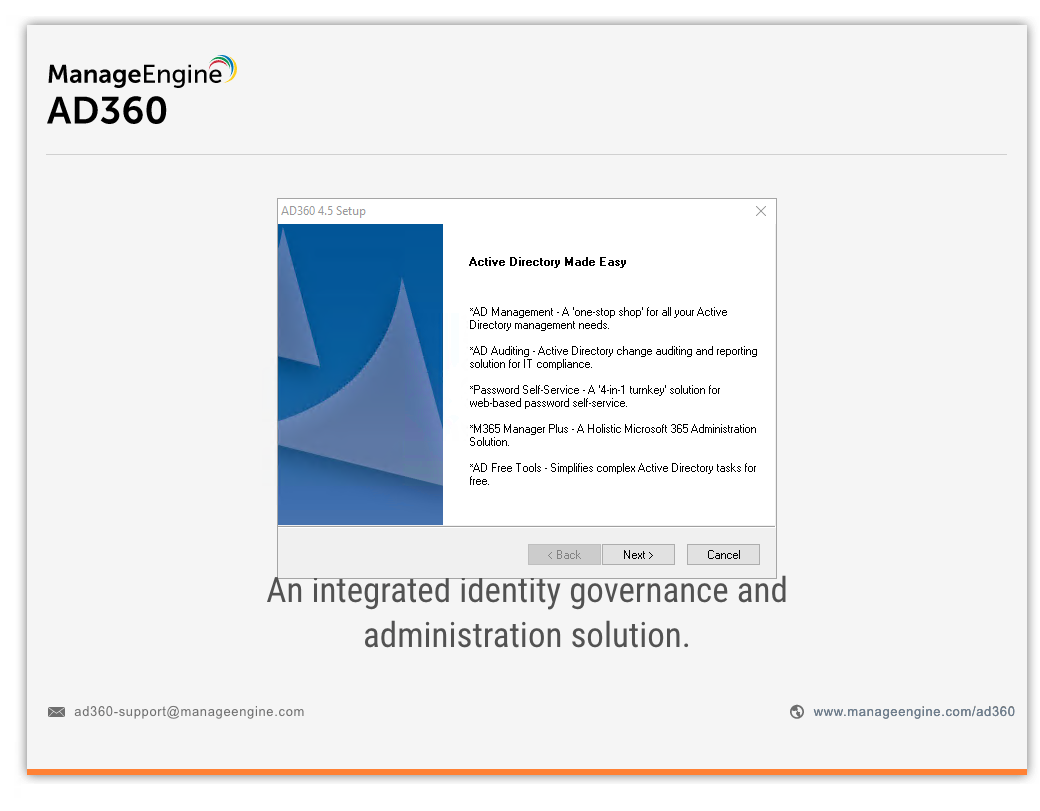
2. Click Next
Click Next.
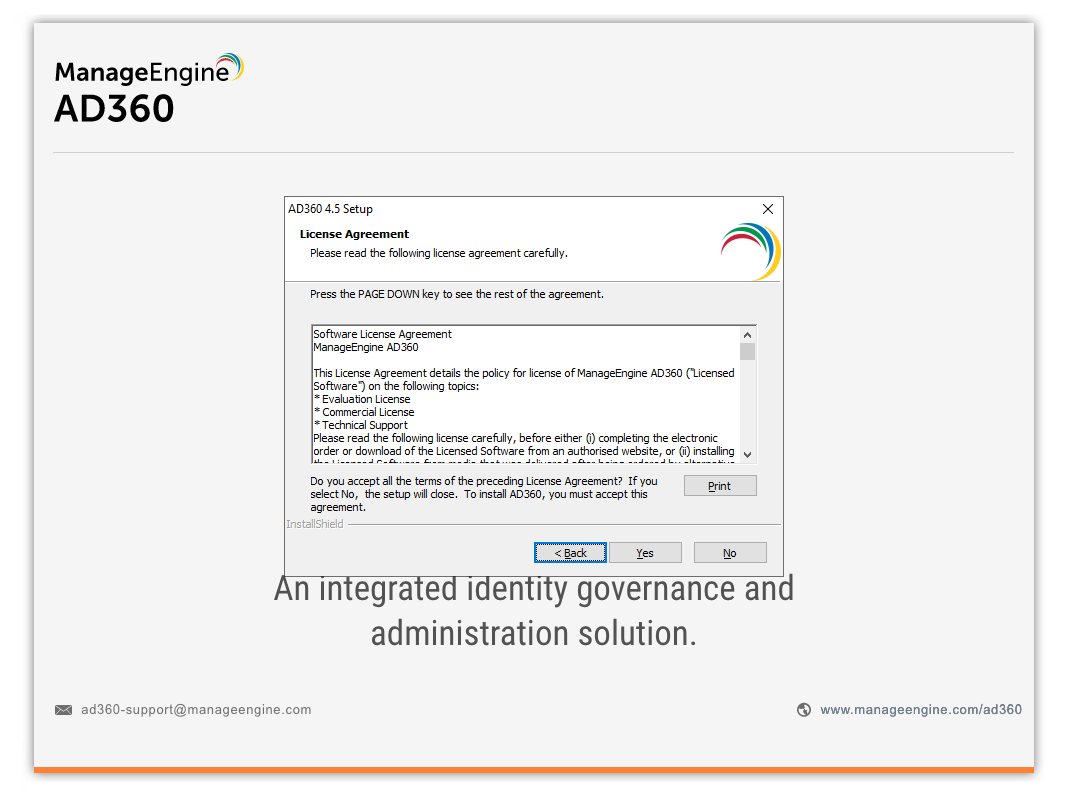
3. Accept EULA
Accept the End User License Agreement (EULA).
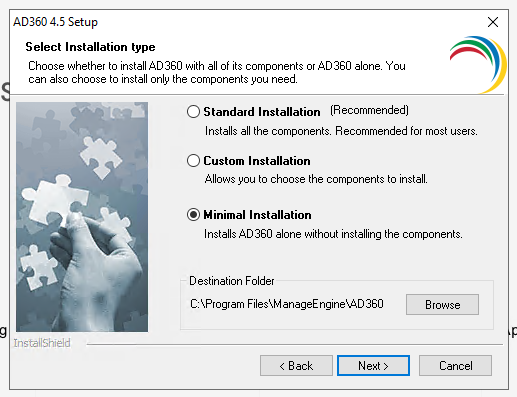
4. Select Minimal Installation
Attention here! Select Minimal Installation. Since this server will live in the DMZ, we only want the proxy component active. Discard all other services included in AD360. This not only saves hardware resources but drastically minimizes the attack surface by avoiding unnecessary services on an exposed network.
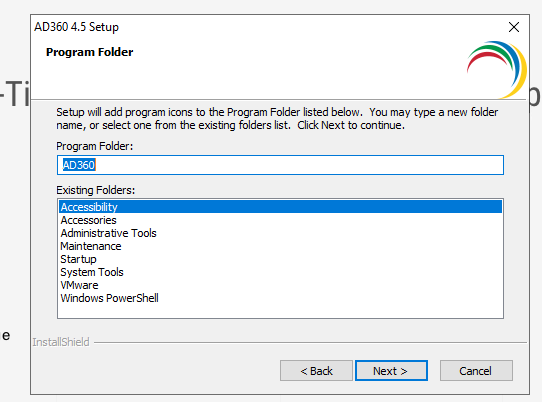
5. Select Installation Folder
Select the installation folder.
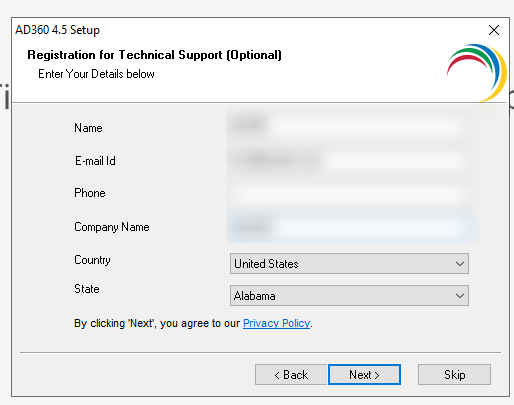
6. Support Registration
(Optional) Enter your details for technical support registration.
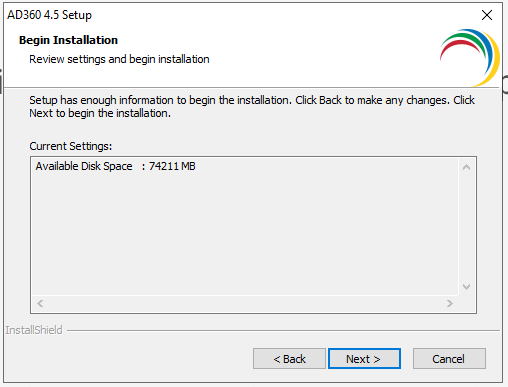
7. Continue Installation
Continue with the installation.
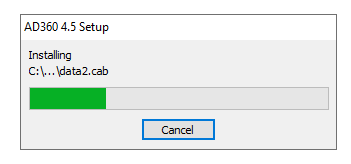
8. Wait for Completion
Wait for the process to finish.
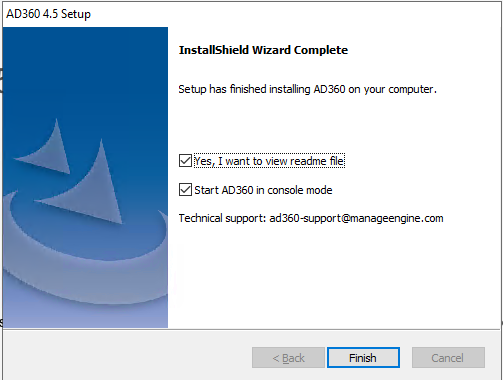
9. Complete Installation
Complete the installation.
Step 2: Initial AD360 Configuration
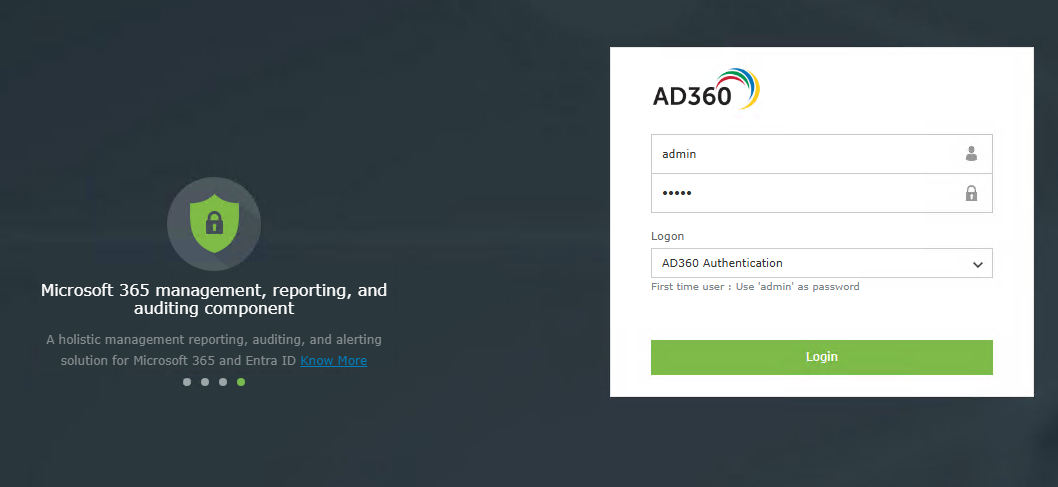
1. Log into AD360 Console
Once installed, log into the AD360 Console as an administrator at: http://127.0.0.1:8445
2. Integrate ADSelfService Plus
Navigate to Admin > AD360 Integration to integrate ADSelfService Plus.
At this point, you must enter the server name. Note: It is crucial to use the exact Access URL that users will use to resolve the page (e.g., adselfservice.yourdomain.com). Using an IP or an internal hostname will create conflicts later. Once filled out, click Integrate Now.
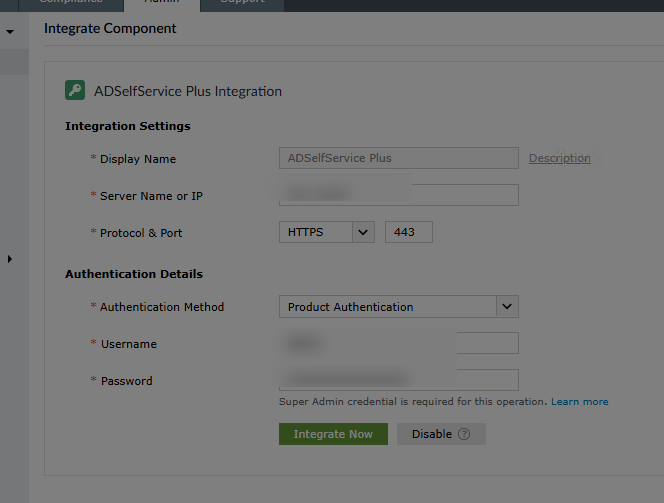
The Server Name field is highly sensitive. If you use an IP address instead of the public FQDN, you will break advanced security integrations. For example, with Duo Security, you’ll face this exact error if accessed by IP:
Invalid Access URL: You have accessed the ADSelfService Plus portal using IP address, which is prohibited for enrollment into Duo. Please log into ADSelfService Plus using the URL given by your administrator and try again.
Step 3: Configure the Reverse Proxy
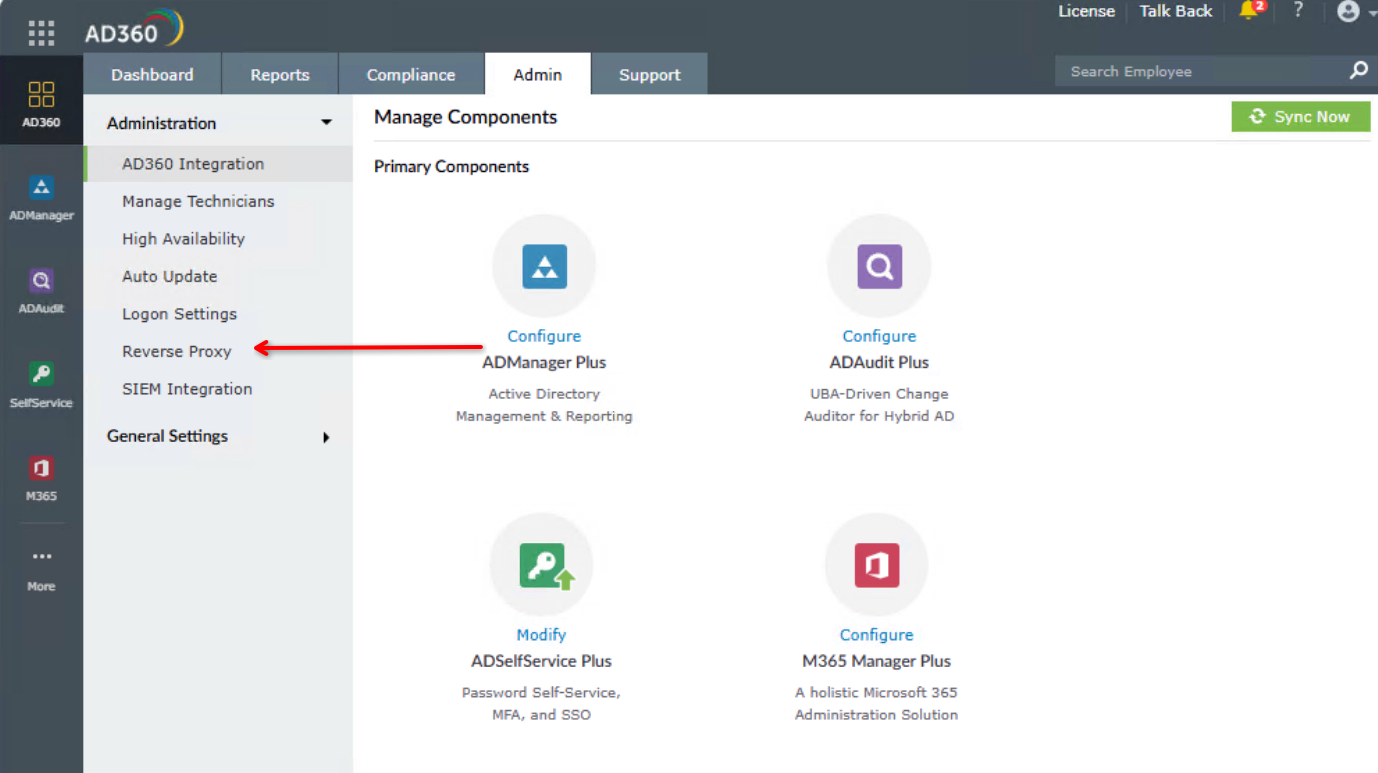
1. Access Reverse Proxy Settings
Navigate to Admin > Administration > Reverse Proxy.
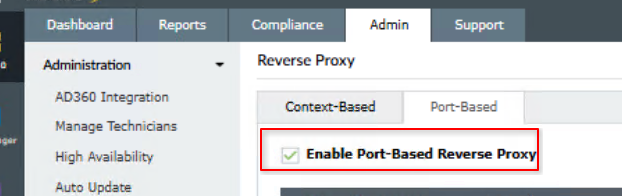
2. Ensure Port-Based Approach
Ensure you use the Port-Based approach rather than Context-Based.
The Context-Based mode would append a subdirectory to your URL (e.g., https://adselfservice.yourdomain.com/context), which is often confusing for users. Since we are using an isolated, dedicated proxy in the DMZ, the Port-Based mode allows us to serve the application cleanly at the root (/).
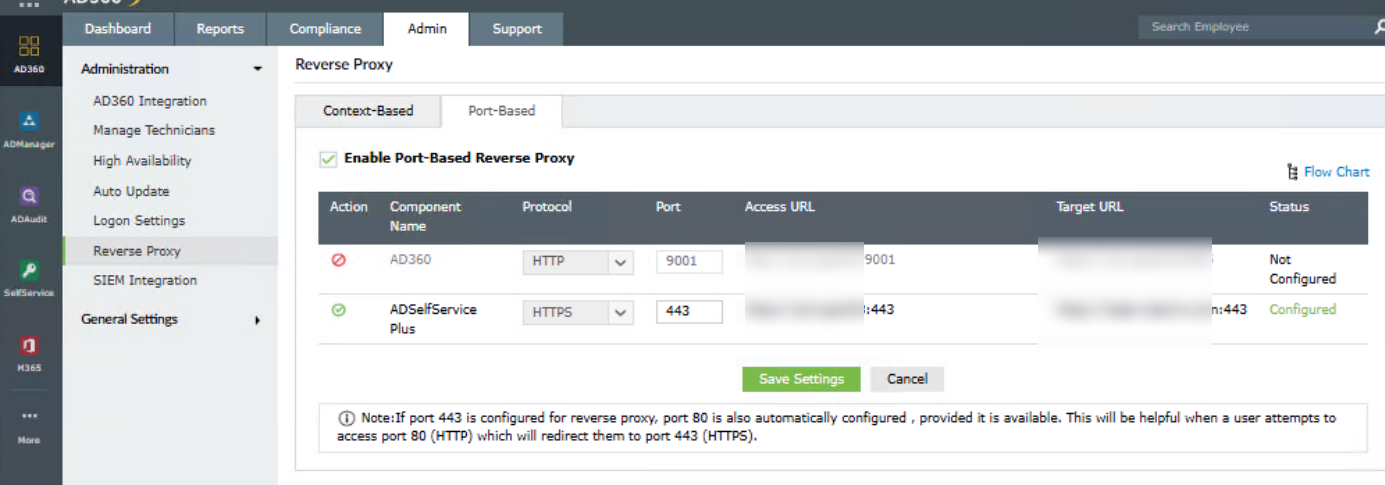
3. Define Protocol and Port
Define the protocol (HTTPS) and the port.
It is highly recommended to keep the port consistent on both ends. If your ADSelfService runs on port 443, your Access URL on the proxy should also be 443. This prevents mismatches within the ManageEngine mobile app and stops users from having to type strange ports into their browsers.
4. Save Changes
Save your changes.
Step 4: The Hosts File (The missing link)
This is a crucial step when your DMZ server is fully isolated.
Being in the DMZ, off the domain, and without access to internal domain controllers, the proxy server will be unable to resolve the adselfservice.yourdomain.com DNS name. If it can’t resolve it, it won’t know where to forward the traffic.
To fix this, we rely on the infallible hosts file.
1. Edit the Hosts File
Open Notepad as an administrator and edit the file at C:\Windows\System32\drivers\etc\hosts.
2. Hardcode the IP Address
Hardcode the real internal IP of the ADSelfService server, pointing it to the public domain name.
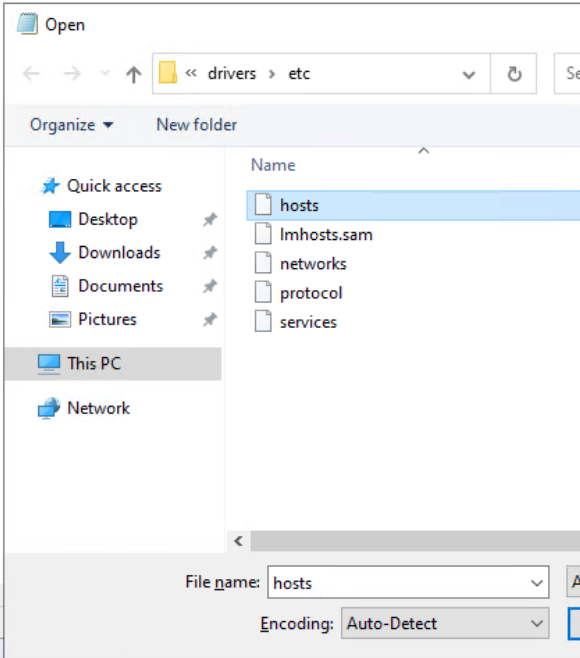
This forces the proxy to route the traffic correctly.
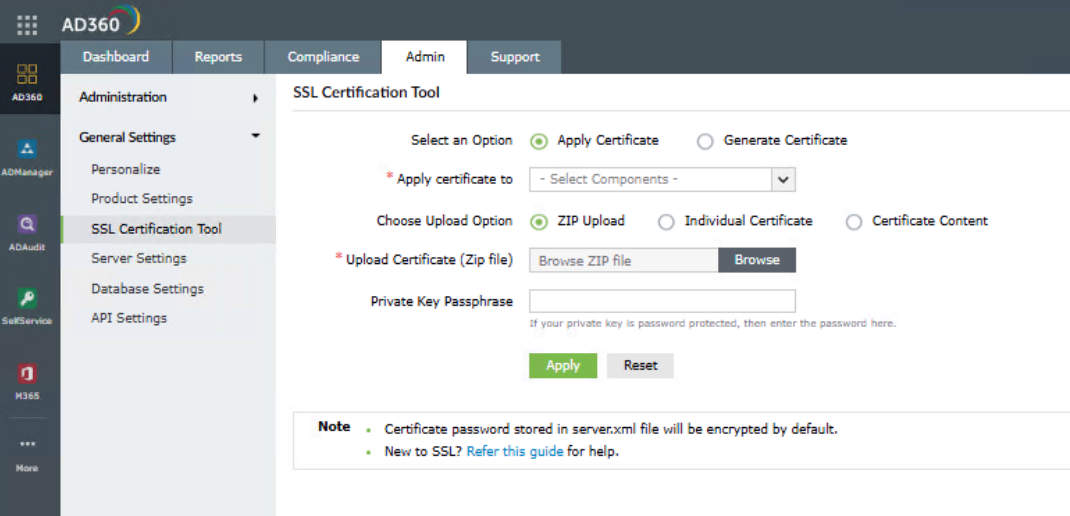
Step 5: Apply the SSL Certificate
Another vital point: if you skip applying the SSL certificate on the proxy, all external requests will throw certificate security errors in the browser.
1. Access SSL Certification Tool
Go to Admin > General Settings > SSL Certification Tool.
2. Apply Certificate
Apply your certificate (CRT and Key, or PFX) so it applies to both AD360 and the proxy pointing to ADSelfService Plus.
Step 6: Configure server.xml in ADSelfService
Finally, ADSelfService needs to know the user’s real IP (instead of the Proxy’s IP) so audit logs are actually useful for troubleshooting.
To add the reverse proxy server’s IP address:
1. Locate the Conf Folder
Go to your main ADSelfService server and open the conf folder (default: C:\Program Files\ManageEngine\ADSelfService Plus\conf).
2. Open server.xml
Open the server.xml file using a text editor.
3. Locate RemoteIpValve Section
Locate the following commented section:
<!--Valve className="org.apache.catalina.valves.RemoteIpValve" remoteIpHeader="x-forwarded-for" proxiesHeader="x-forwarded-by" requestAttributesEnabled="true" internalProxies="127\.0\.0\.1|0\:0\:0\:0\:0\:0\:0\:1"/-->
4. Modify internalProxies
Uncomment the line and modify the internalProxies value to your AD360 (Proxy) server’s IP:
<Valve className="org.apache.catalina.valves.RemoteIpValve" remoteIpHeader="x-forwarded-for" proxiesHeader="x-forwarded-by" requestAttributesEnabled="true" internalProxies="<AD360_PROXY_IP>"/>
5. Restart Service
Save the file and restart the ADSelfService Plus service.
With these changes, the proxy will correctly forward the clients’ real IP addresses.
Conclusion
Implementing a reverse proxy with AD360 in a DMZ is the official and secure way to expose ADSelfService. However, it requires extra steps—like modifying the hosts file and the Tomcat configuration—that the original documentation doesn’t detail thoroughly.
In a future post, we’ll explore how to achieve a similar concept using Cloudflare Tunnels. That alternative doesn’t require extra licensing (reducing the additional costs incurred by the AD360 proxy setup), avoids opening inbound firewall ports entirely, and allows for deeper Zero Trust policies, such as outright blocking access to the /admin portal from the cloud.