
On the journey to creating a truly immutable and ransomware-proof backup architecture, storage plays a foundational role. After configuring the iSCSI target in TrueNAS, the next step is connecting this volume directly to our Veeam Infrastructure Appliance. In this article, we will explore how to securely integrate block storage using Zero Trust principles, leverage MPIO (Multipath) configuration to achieve network-level redundancy, and format the disk with the XFS file system to maximize performance via Fast Clone technology. All of this will be done while operating under the strict “Four-Eyes Authorization” rule to ensure no destructive action goes unnoticed.
1. Configuring the Storage Network Interfaces
Before initiating the iSCSI connection, it is mandatory to configure the dedicated storage network interfaces on the Veeam Appliance. These interfaces must have static IP addresses that perfectly match the “Authorized Networks” whitelist we configured in TrueNAS.
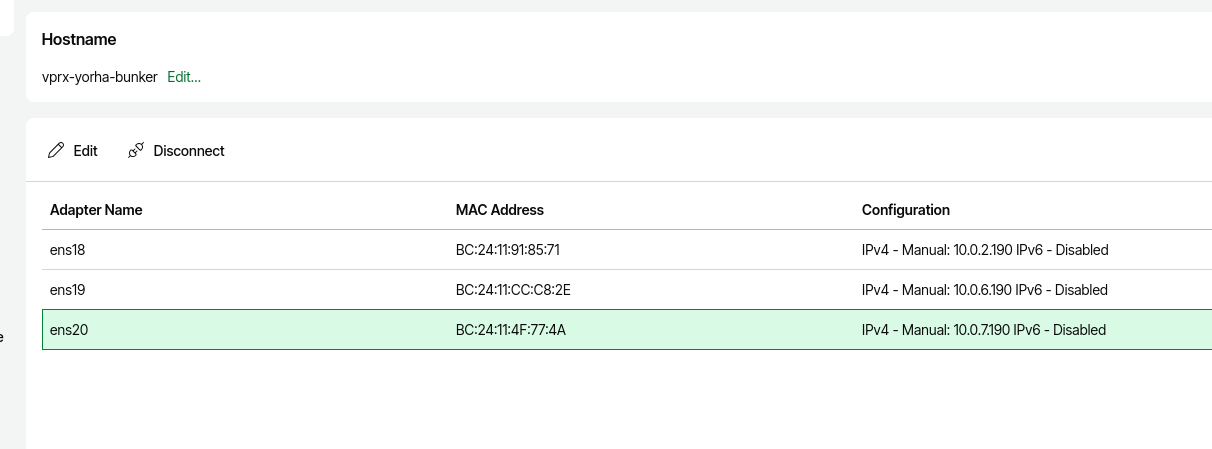
Access the Veeam Host Management Console. Go to Network and ensure that the adapters dedicated to storage (e.g., ens19 and ens20) are configured with their respective static IPs (e.g., 10.0.6.190 and 10.0.7.190). This guarantees that TrueNAS will accept the incoming iSCSI connections.
2. Initiating the iSCSI Storage Configuration
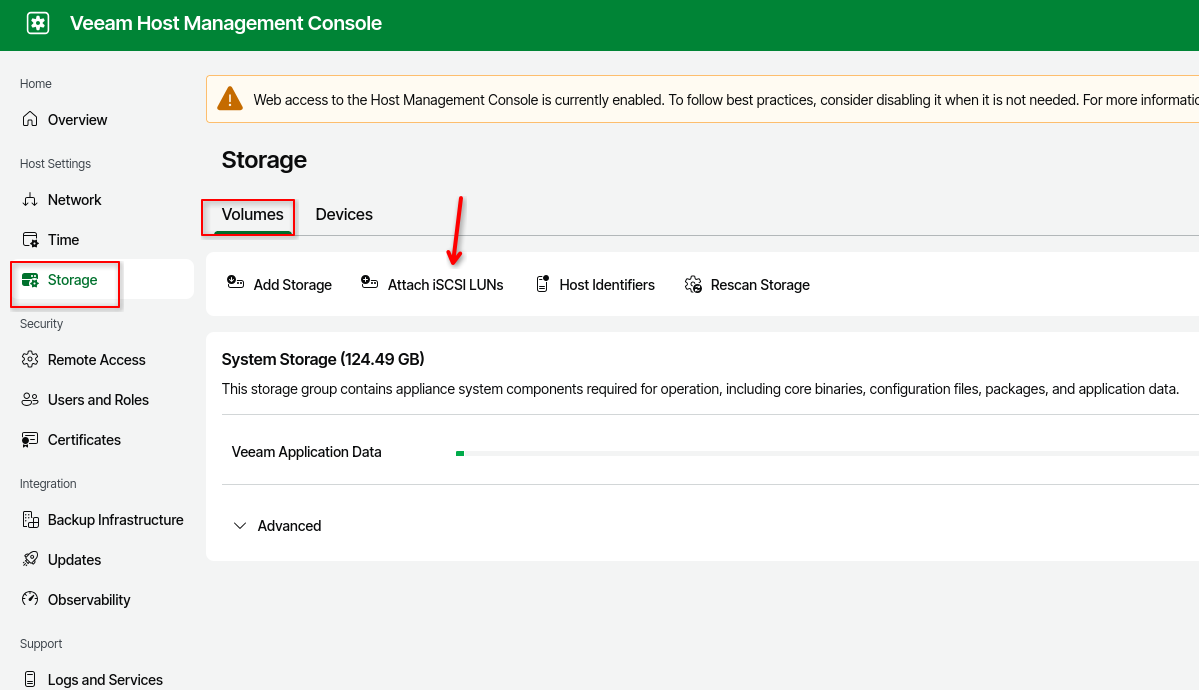
To begin adding our immutable disk, navigate through the main menu to Storage > Volumes > Attach iSCSI LUNs.
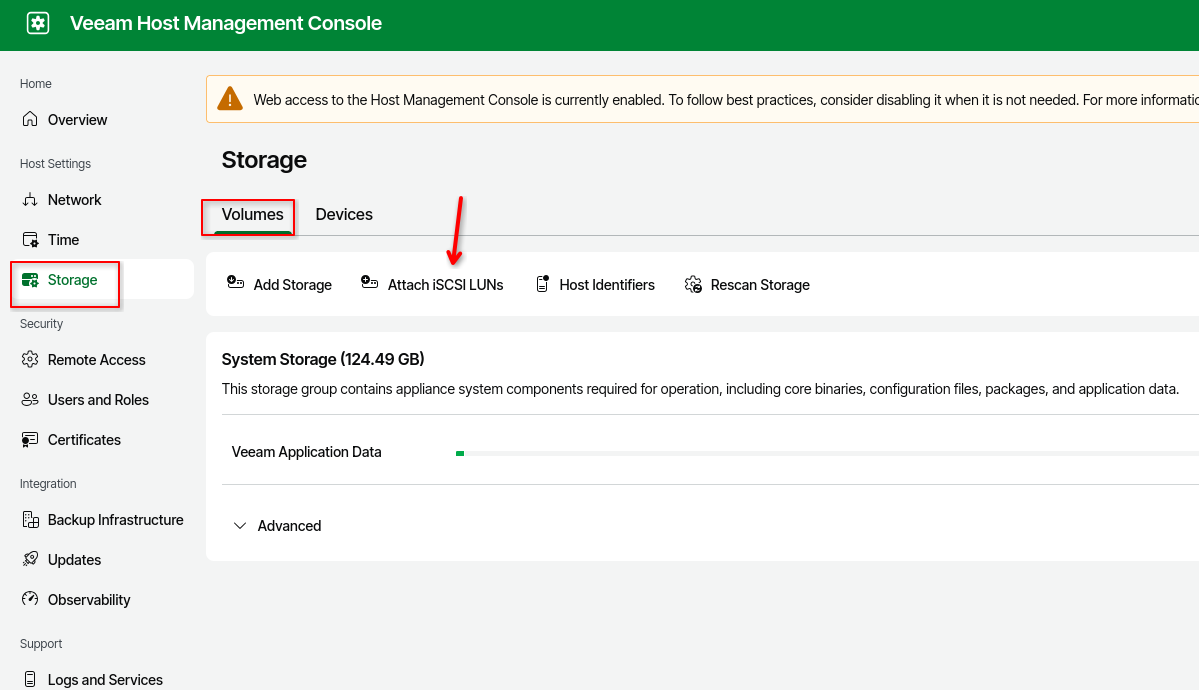
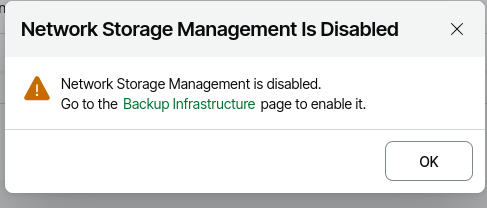
By default, network storage administration is disabled for security reasons. Go to the Backup Infrastructure section in the main console to enable it.
3. Security Officer Authorization (Four-Eyes Rule)
Even if you are logged in with the administrator account, critical changes to the backup infrastructure require additional authorization. This is the practical application of the “Four-Eyes Authorization” rule we mentioned in previous posts, designed to prevent insider threats or compromised accounts. Click on Submit Request to initiate the approval process.
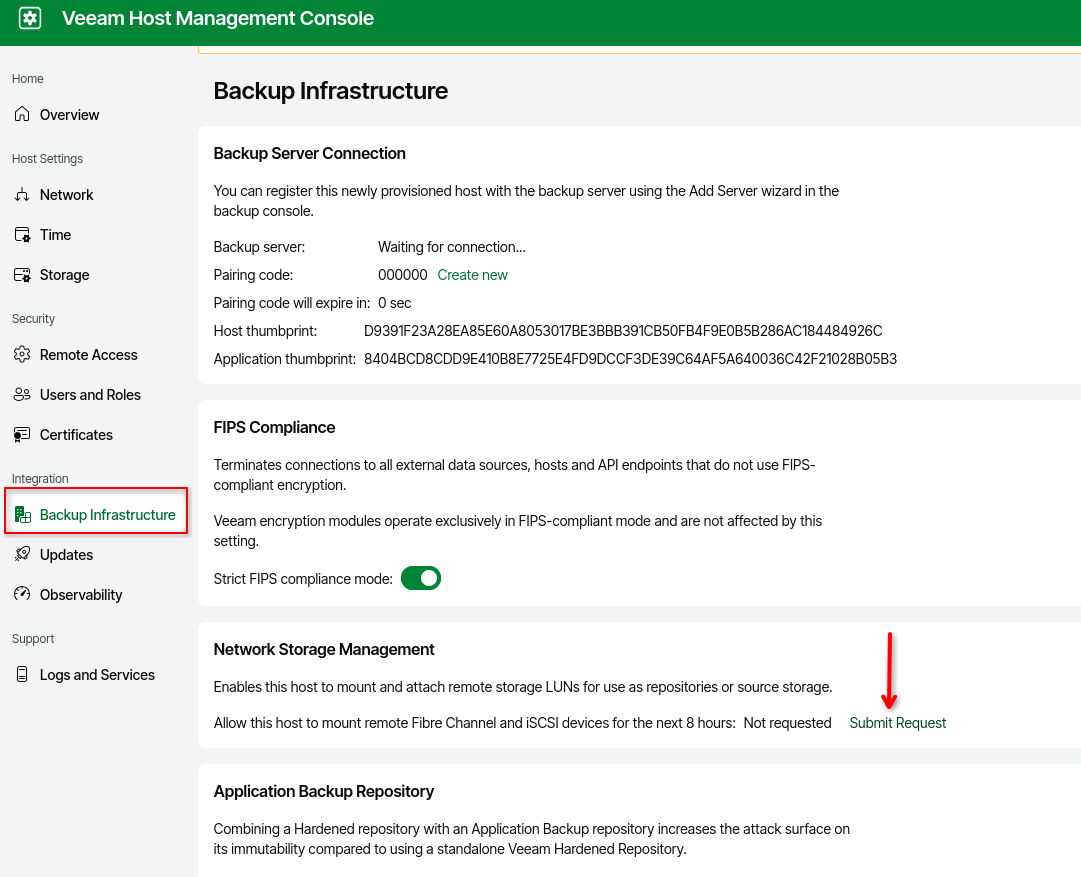
A formal request will be sent to be reviewed and approved by the Security Officer.
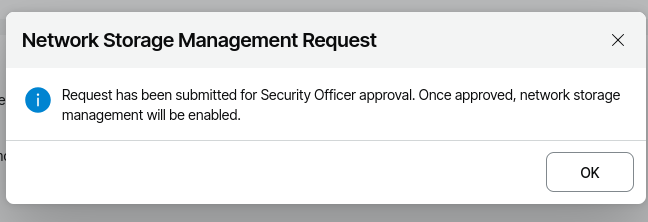
4. Request Approval
Log out of the current session and log in with the Security Officer account (e.g., veeamso).
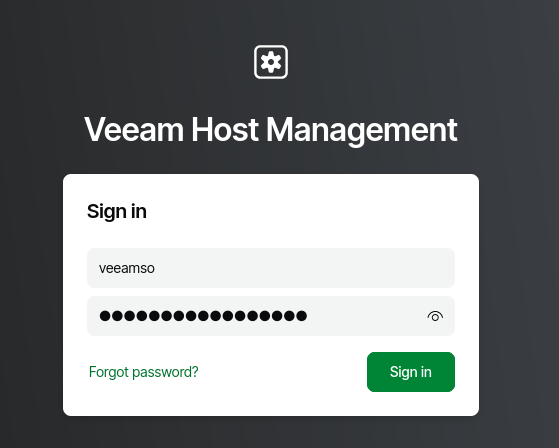
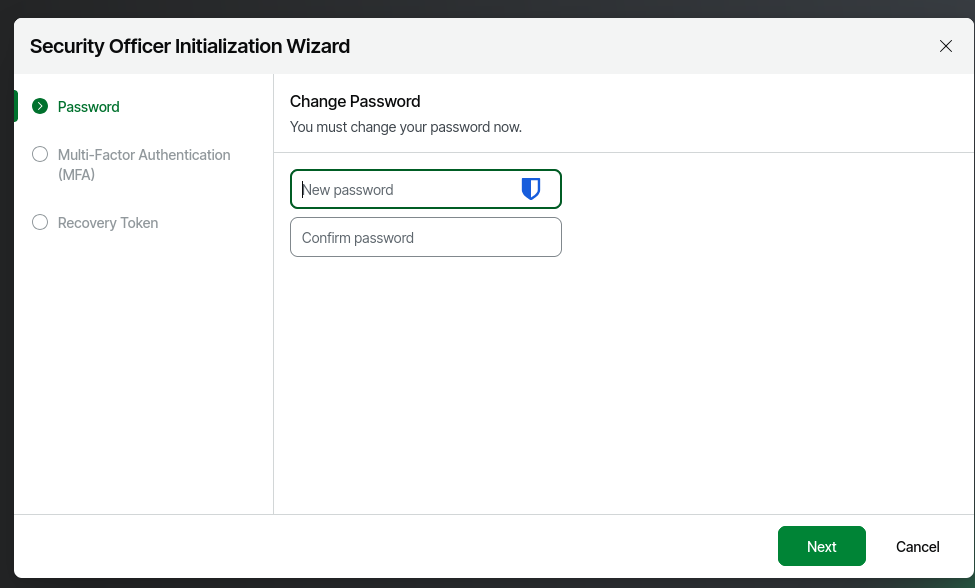
Upon the first login, the system will prompt you to change the default password.
Immediately after, you will be required to activate Multi-Factor Authentication (MFA) by scanning the QR code with your authenticator app.
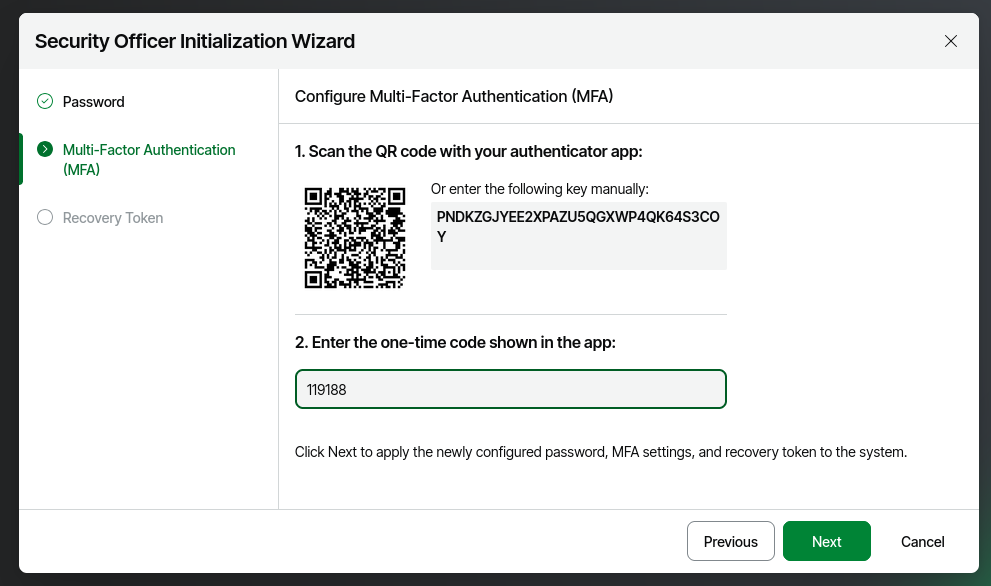
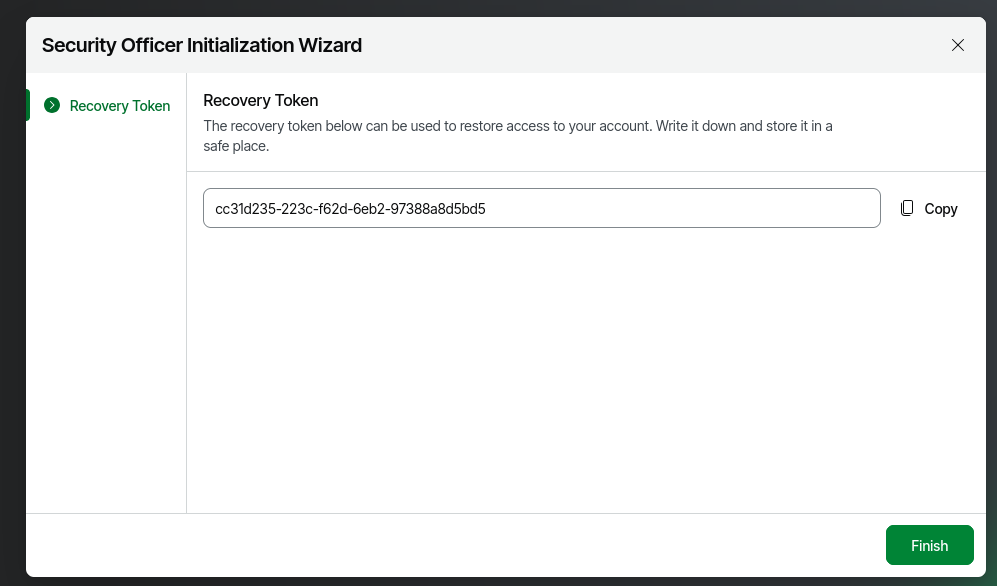
Keep the Recovery Token in a safe place. If you lose access to your MFA app, this token will be your only way to regain access to the Security Officer account.
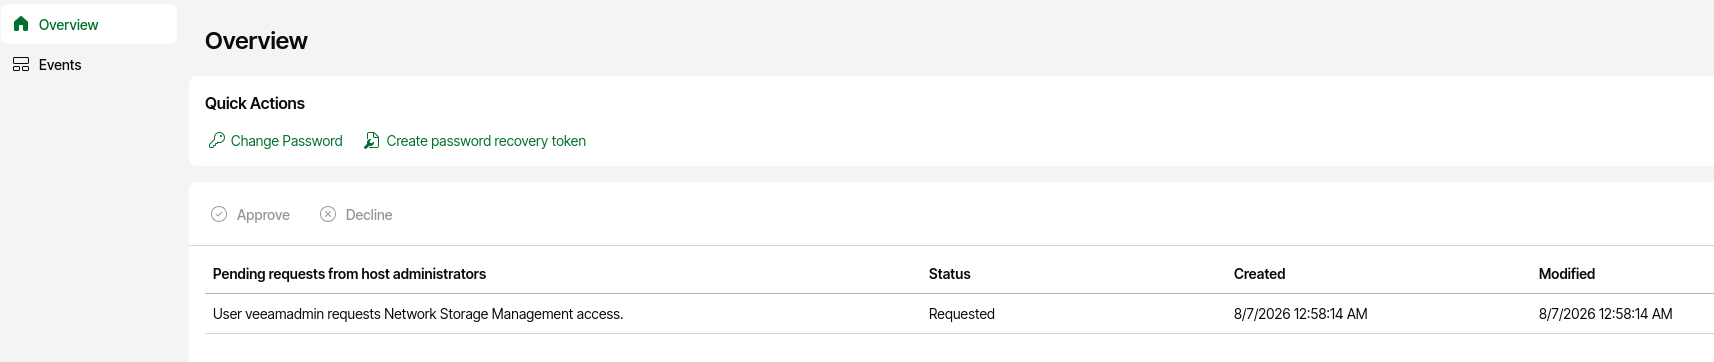
Once inside the Security Officer console, you will see the Pending Requests on the main dashboard.
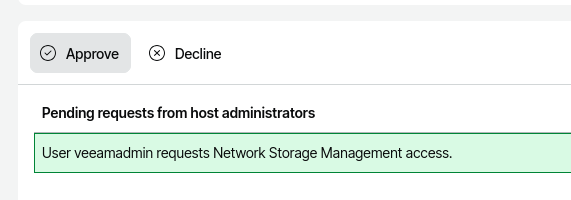
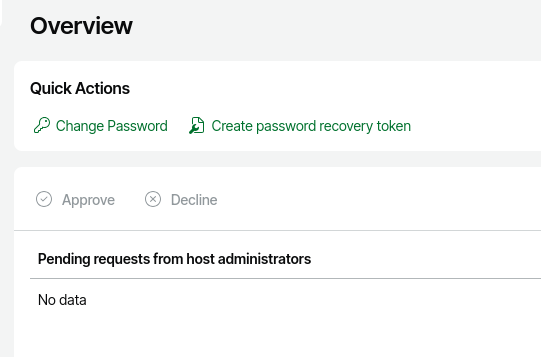
Select the iSCSI enablement request and approve it.
5. Connecting the iSCSI Target
Log back in with your original administrator account. Return to the Storage > Volumes > Attach iSCSI LUNs path.
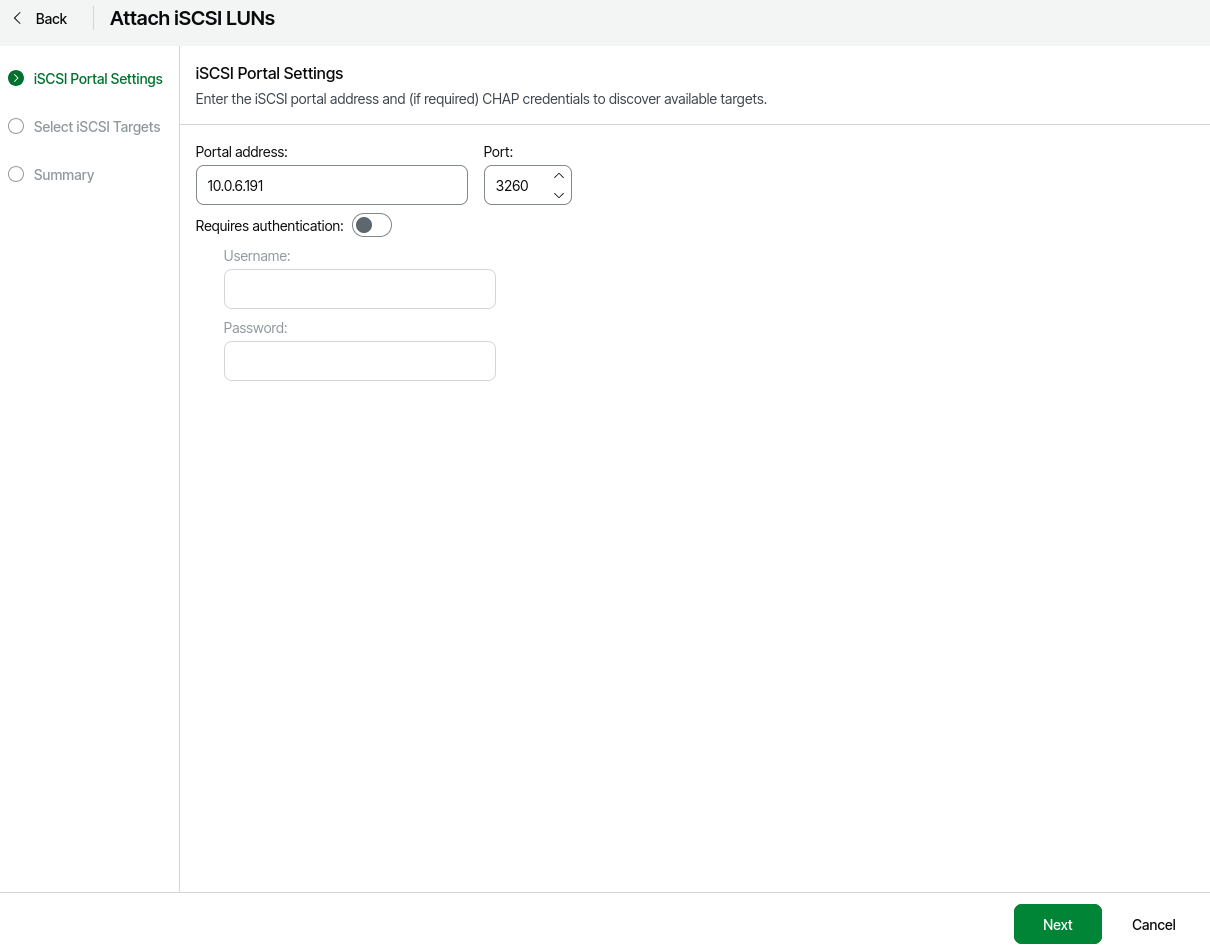
Select one of the portal IPs we configured in the previous article within TrueNAS.
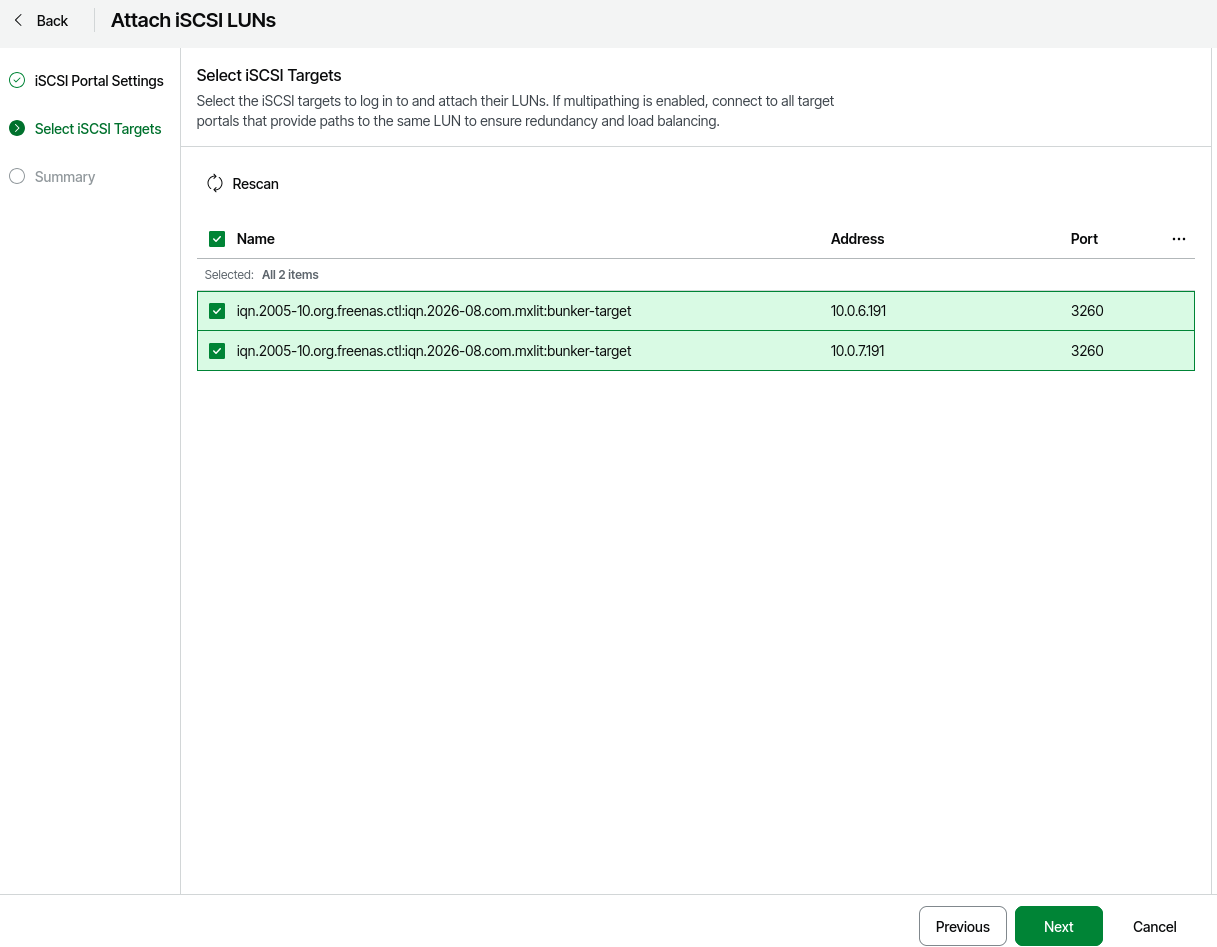
Upon scanning, the wizard will display the available iSCSI targets. It should correctly show the target configured in TrueNAS. Select it and click Next.
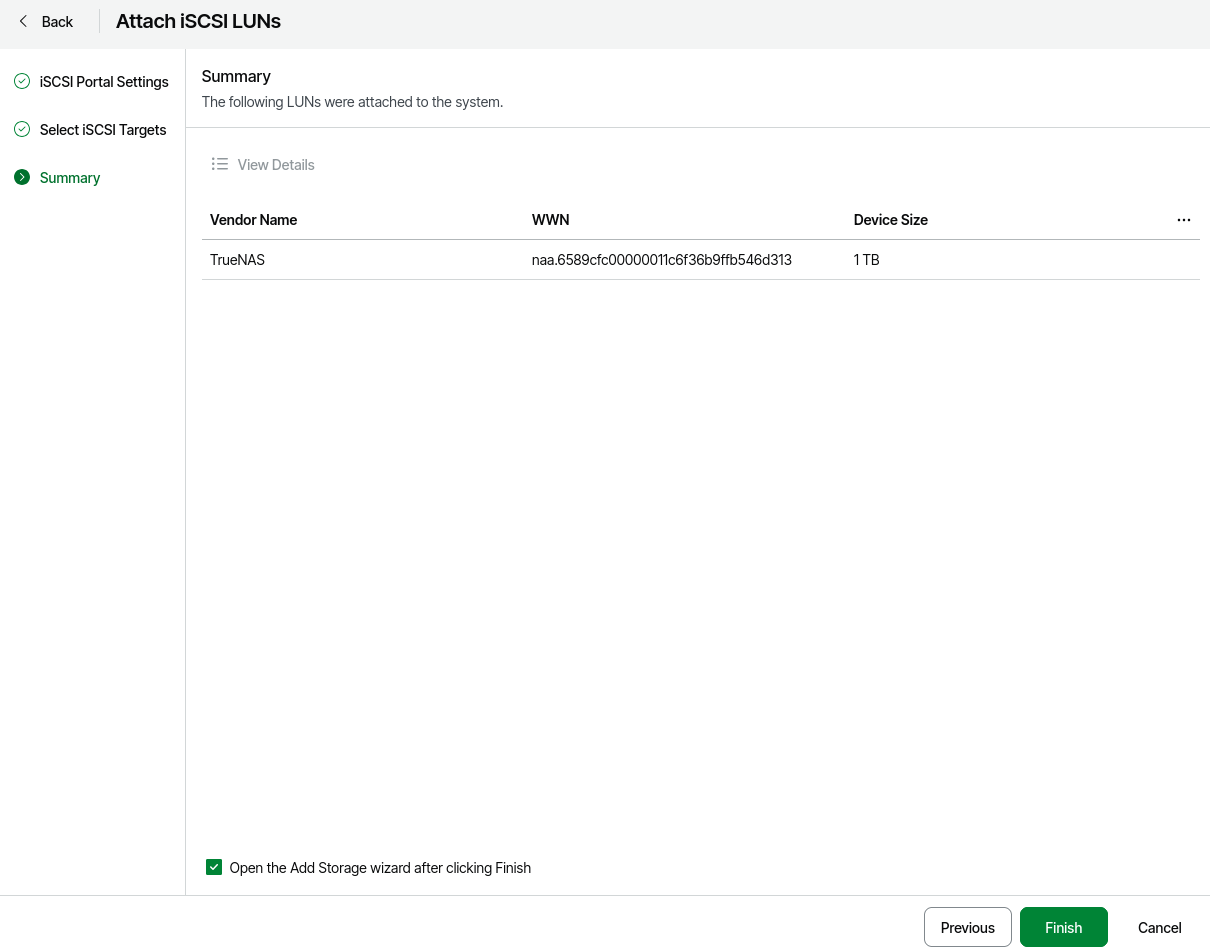
Finally, the summary should display the connection details and disk capacity. You can finish the wizard and jump directly to adding the storage by selecting the bottom option Add storage.
If you skipped checking the option in the final wizard step, simply go to the volumes section and press Add Storage. You will see that the newly mounted iSCSI disk is already visible and ready to be used.
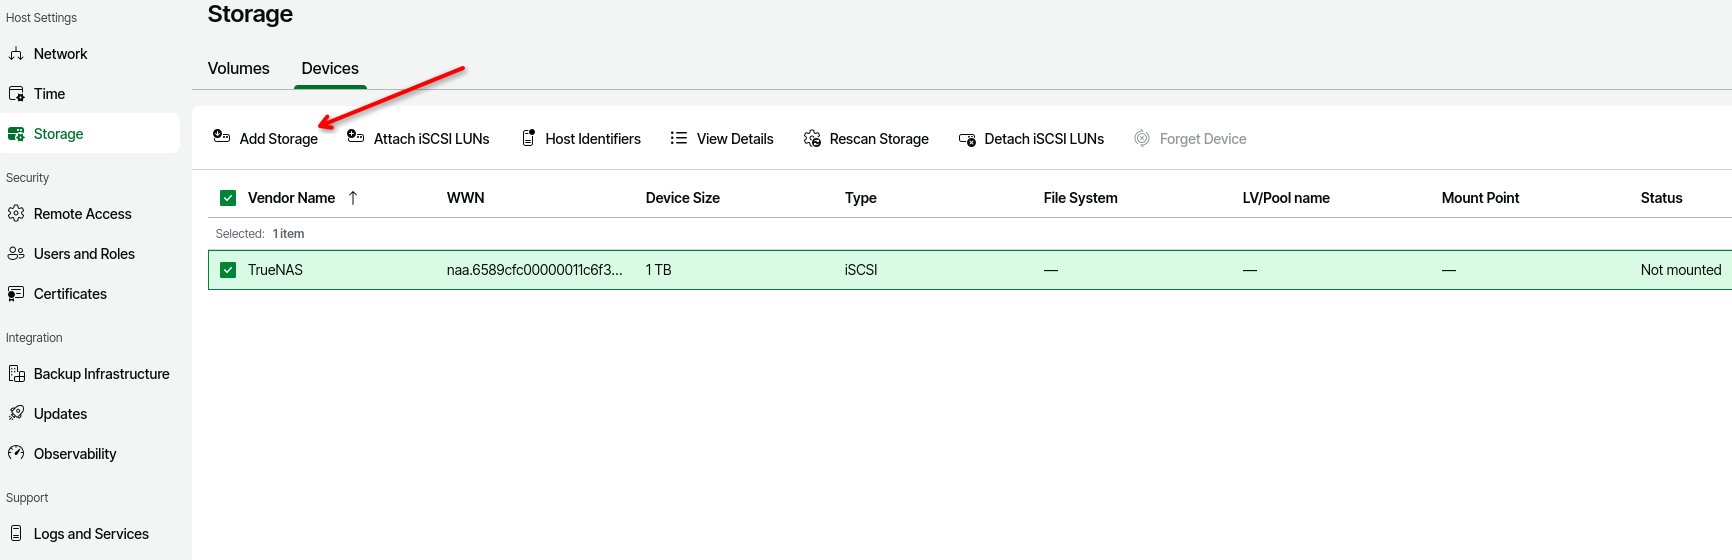
6. Configuring the Hardened Repository and XFS Format
Select a name for your new repository and make sure to choose the Linux / Hardened type. Note: The storage name must be in lowercase and only underscores are allowed.
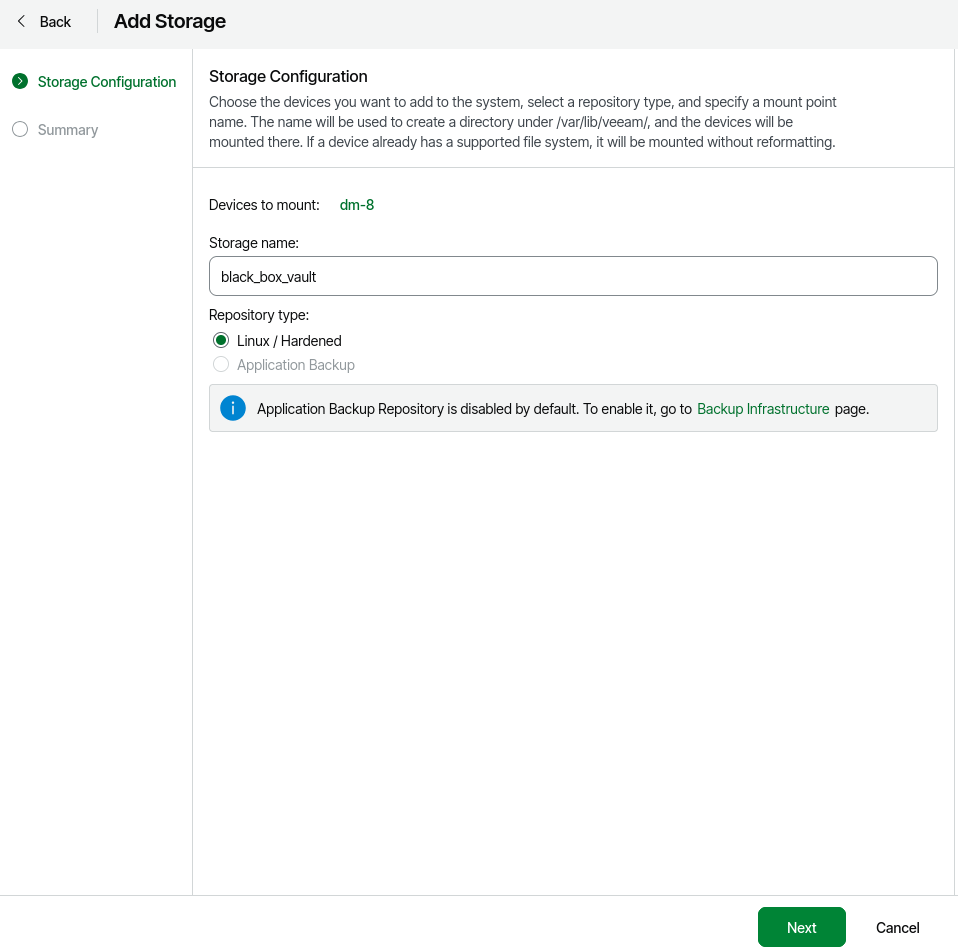
Press Finish to start preparing the disk.
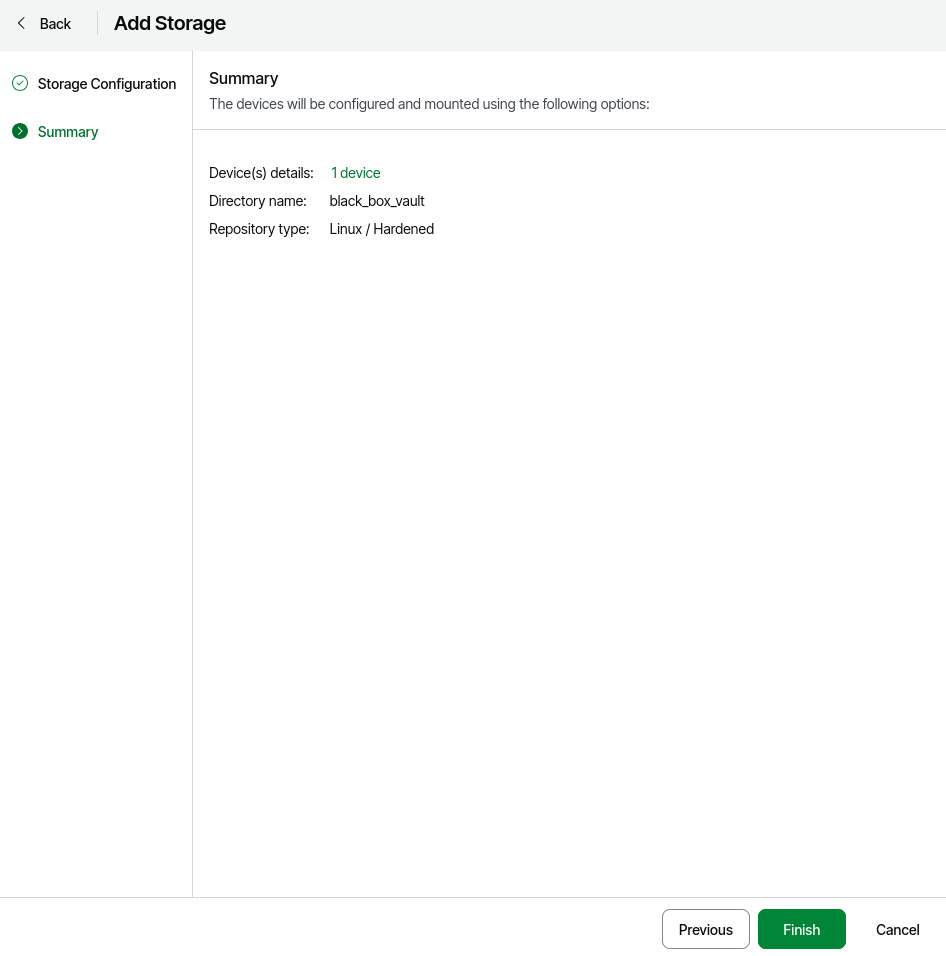
Confirm the changes when prompted by the system.
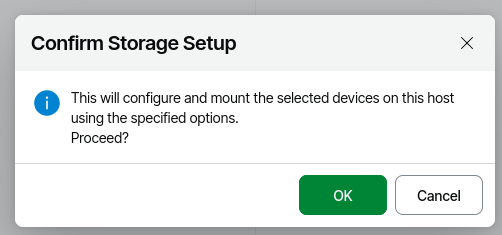
The appliance will take care of natively formatting the volume as XFS, preparing it with Fast Clone technology (which radically optimizes the space used by synthetic full backups), and applying the necessary restrictive permissions at the OS level to shield the data against ransomware attacks.
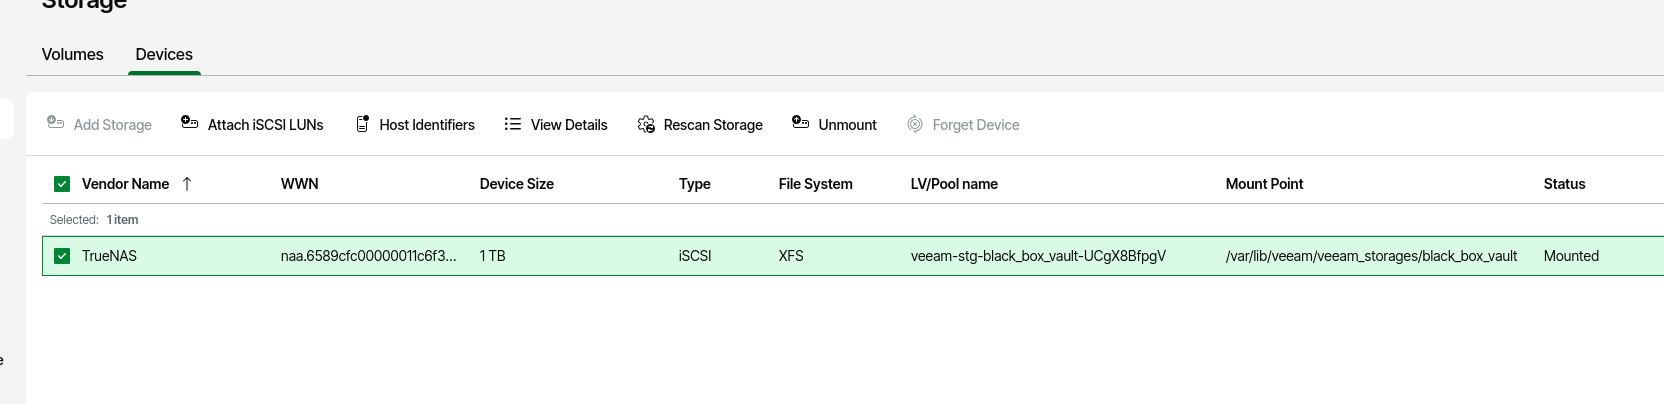
Upon completion, the main storage screen will confirm the status: the file system is XFS, the base disk uses your multipath route, and the overall status should indicate Mounted.
7. Verifying Multipath (MPIO) and Network Routes
It is crucial to ensure that our high-availability storage network configuration is working as expected.
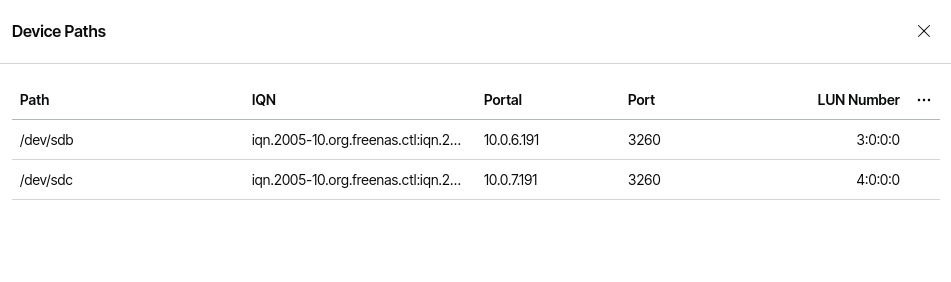
- Verifying Physical Routes: When exploring the disk details, you will notice that Linux initially detects the connection from the first VLAN (
10.0.6.191) as an independent route (/dev/sdb) and the connection from the second VLAN (10.0.7.191) as another (/dev/sdc).
- Master Device Confirmation (MPIO): Thanks to the Device Mapper Multipath service integrated into the appliance, the system automatically groups these routes. In the Device Details window, verify the Multipath device field. You should see that a unified virtual disk has been created (e.g.,
/dev/mapper/mpathb).
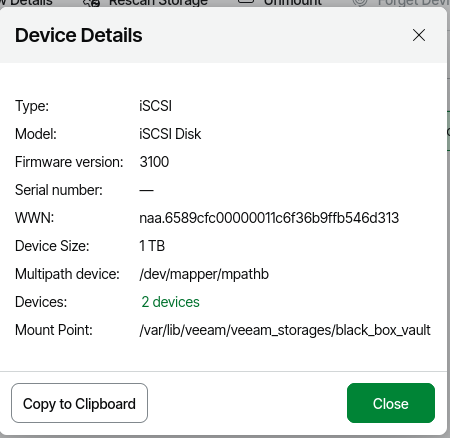
💡 Architecture Note (Fault Tolerance): Just below the master path, the Devices field should show 2 devices in green. This is the definitive confirmation that your MPIO configuration was a success! From this moment on, Veeam will write to the mpathb virtual disk. The protocol will load-balance the data across your two storage networks, and if a switch reboots or a cable is damaged, traffic will continue through the surviving route without interrupting backups.
Conclusion
Connecting and configuring an immutable repository via iSCSI isn’t just about having available space; it’s about building a fortress for your data. By requiring Security Officer authorization for critical changes, we ensure that security policies are strictly enforced. Furthermore, leveraging the XFS file system with Fast Clone significantly accelerates backup operations, while seamless MPIO integration ensures data flow won’t stop in the face of physical network failures. With this repository now mounted and protected, your infrastructure is ready to receive and safeguard ransomware-proof backups.