
Having prepared the base infrastructure and provisioned the resources in Proxmox, it’s time to deploy the core of our backup strategy: the Linux-based Veeam Software Appliance. The days of relying exclusively on Windows servers are over; this new native architecture offers a highly secure, lightweight orchestrator integrated directly from an ISO image (or software repository). In this article, we’ll go through the installation process step-by-step, tackle the initial network and time configurations, and set up crucial administrative roles (including the Security Officer) by applying the Zero Trust policy right from the start.
1. Initial Requirements
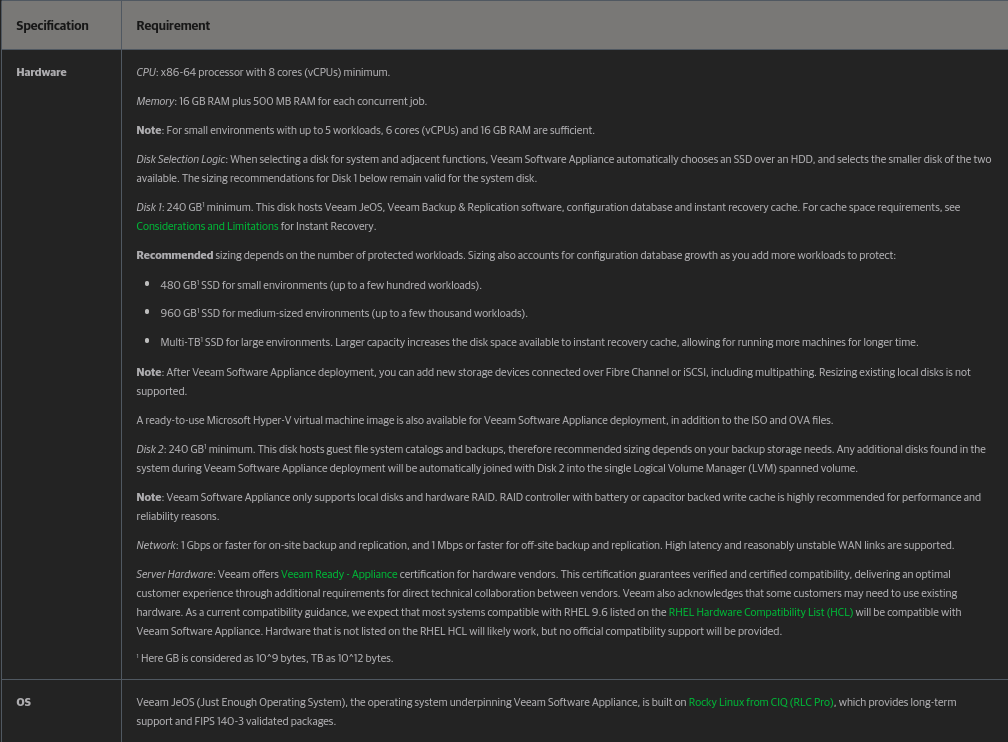
Before starting the installation, ensure your virtual machine or physical server meets the minimum hardware specifications for the Veeam Software Appliance (such as CPU, memory, and disk space for the system and cache).
2. Select Product
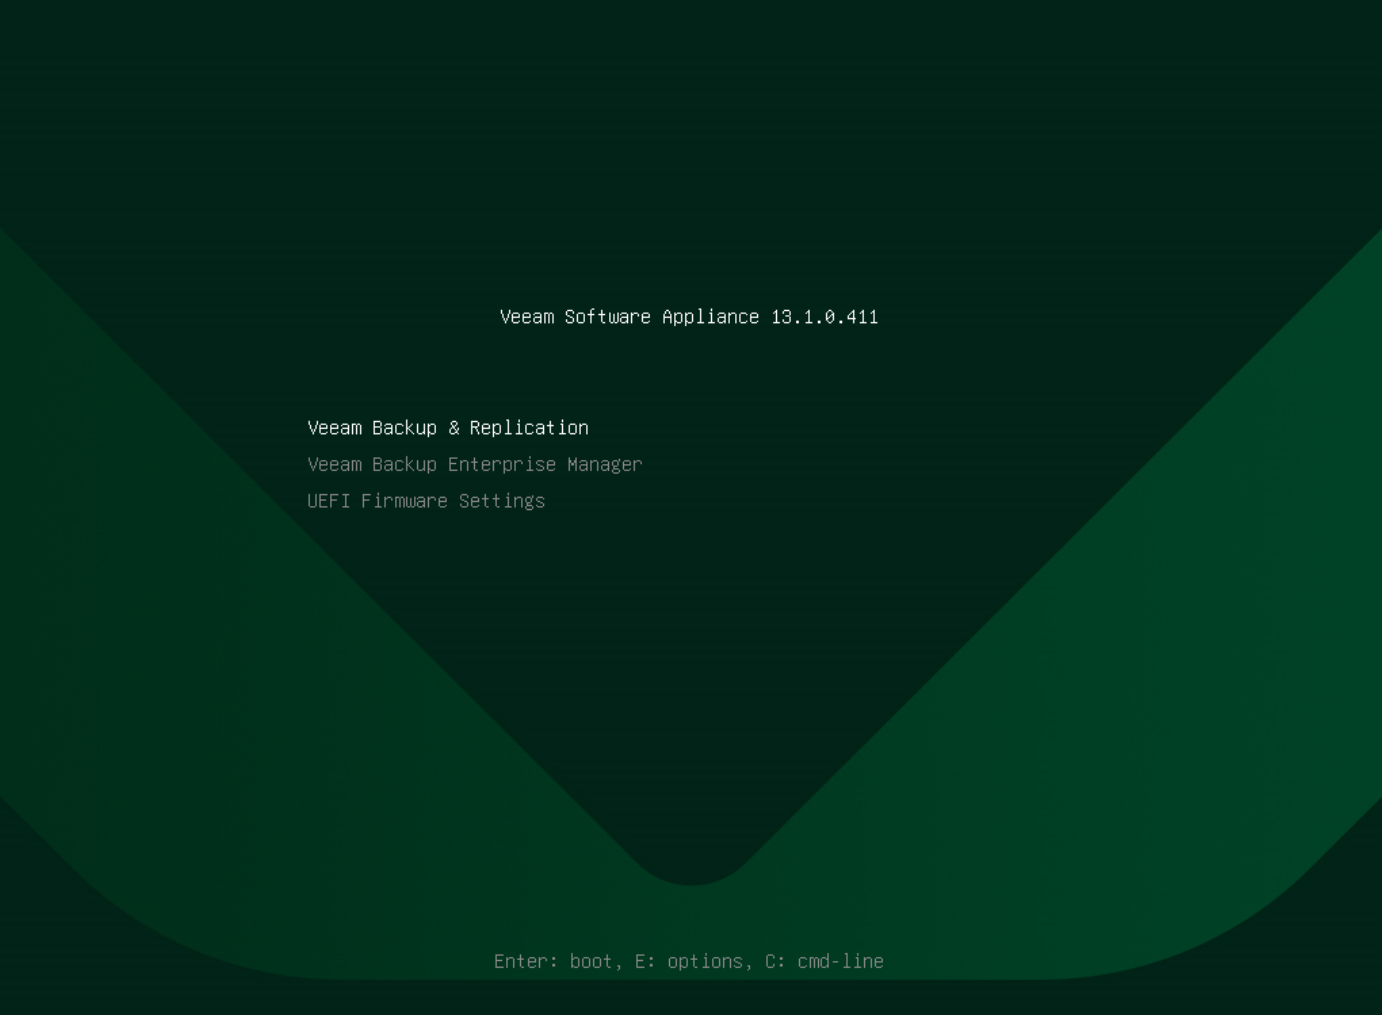
Upon booting, the installer will display the available options. Select Veeam Backup & Replication and press Enter.
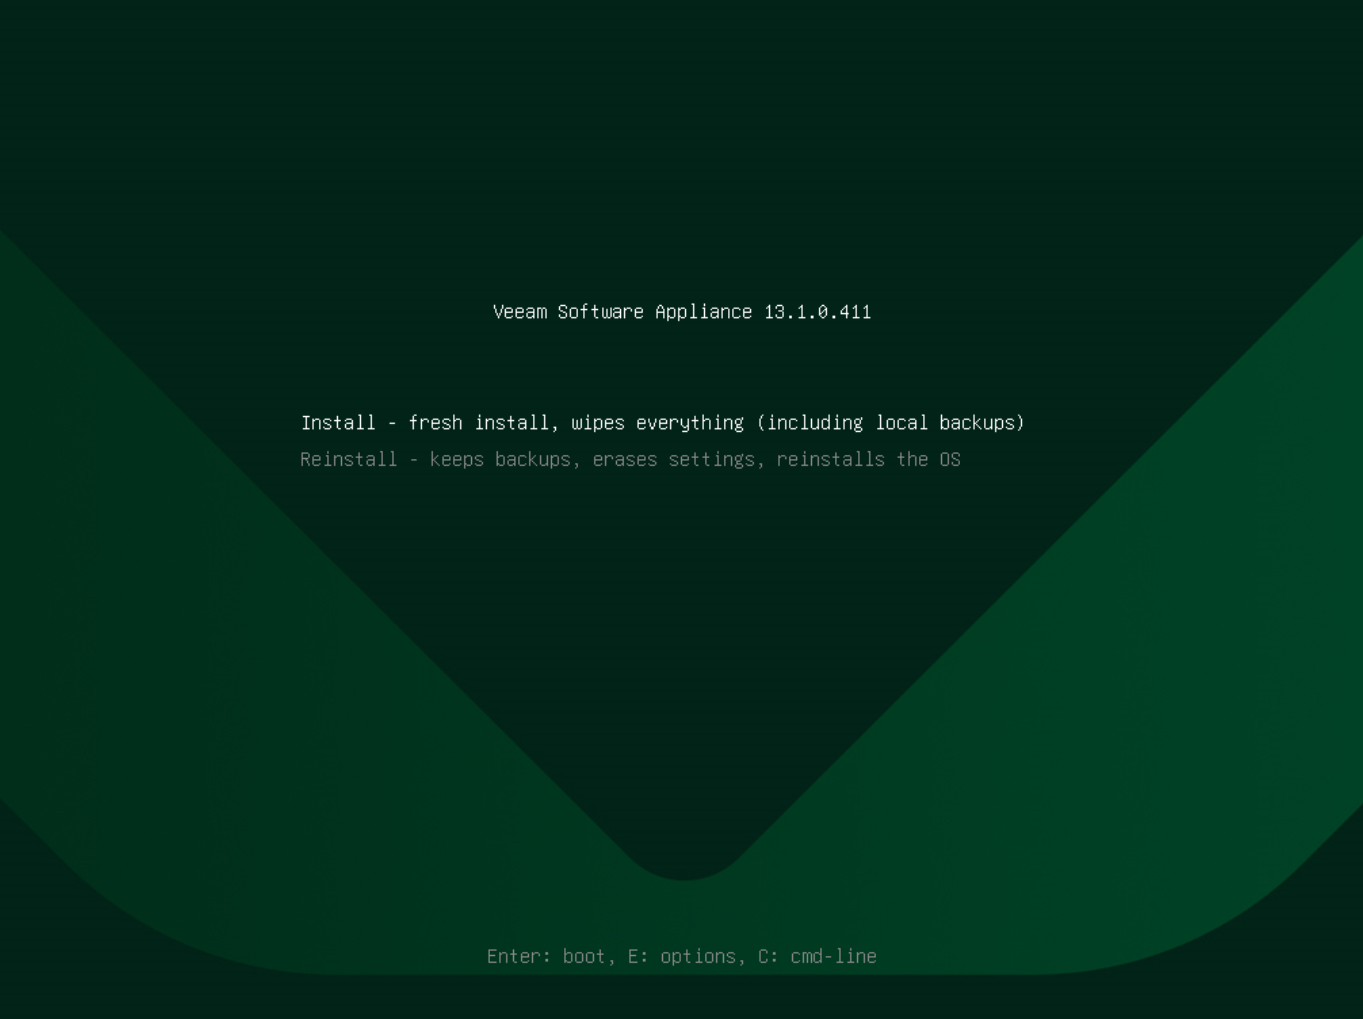
In the main installation menu, select Install and press Enter.
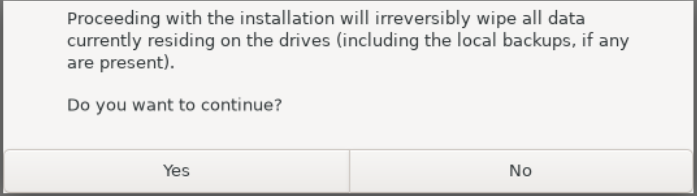
Press Yes to the disk warning. The installer will confirm that the data on the selected disk will be erased. Since this is a clean installation, there’s no problem.
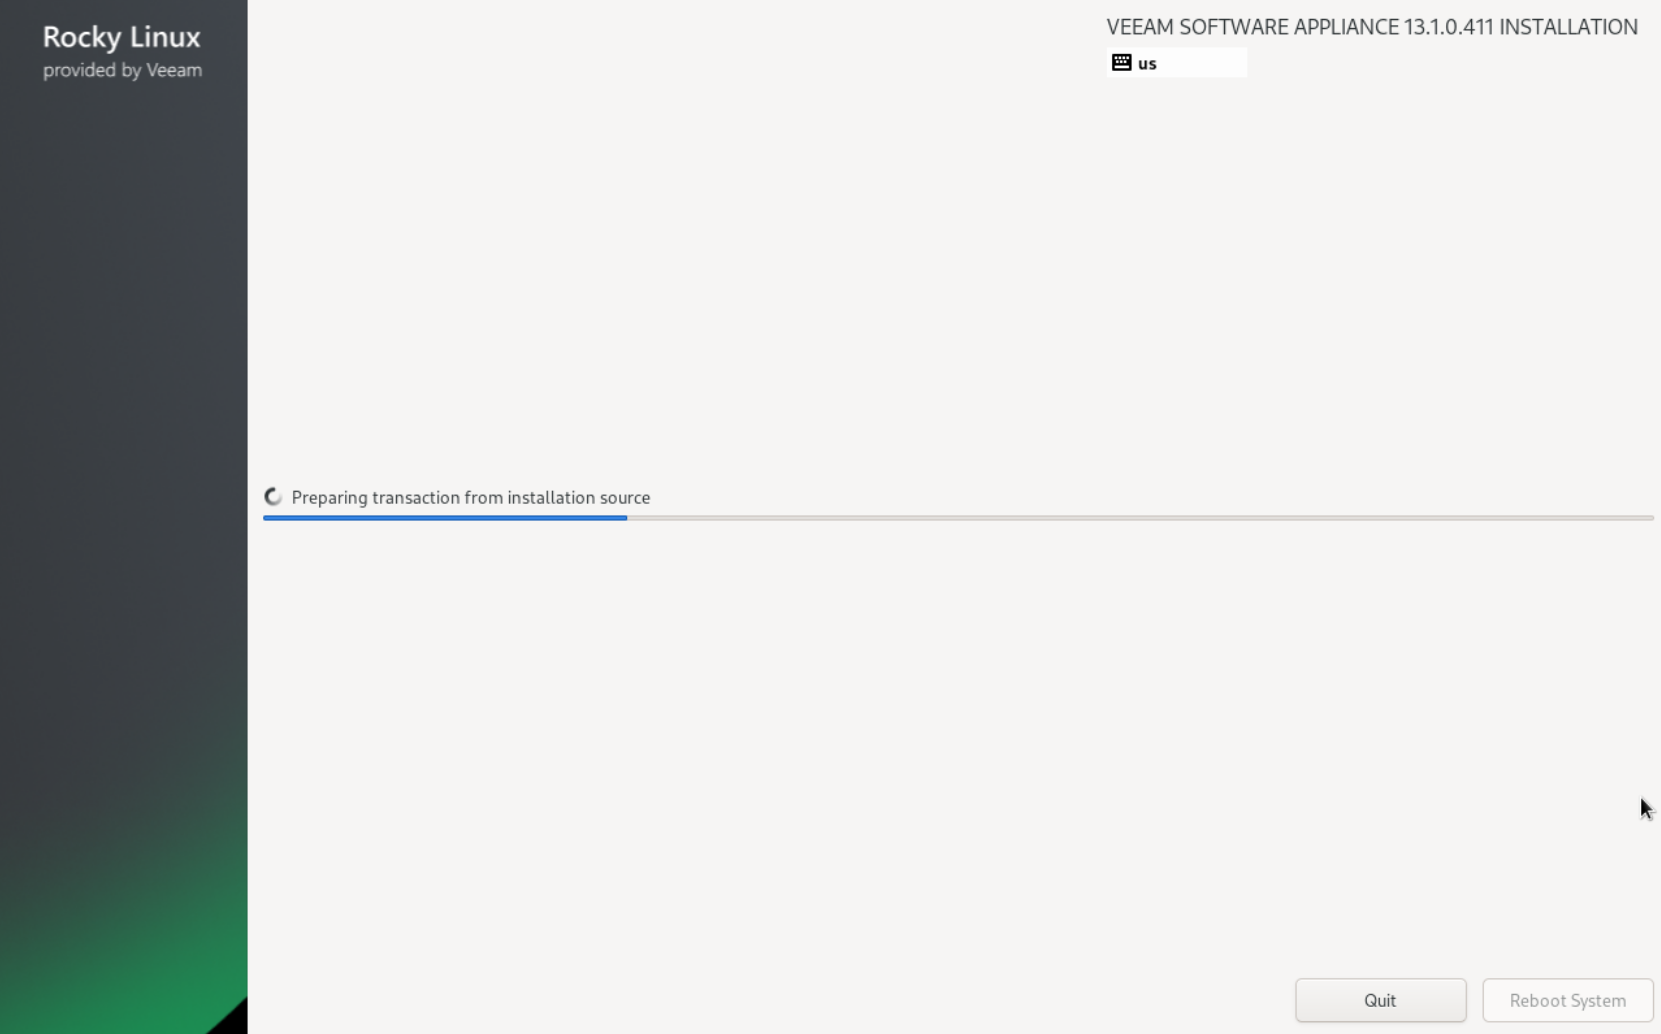
3. License Agreements (EULA)
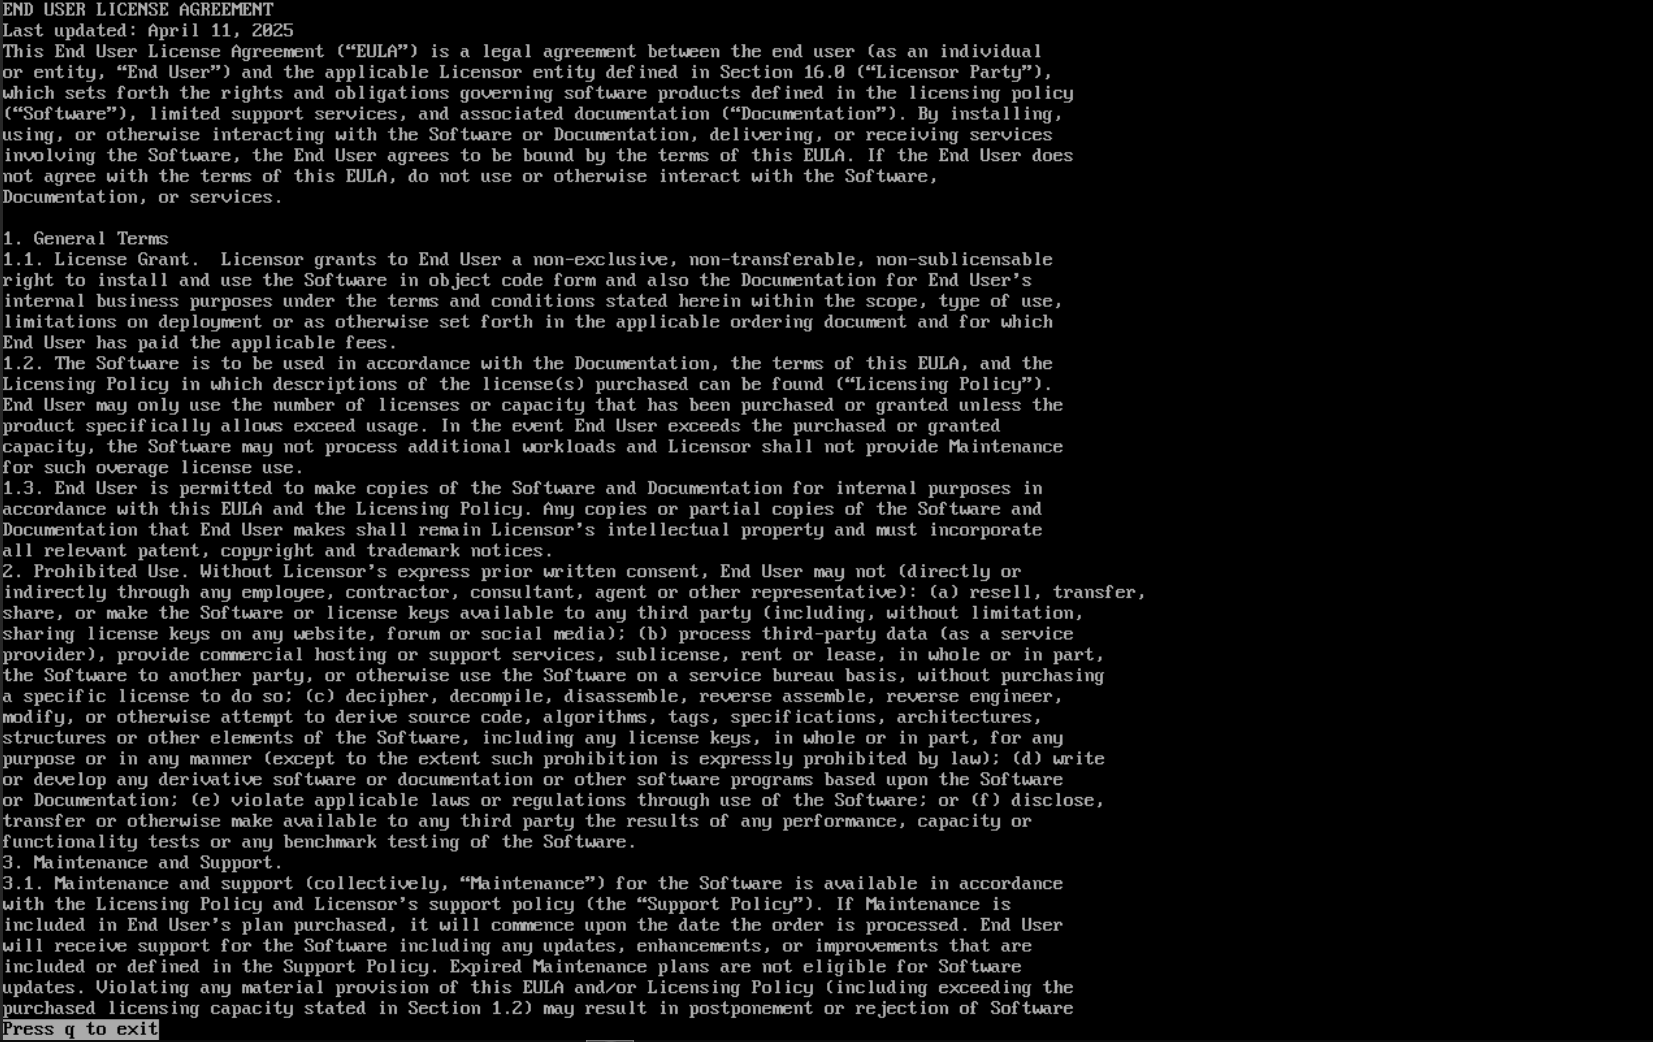
Carefully read (or scroll) through the End User License Agreement.
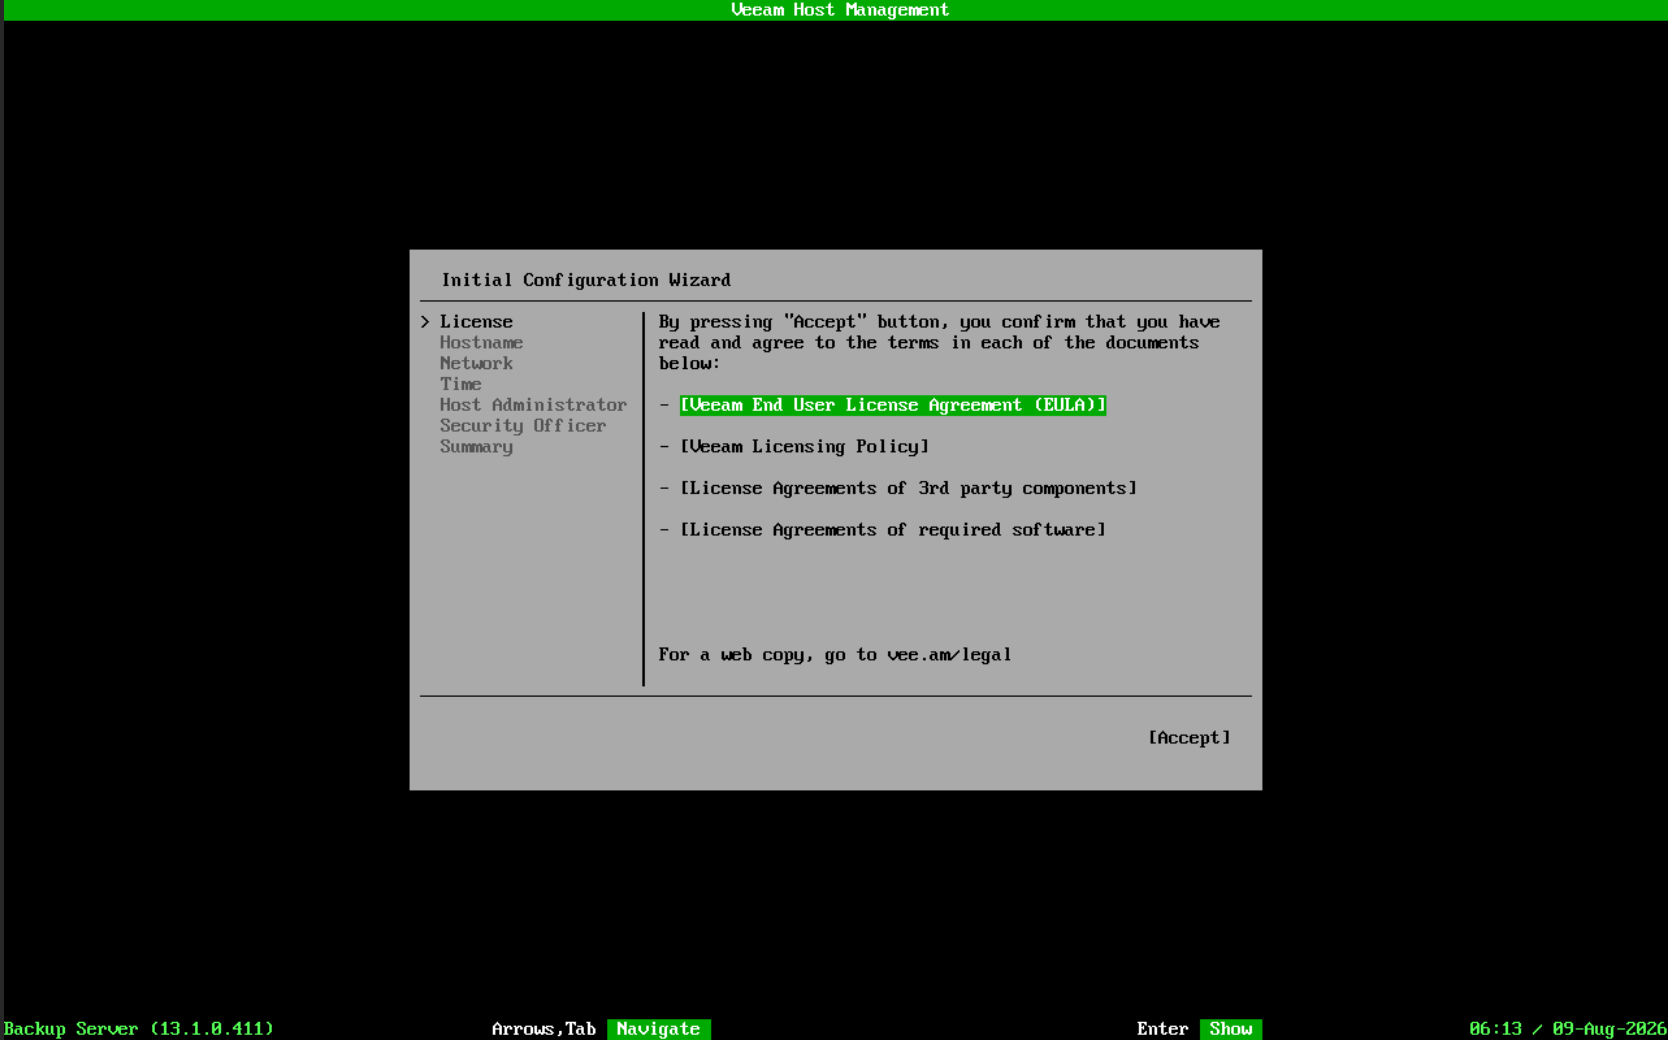
To close the document and accept, press the Q key.
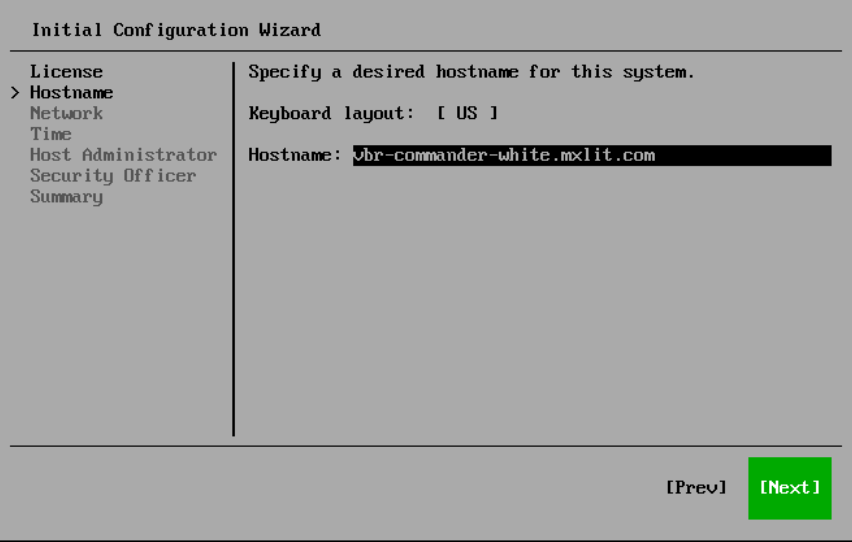
4. Server Identity (Hostname)
Here we will give identity to our main server on the network. On the Hostname screen, the wizard will ask you to assign a unique identifier for the operating system.
For this lab, keeping the consistency of our themed infrastructure, we have named this server vbr-commander-white.mxlit.com. Just as we defined the storage repository as the Bunker (vprx-yorha-bunker) in our iSCSI configuration, this new server assumes the role of the mastermind. It will be the main orchestrator in charge of dictating all backup policies, handling telemetry, and centrally controlling the data flow.
💡 Architecture Tip (Using FQDN): As recommended by the official Veeam documentation, it is an excellent practice to enter the name in FQDN (Fully Qualified Domain Name) format by adding your local domain suffix (in this example, .mxlit.com). This ensures correct DNS resolution on the network, facilitates security certificate validation, and ensures that agents and repositories can find the orchestrator without routing issues.
Verify that your keyboard layout is correct (default [ US ]), confirm the FQDN is typed correctly, and press Next.
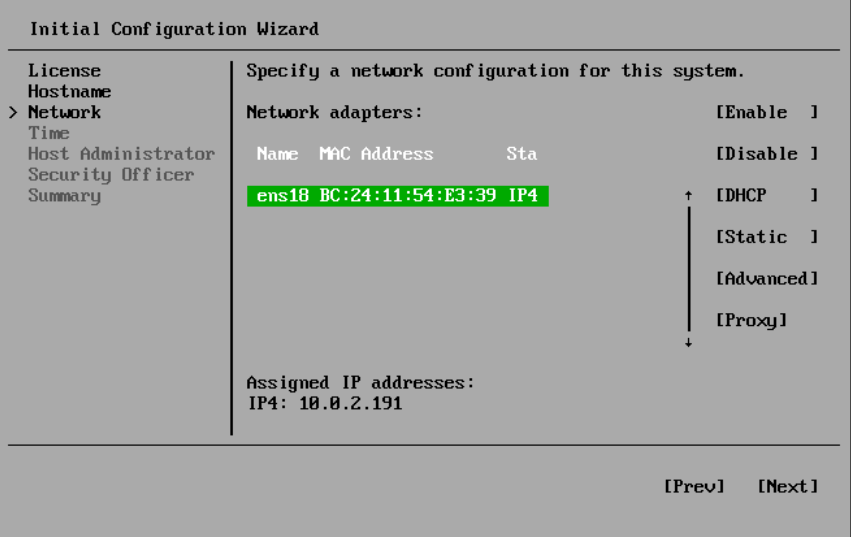
5. Configure a Static IP
By default, all enabled network adapters will use DHCP. However, for a server of this magnitude, it is essential to specify a static IP address. Select the Static option and assign the corresponding network address.
6. Time Configuration
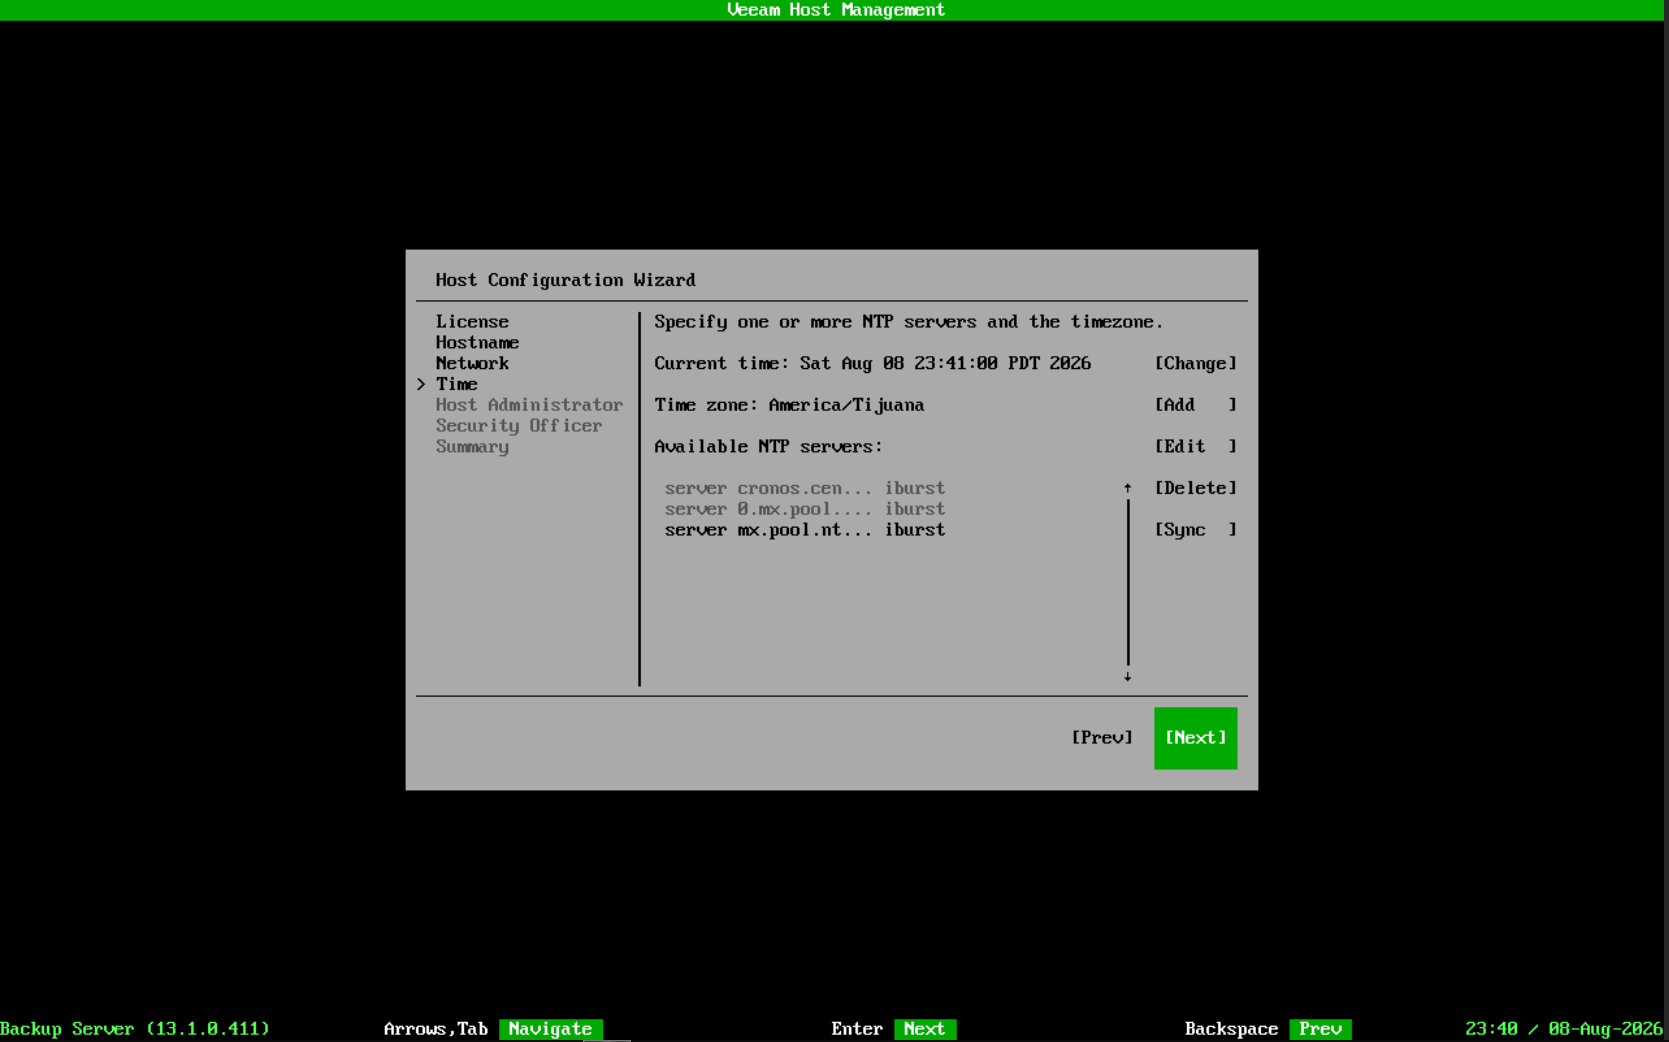
On the Time screen, we will adjust our orchestrator’s clock. Although it seems like a routine step, keeping exact time on the server is critical; the correct functioning of Multi-Factor Authentication (MFA), the validity of certificate signatures, and the precise execution of your backup task schedules depend on it.
You will need to configure the following parameters:
Time zone: By default, the appliance uses UTC. Select Change to adjust the region to your local time zone (select
America/Tijuanato synchronize the orchestrator’s logs with Mexicali time).Available NTP servers: The system has
time.nist.govconfigured by default. To optimize latency and maintain impeccable accuracy, it is highly recommended to use geographically close time servers. For this lab, we will add two NTP servers from Mexico:cronos.cenam.mx(Official server of the National Metrology Center of Mexico).mx.pool.ntp.org(Main cluster of the NTP project for the Mexico region).
⚙️ Architecture Note: Veeam recommends configuring a minimum of 3 servers to mitigate any response issues (you can add 0.mx.pool.ntp.org to comply with the rule). Additionally, if you decide to implement NTS (Network Time Security) servers, these must obligatorily use a certificate signed by a public Certificate Authority.
Once you enter the Mexico NTP servers, press the Sync button so that the vbr-commander-white clock syncs immediately with the national atomic servers.
If you need to adjust these parameters in the future, you can easily manage them from the Host Management Console web interface.
7. Host Administrator Account
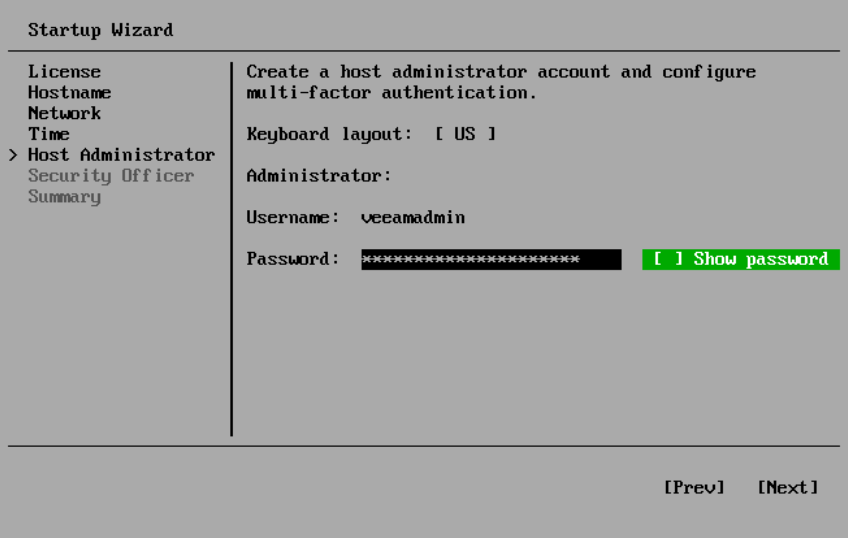
In this step, we will configure the primary account used to administer the underlying operating system from the web console (Host Management Console).
The security of this account is an absolute priority, so the installer requires us to define a password that complies with fairly strict rules:
- Minimum length: 15 characters.
- Complexity: At least one uppercase letter, one lowercase letter, one number, and one special character.
- Anti-patterns: You cannot use more than 4 characters of the same class consecutively (the system will block sequences like
abcdor12345).
If you need to check what you are typing, navigate to Show Password and press the spacebar. Since there is no password confirmation field in this wizard, ensure you are typing the correct password.
Multi-Factor Authentication (MFA)
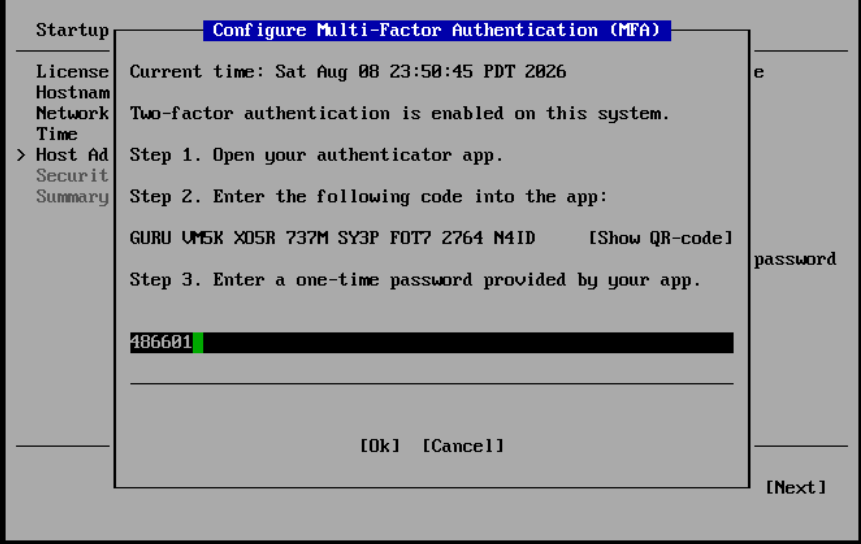
Immediately after defining the password, the wizard will ask you to protect the account with a second authentication factor. You have three options to proceed:
- Configure right now (Recommended): Open your mobile authentication app, scan the QR code on the screen, enter the temporary 6-digit token in the dialog box, and press
[OK].
Configure later: If you prefer to complete this registration calmly later from the web console, simply press
[Escape]on the MFA window and select[OK].Disable MFA entirely: To turn off this feature, press
[F8]and type the wordOK. Note that if you do this for convenience in your lab, you can enable it later in the web console; doing so will force the user to register their mobile app on their next login.
Once your access strategy is defined, select Next to continue configuring our Security Officer.
8. Security Officer Account
In this step, we will configure the Security Officer account (veeamso). This role is a fundamental piece in the Zero Trust architecture, as it adds an extra layer of protection to prevent malicious operations at the system level. Basically, it implements the “four-eyes” rule for critical actions.
Important Warning: The wizard gives you the option to skip this step by selecting Skip setting up Security Officer. I do not recommend it. If you decide to skip it now and later want to use this function, the system will force you to reinstall the entire Appliance from scratch to enable it. It’s better to leave it configured right away.
To set up the account, you must define its password. The complexity rules are just as strict as the administrator account:
- Minimum of 15 characters.
- At least one uppercase letter, one lowercase letter, one number, and one special character.
- No more than 4 consecutive characters of the same type allowed (the system will reject patterns like
12345orabcd).
Just like in the previous step, if you need to check what you are typing, navigate to Show Password and press the spacebar.
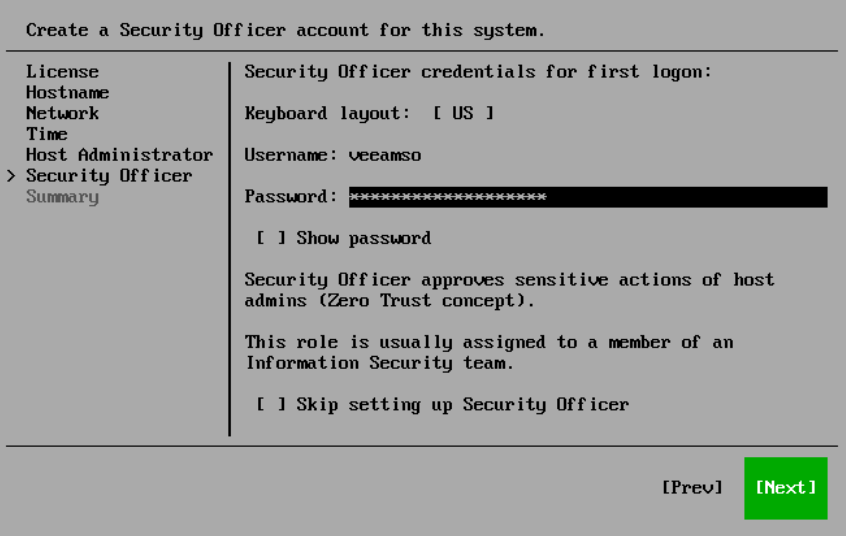
Once you define the key, press Next. Keep in mind that the process for the Security Officer doesn’t end with this wizard; once the server is operating, this user must log in for the first time on the web interface (Host Management Console) to complete their own initial access setup.
9. Finish Configuration
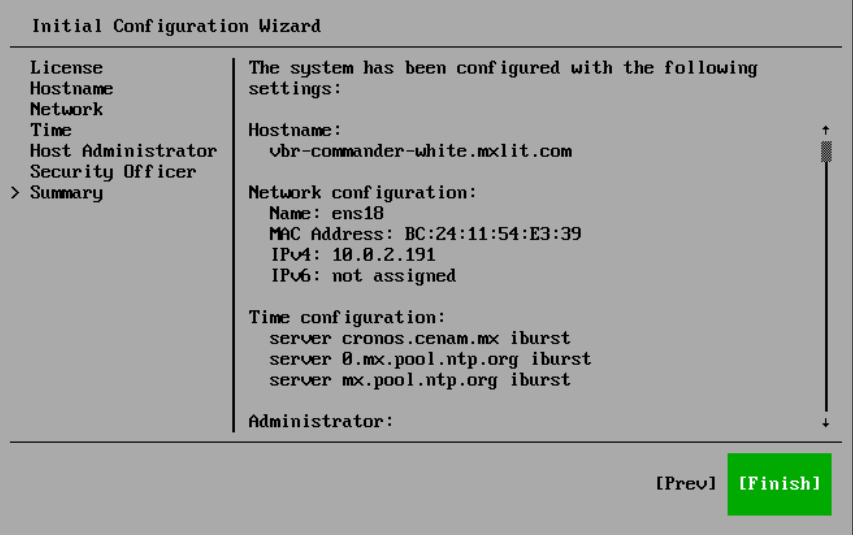
In the last step of the wizard (Summary), carefully review the summary of the system configuration. If all parameters are correct, select Finish. The system will apply the changes and restart the necessary services automatically.
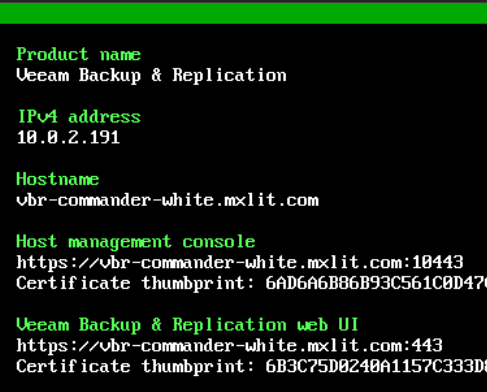
Upon completion, the screen will display the general server information, including the access addresses. Use this data to log into the administration console (Host Management console) or the Veeam Backup & Replication web interface to continue deploying the environment.
Important about access: If you decided not to configure multi-factor authentication (MFA) or disabled it entirely in the previous steps, general access to Veeam Backup & Replication and its web interface will be disabled. To unlock access, you must first log into the Host Management console and obligatorily complete the MFA setup.
10. Log in to the Web Interface (Web UI) and Licensing
Once the server finishes applying changes and restarting its services, it’s time to log into the main Veeam Backup & Replication console to start orchestrating the environment.
- Open your preferred web browser.
- In the address bar, enter the URL pointing to the FQDN or IP of your new server using the secure port 443. Following our lab’s thread, the address would look like this:
https://vbr-commander-white.mxlit.com:443
Networking Tip: If you are trying to access the interface from a remote machine or another VLAN, make sure your firewall and routing rules allow direct traffic to port 443 on this new server.
The SSL Certificate Warning Being a fresh installation, the appliance generates and uses a self-signed SSL certificate by default. It’s completely normal for your browser to raise a security alert warning that the connection “is not private.” Simply review the details, accept the warning (usually by clicking Advanced Settings > Continue), and proceed to the portal.
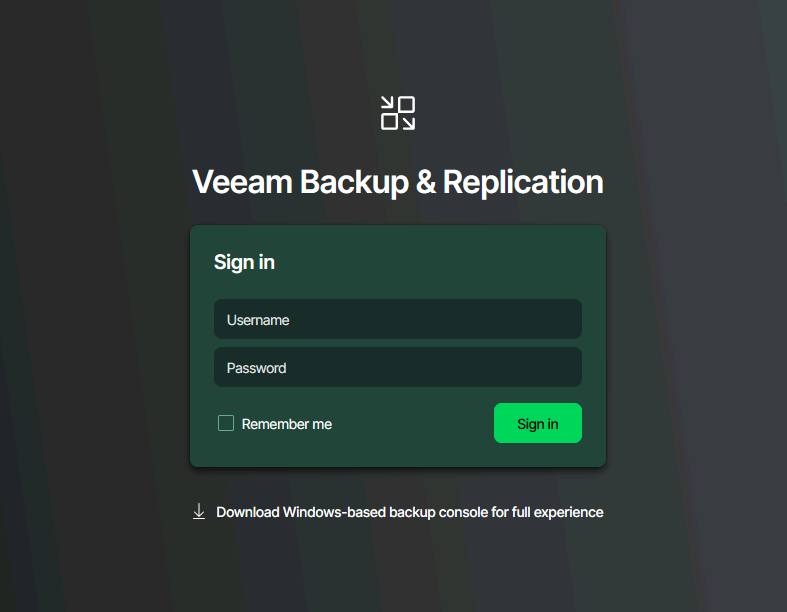
Login Screen Once on the login portal, enter the username and password you configured.
- You can check the Remember me box to skip this step in future sessions from the same browser and device. As a fun fact, Veeam allows you to save up to 5 different accounts this way; if you reach that limit, the box will disable itself.
- If you later integrate your corporate infrastructure, from this same screen you can use the Sign in with SSO option to enter via SAML authentication.
- (Note: If you were using the traditional console installed on a Windows machine in your domain, you would also see the option to use the credentials of your current Windows session).
Click Sign In and you’re all set! Welcome to the Veeam v13 master console in its native Linux version.
I recommend you configure MFA for the Security Officer account right away if you haven’t already.
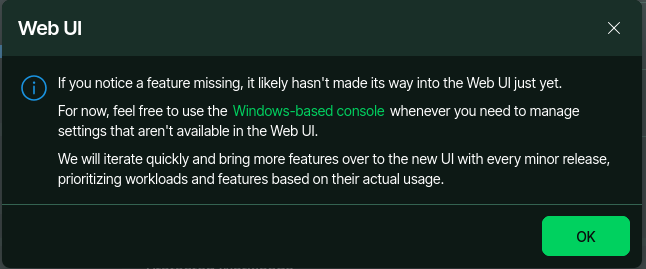
Install License and Updates
The next key step is to install the Veeam license file.
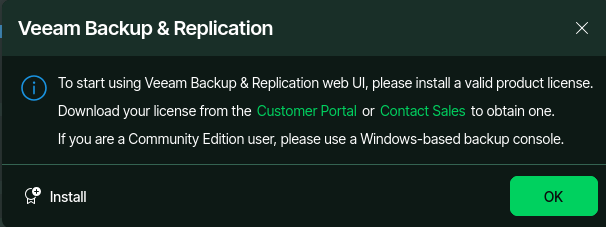
Once loaded, the system will automatically check if there are pending updates. If security patches exist, install them immediately.
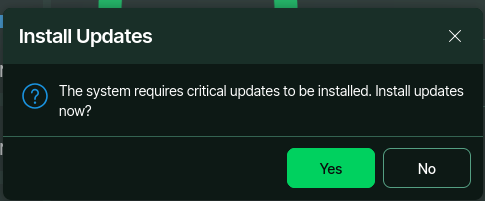
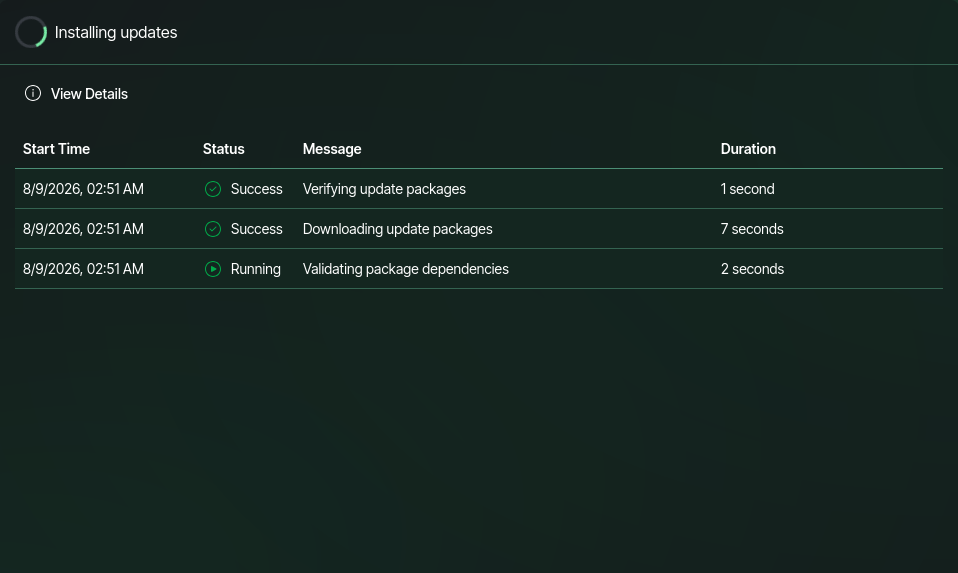
The server will restart to apply all changes and updated packages.
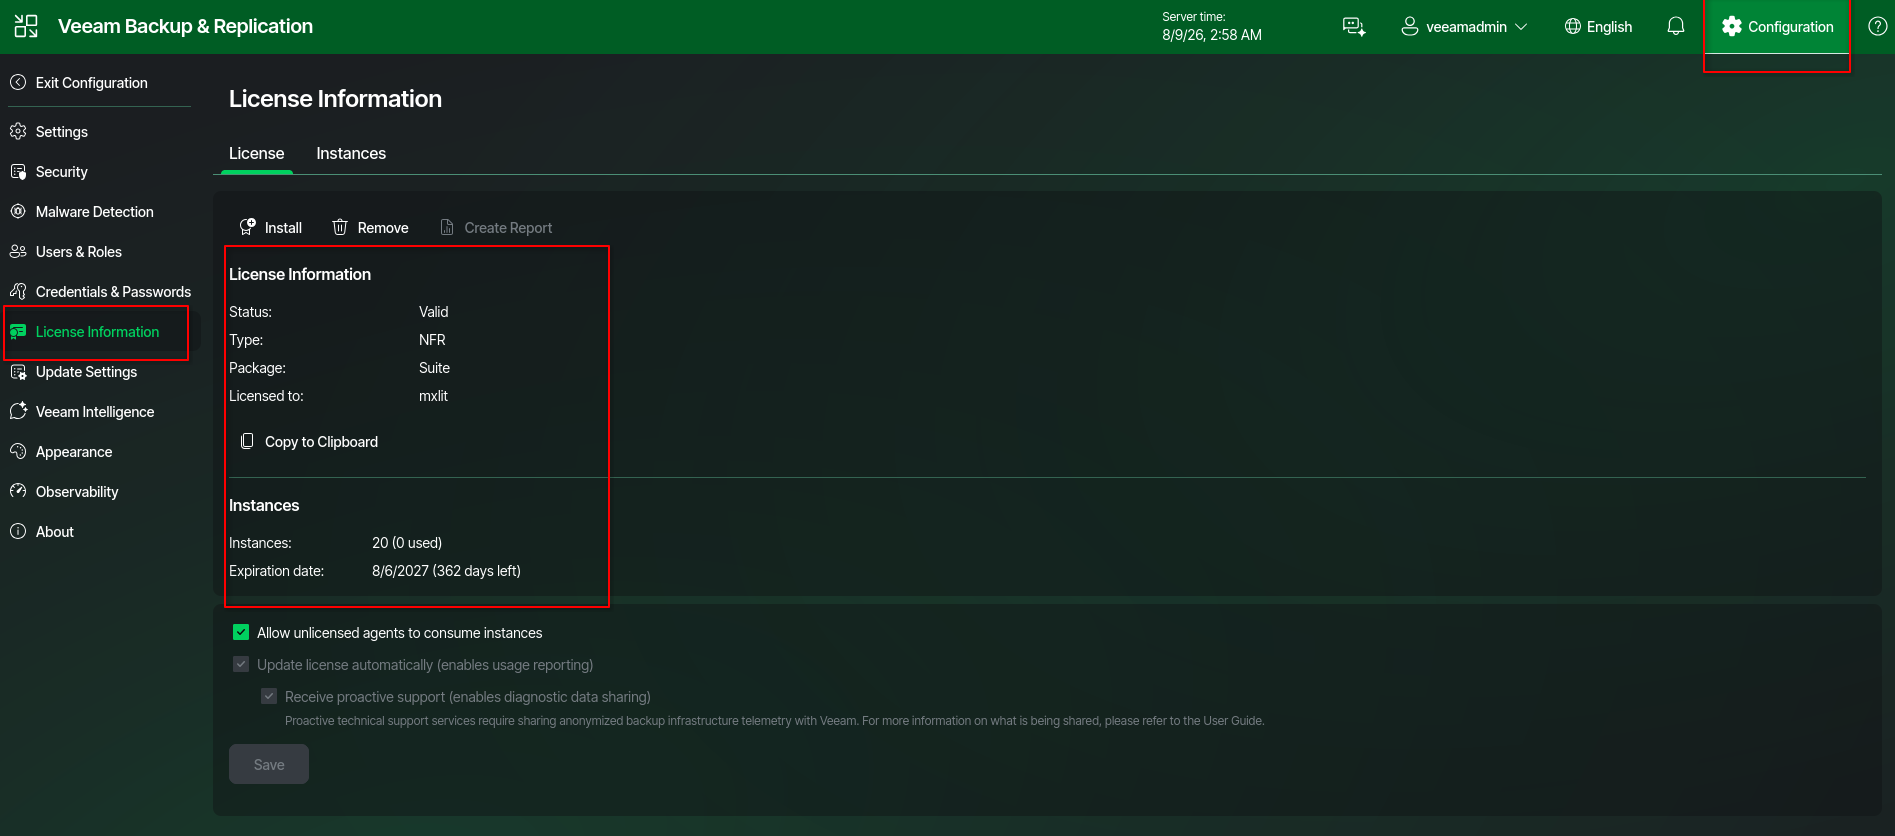
Once the server is back online, you can validate your license status by accessing the top menu and selecting Configuration > License Information.
Conclusion
Installing the Veeam Linux-based Appliance not only represents an evolution in architecture but also sets an unforgiving security standard. From adopting FQDN for its network identity, through millimeter synchronization with highly trusted NTP servers, to the strict execution of MFA and the Security Officer role, we have deployed an orchestrator built to withstand hostile environments. From here, our “mastermind” is ready to start dominating backup policies and connecting to immutable repositories with complete confidence.