In this post, we’ll see how to install the ADDS (Active Directory Domain Services) role and how to promote our new domain controller.
A domain controller will help us manage user authentication, apply policies, assign roles, and create administrative groups within our company.
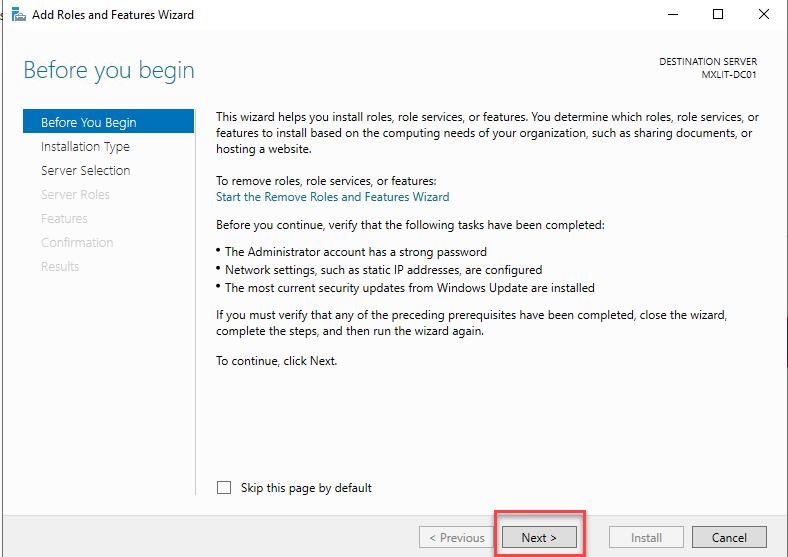
To do this, it’s recommended to follow some prerequisites before continuing with the role installation.
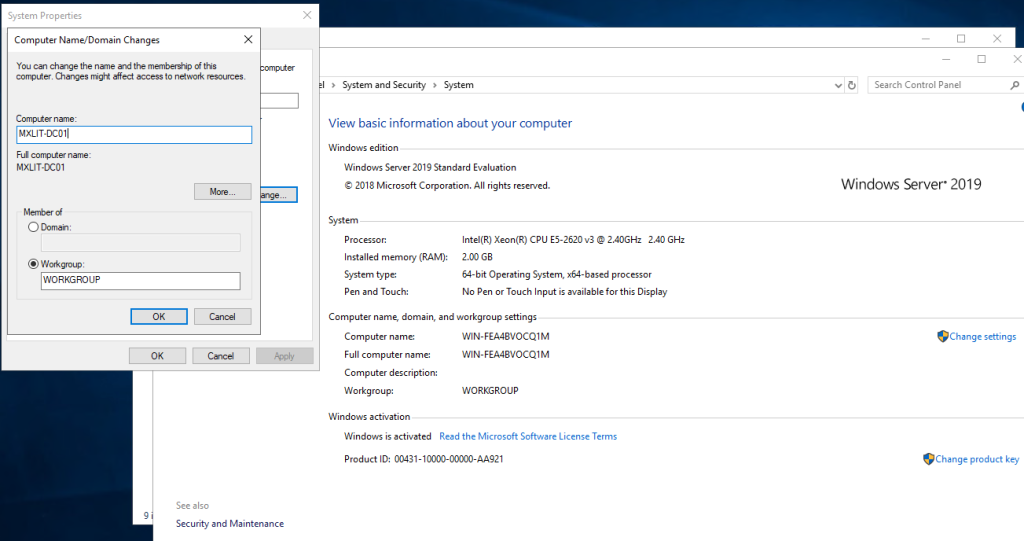
We’ll need to assign a descriptive name to our domain controller.
Name the Domain Controller
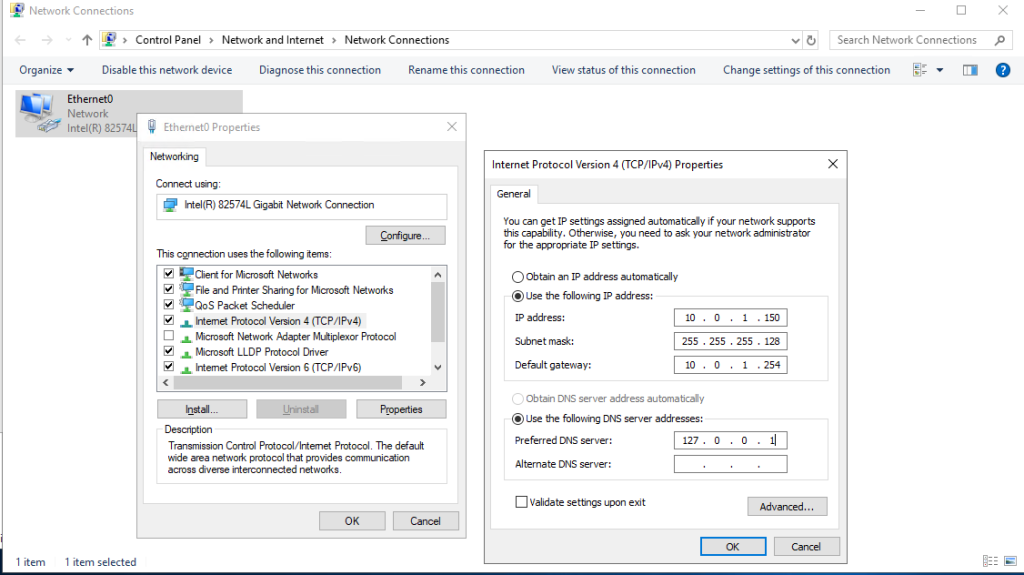
Assign Static IP
Next, we will assign a static IP address and assign localhost as the primary DNS server. An optional recommendation is that if you will not be using the IPv6 protocol, you should disable it by unchecking the Internet Protocol Version 6 (TCP/IPv6) box.
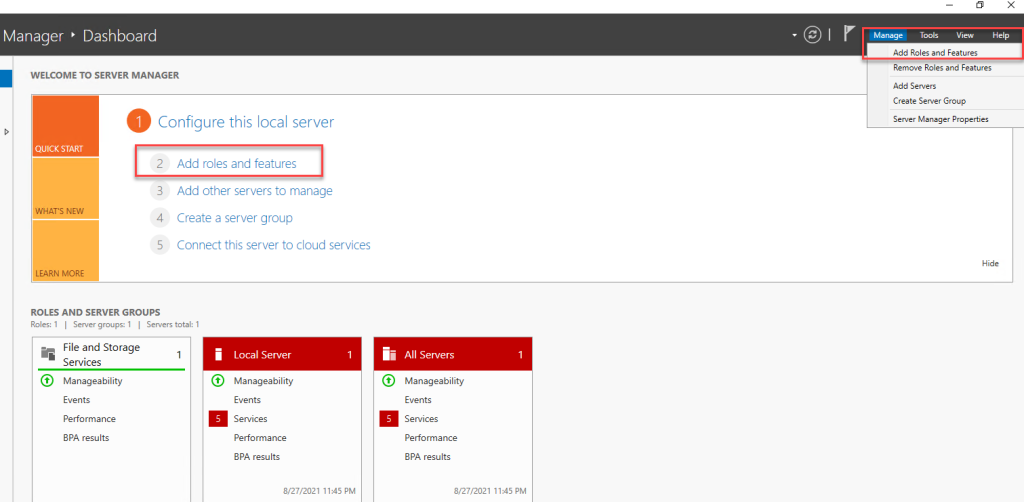
Install Role
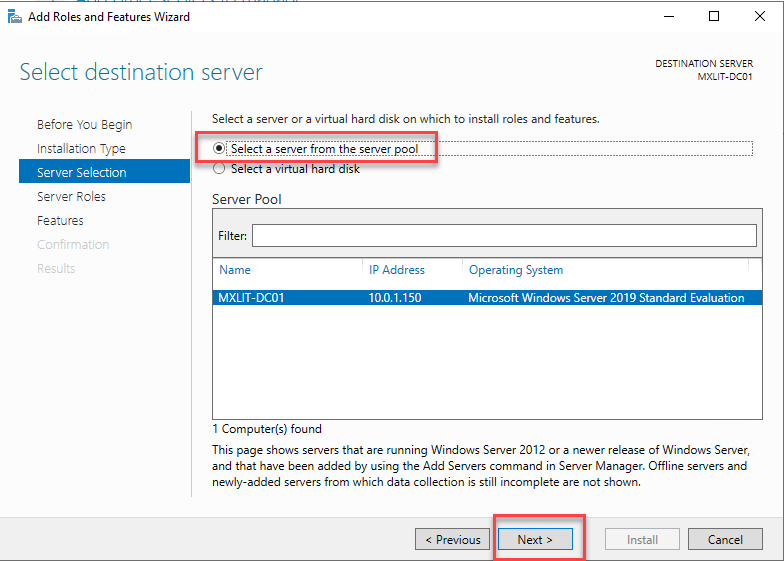
To add the role, we can choose any of the options shown in the image.
Next.
Select Role-based or feature-based installation and click Next.

Leave the default selection and click Next.
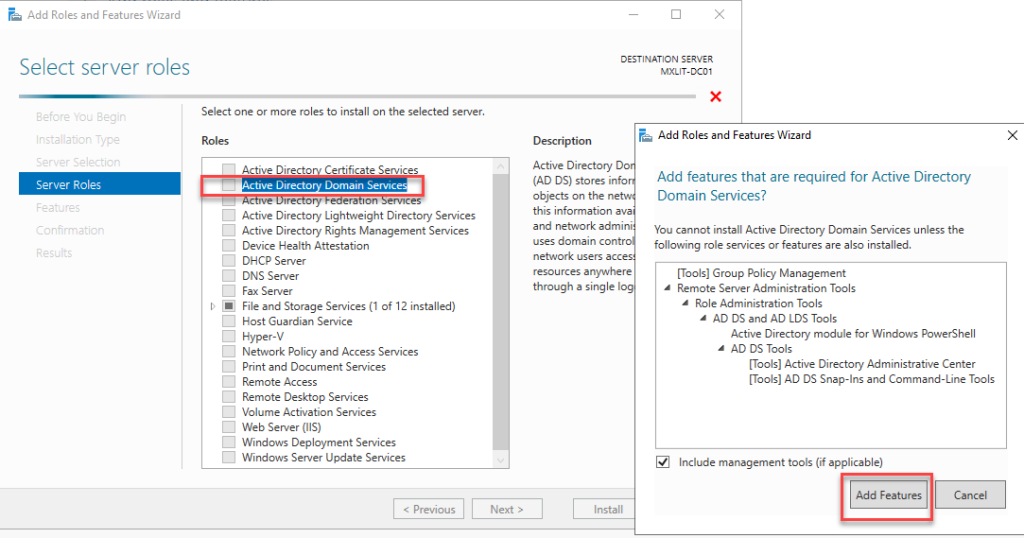
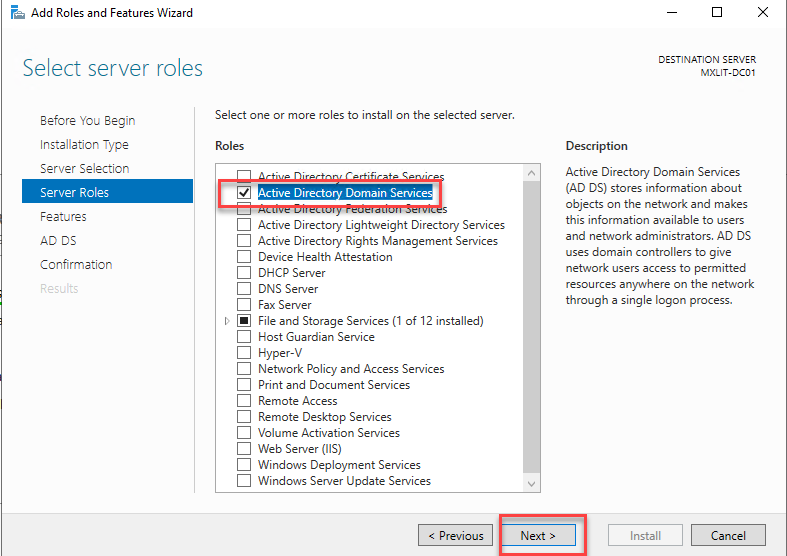
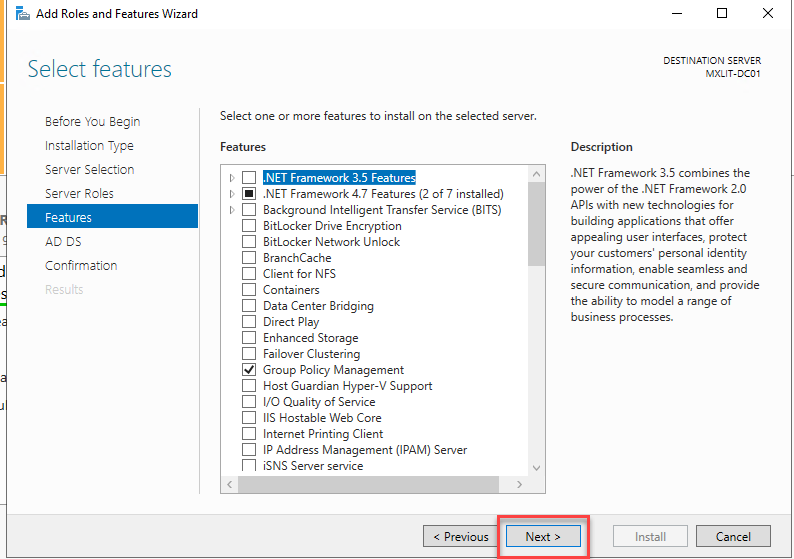
Within the Server Roles section, select Active Directory Domain Services. When the pop-up window appears, click Add Features.
Next.
Next.
Next.
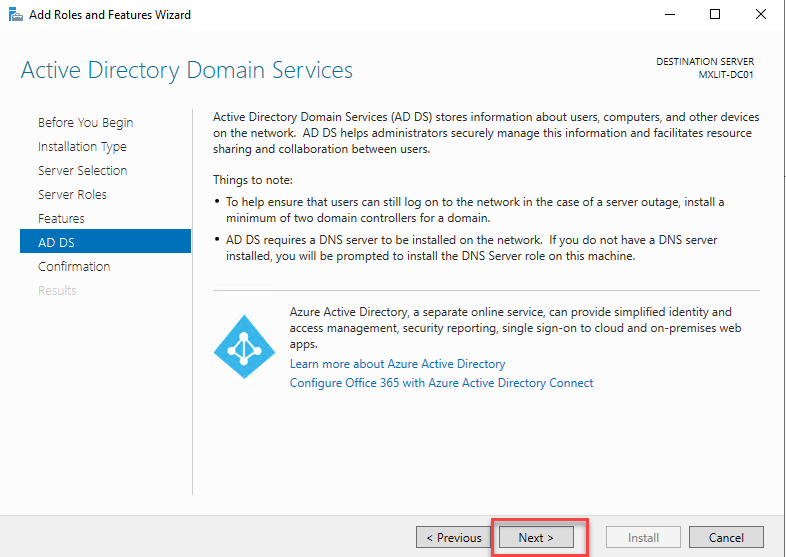
Click Install.
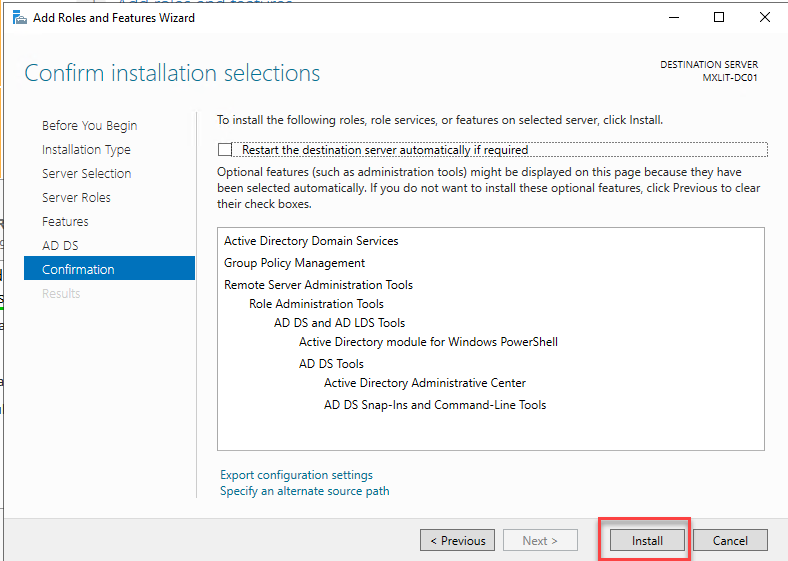
When the role installation is complete, and before closing the window, select the option to promote this server as a domain controller. Click the highlighted section.

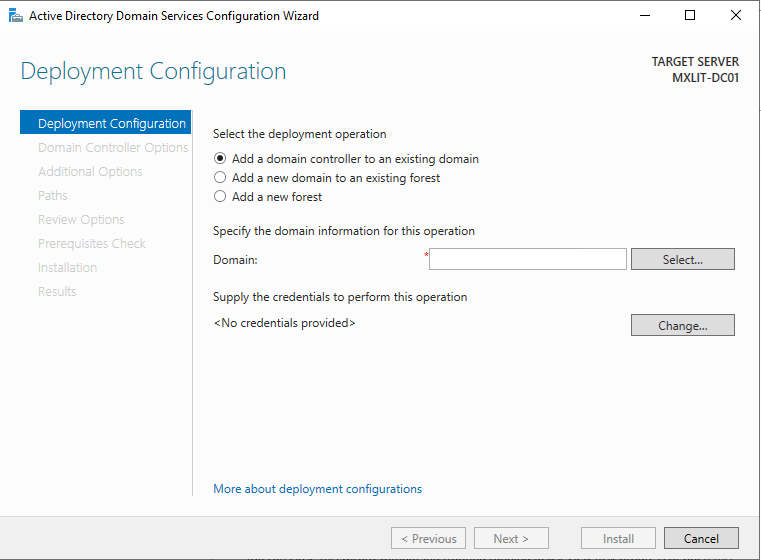
The wizard will present the following options.
Add a domain controller to an existing domain: Use this option when you want to add a second or third domain controller for redundancy and load balancing. These will synchronize with each other through replication.
Add a new domain to an existing forest: As the name suggests, this allows you to add a new domain to a forest that has already been created.
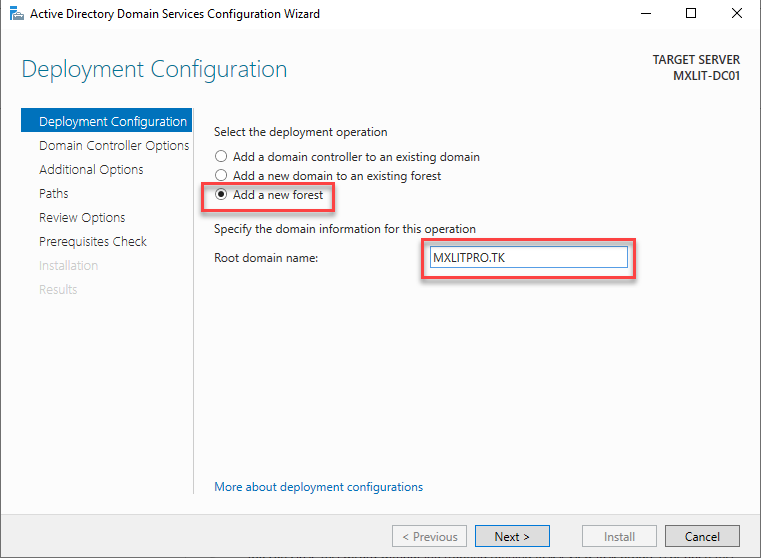
Add a new forest: This is the option you should select since it will be the first domain controller in your network.
Deployment Configuration
Select the “New Forest” option, add the name of your root domain, and click “Next.”
In my case, my root domain will be: MXLITPRO.TK
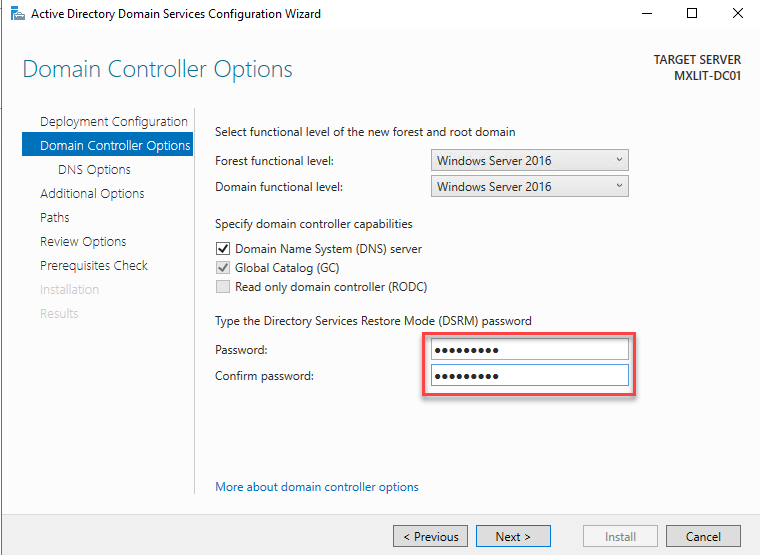
Here you will see the domain controller options. Select Windows Server 2016 for both the forest and domain functional levels.
We leave both boxes checked within the domain controller capabilities.
Assign DSRM Password
Finally, we must specify a password for DSRM. This password will be required if we want to restore our domain in case we have a problem with it.
If everything is correct, click Next.
Note: If the Windows Server Technical Preview option appears within the forest and domain functional levels, apply the latest cumulative update before promoting the server to a domain controller.
Next.

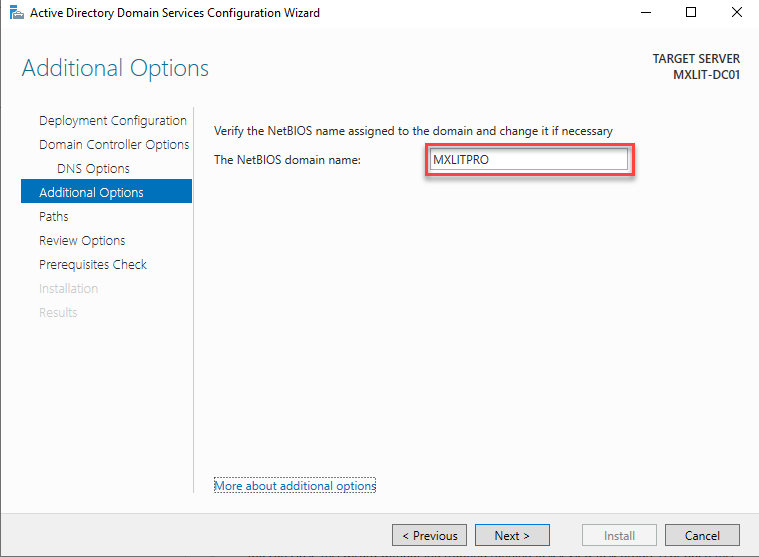
Assign NetBIOS Name
Here we will select our NetBIOS domain name. Once selected, click Next.
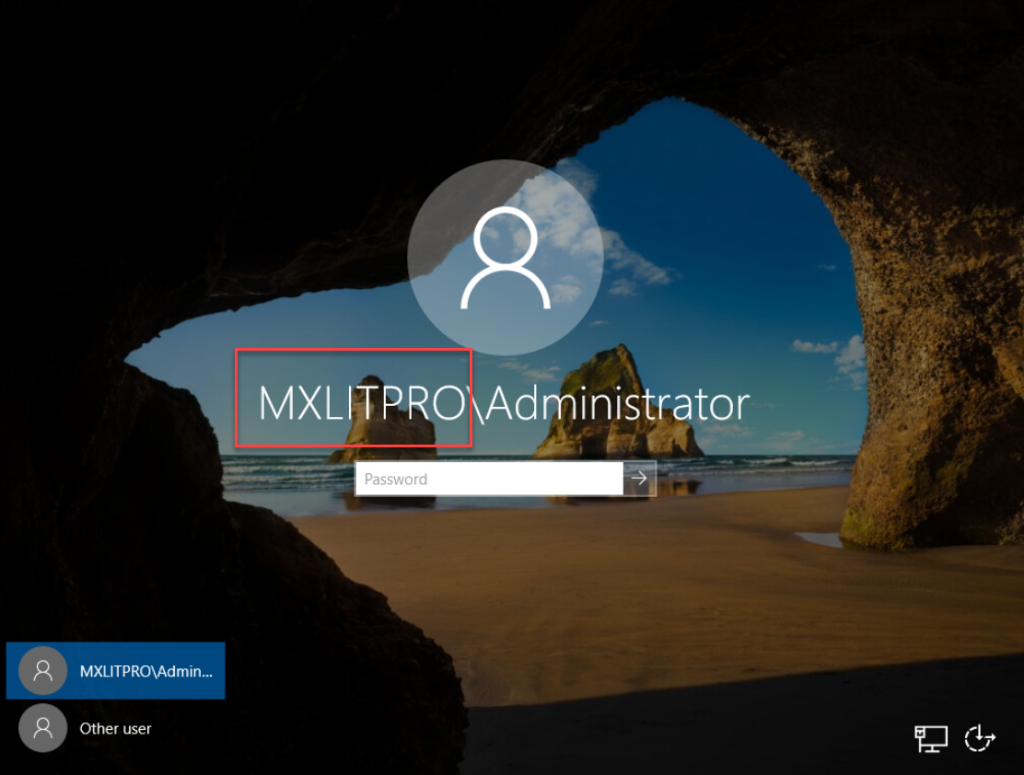
Note: The NetBIOS name is used when users are authenticated, for example: MXLITPRO\USERNAME
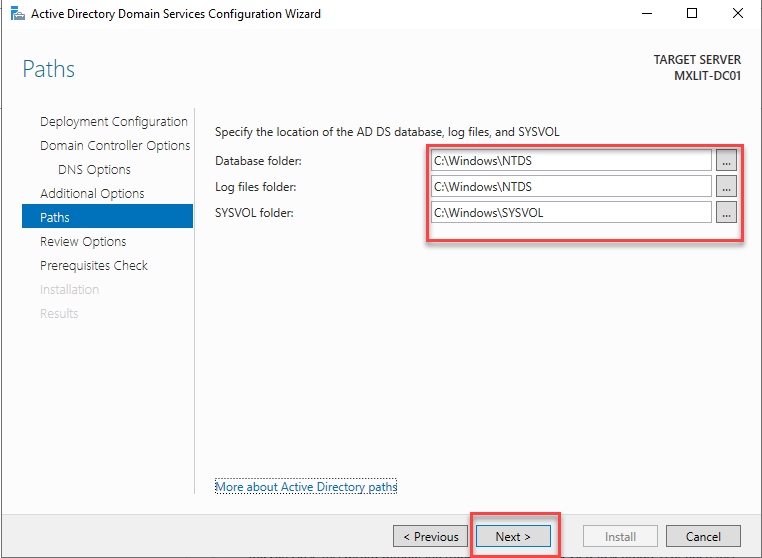
Here we will see where the ADDS database, logs, and SYSVOL folder will be stored. It is recommended to store the database on a different volume to facilitate recovery, as the selected volume is more prone to failure due to OS read and write operations.
In this case, I will leave everything as default since I will be using Veeam to back up my entire server and avoid any data loss.
With that said, let’s click Next.
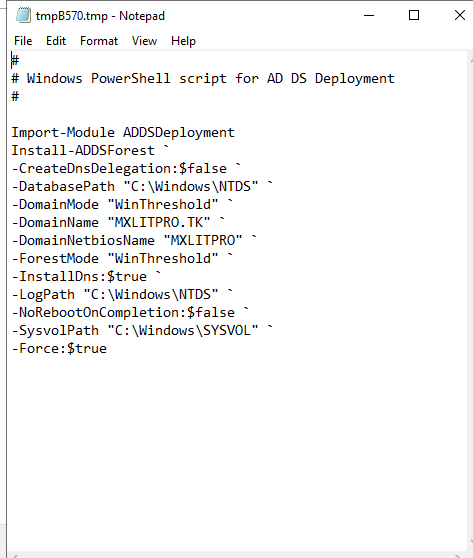
Here we will see a summary of the selected options, including the PowerShell script showing how to perform all the actions using commands.
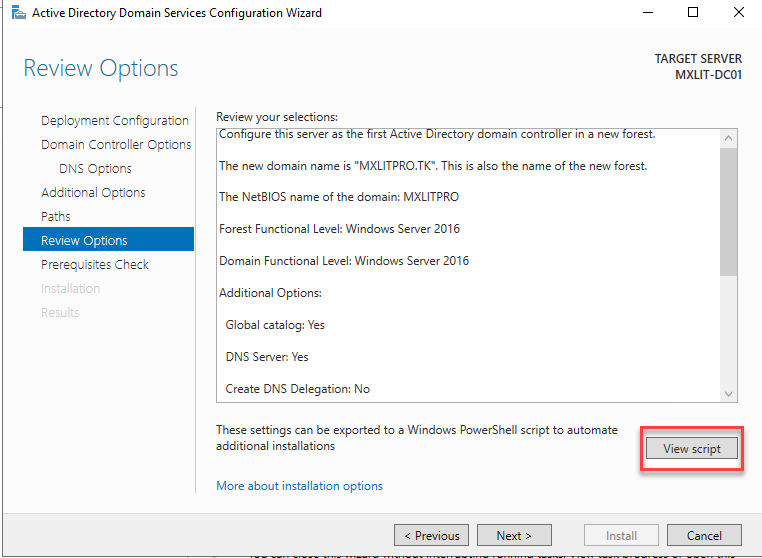
Same configuration from a PowerShell script
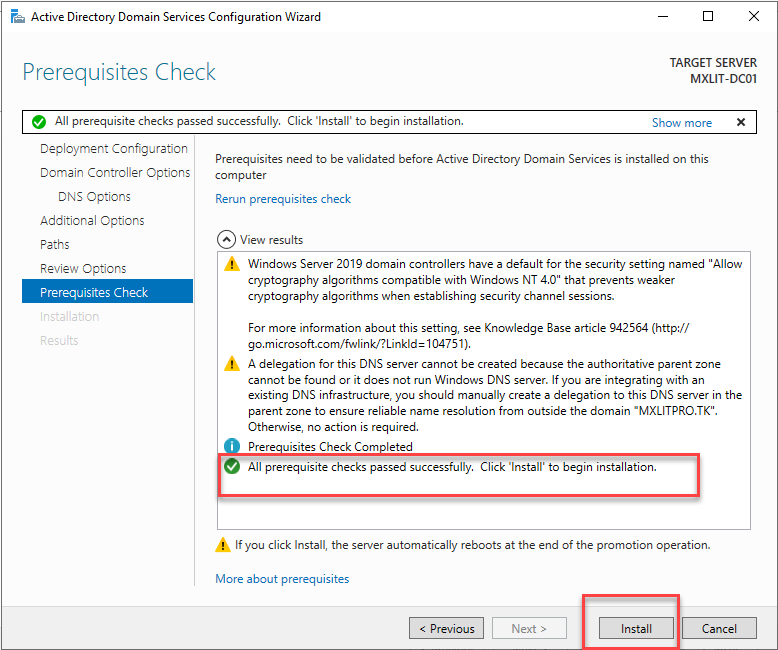
Start installation
Here it will show that all requirements checks have been successful.
Click Install.
Here the installation of our first domain controller will begin.
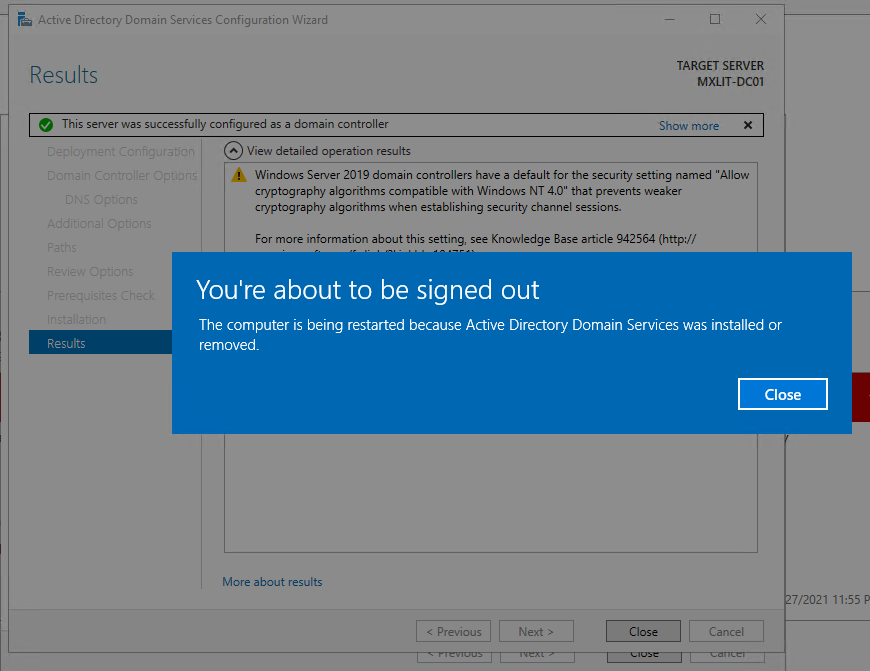
When complete After the installation of our domain, the server will restart. Click “Close” and wait for it to restart.
First Login
Now you can see that upon logging in, your domain name is displayed in the user field.
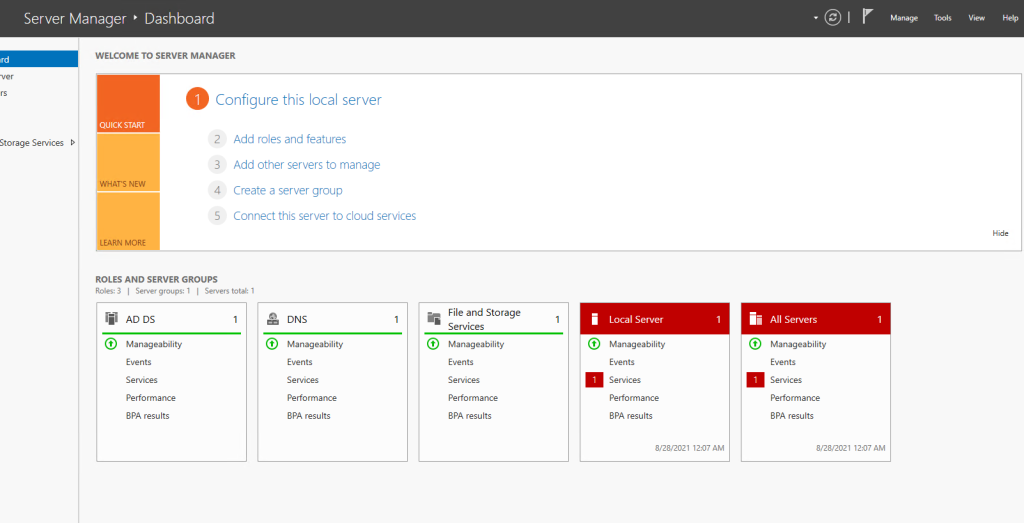
Once you have logged in for the first time, you can see in Server Manager that the ADDS and DNS roles are now active.
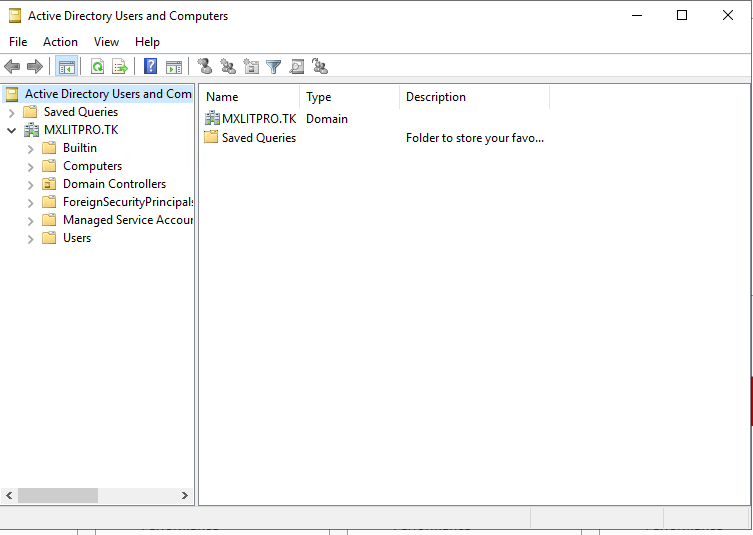
Go to Tools and then to Active Directory Users and Computers.
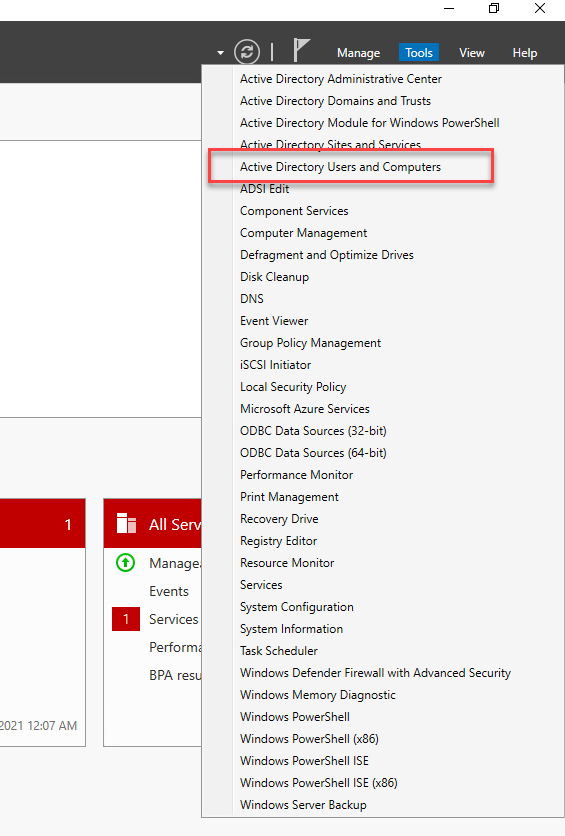
From here, you can begin creating users, joining computers to the domain, creating groups, organizational units, and performing all the administration of your domain.