In this post, we’ll see how to add another domain to an Exchange server.
First, we need to obtain a domain. This can be one you’ve purchased or any free domain. Then, we need to edit the MX records of the new domain so they point to our Exchange server.
To obtain a free domain, I’ve included the link here.
For this example, I’ll use the domain mxlitpro.tk, which was created previously.
Note: I’ll be using screenshots of the freenom DNS settings, so they may vary depending on where you registered your domain or if you manage your DNS through another provider like Cloudflare.
Log in to Freenom, select Services, and then My Domains.
Select Manage Domain.
Select Manage Freenom DNS.
Within the DNS settings, add an A record named mxlitpro.tk that points to your public IP address. Then add an MX record (MX stands for Mail Exchange, and these records are used to locate mail servers) that points to the A record you just created.
Now that the DNS is configured, we can proceed to configure it within the Exchange Admin Center.
Note: For this test, I will use a different test domain: networkingzone.net
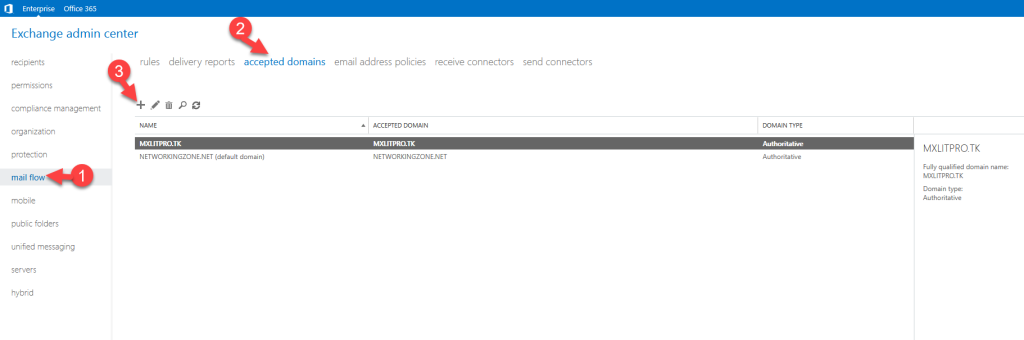
Go to the Exchange Admin Center, select Mail Flow in the left panel, then select Accepted Domains and click the + button.
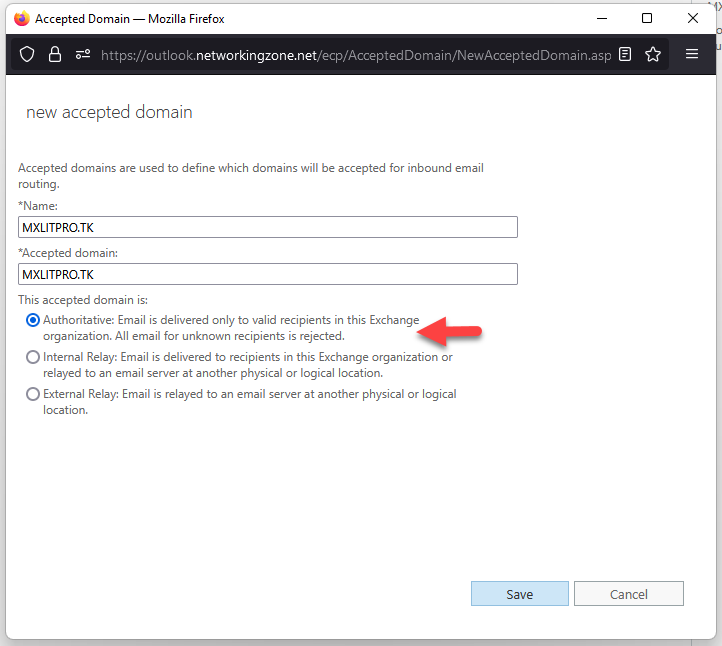
Add a suitable name (I recommend using the domain name in both fields), select Authoritative, and save the changes.
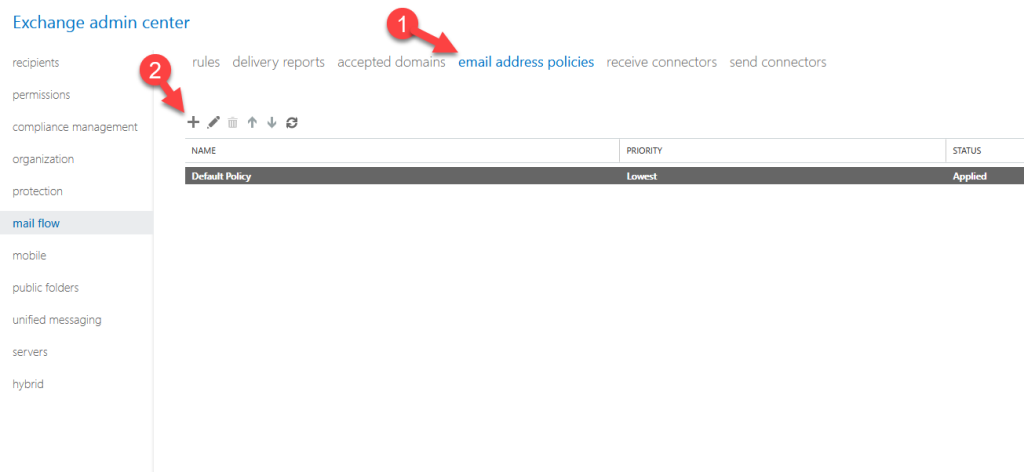
Now we need to create a mail policy and apply it to an OU. To do this, go to Email Address Policies and select +.
Add the policy name and click the + button to add the desired mail format.
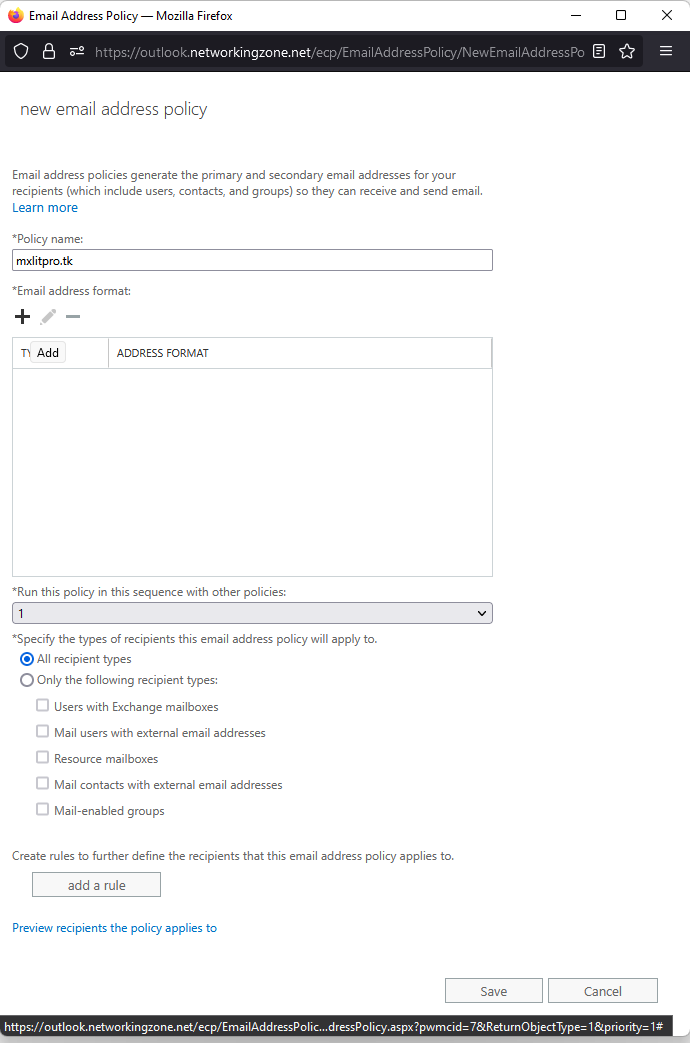
Select the accepted domain and choose the desired formats.
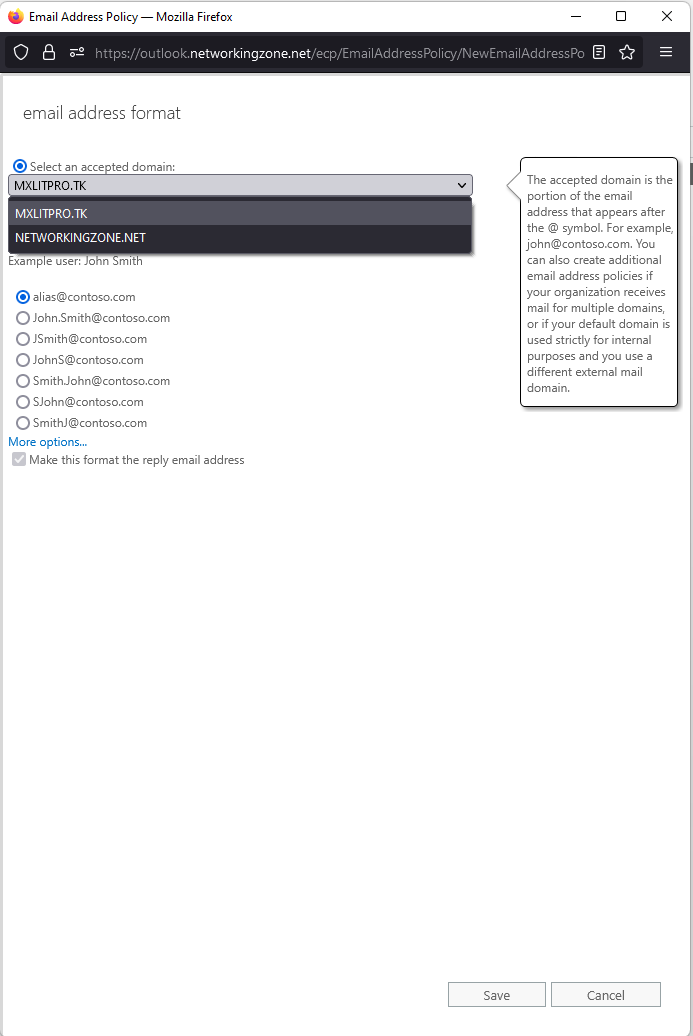
Now that you’ve selected the desired email formats, select where you want to apply the rule. In this case, I’ll select “Recipient container” since the rule will be applied within an OU.
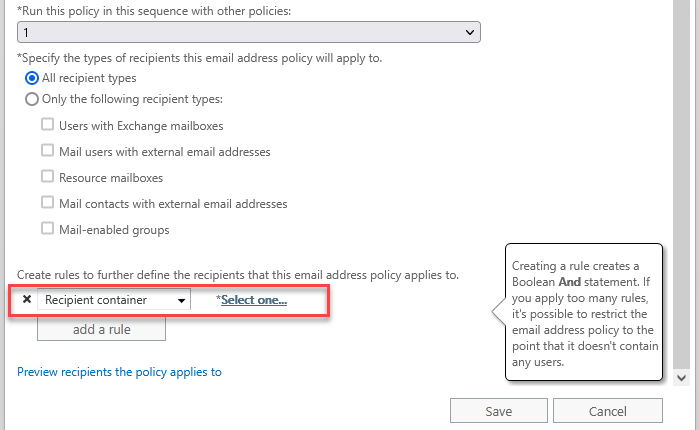
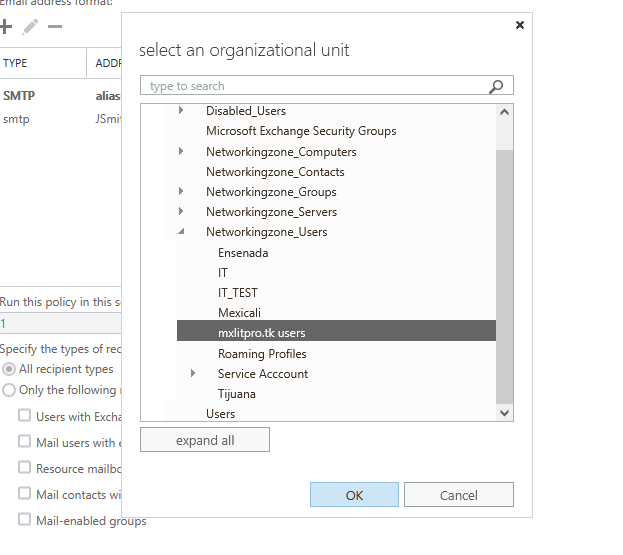
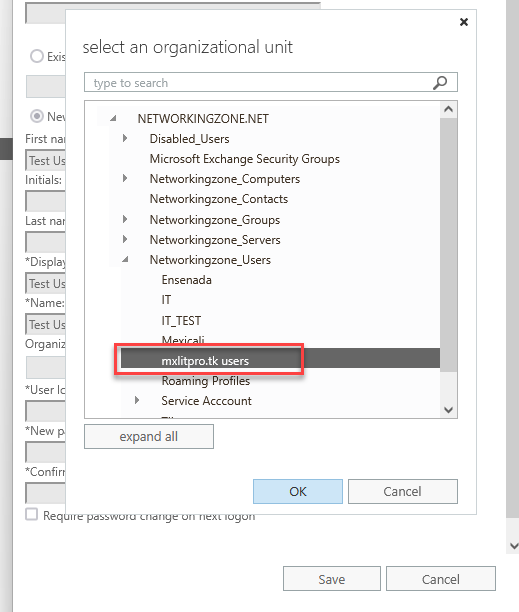
Select the OU where the rule will be applied.
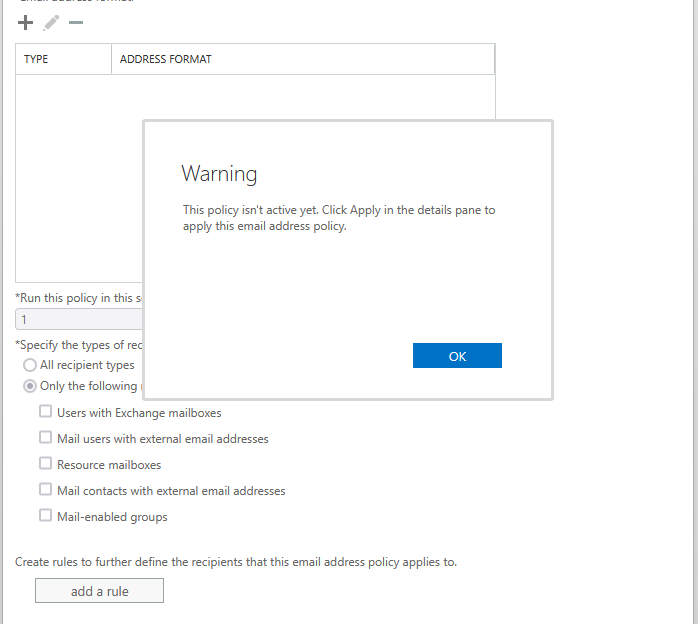
Save the changes and accept the warning that says the rule hasn’t been activated yet.
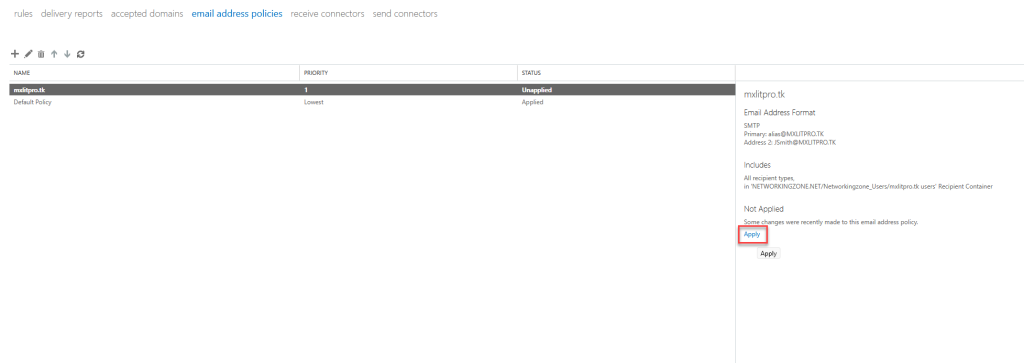
Select the rule you just created and apply the changes using the button on the right.
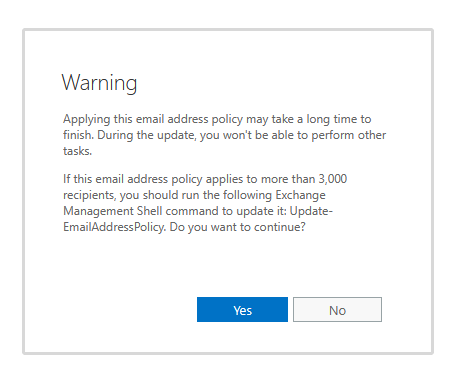
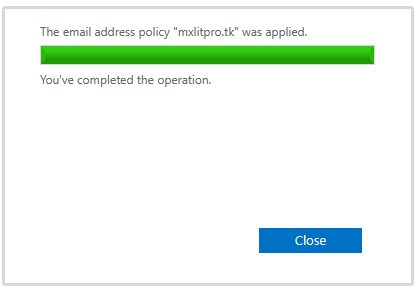
Accept the warning and then close the window when the changes have finished being applied.
Now that the rules have been created and applied to the corresponding OU, we can create a user to perform our tests.
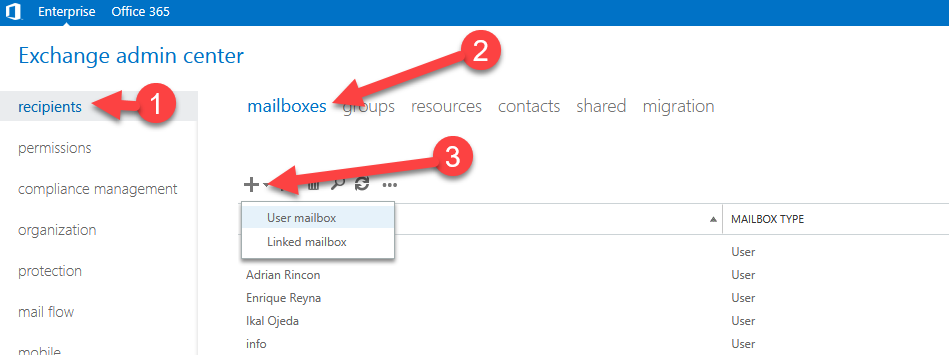
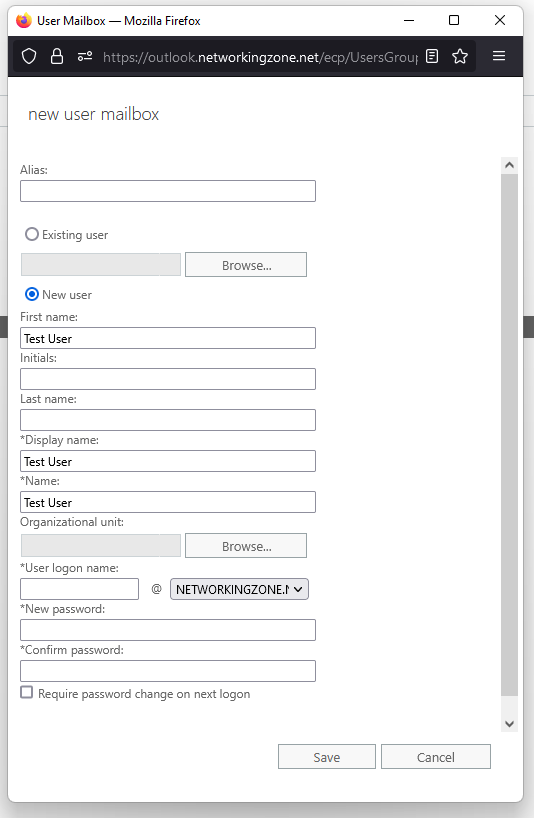
To do this, go to Receptacles, Mailboxes, and then click the + button, selecting User mailbox.
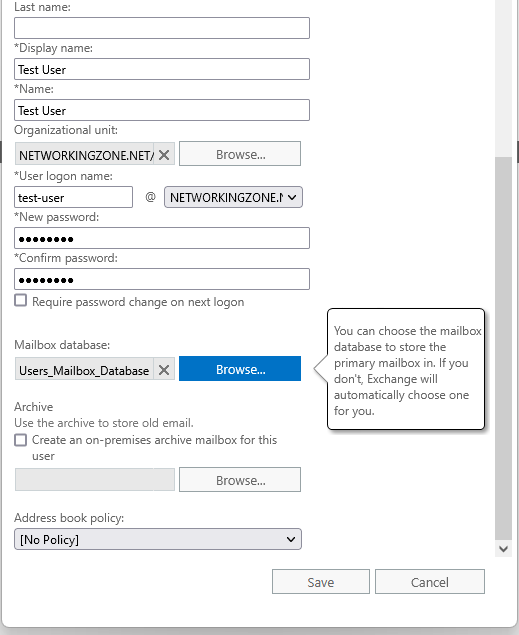
Enter the required user data, select the OU where the user will be created (to do this, select the OU where the previously created rule was applied), and save the changes.
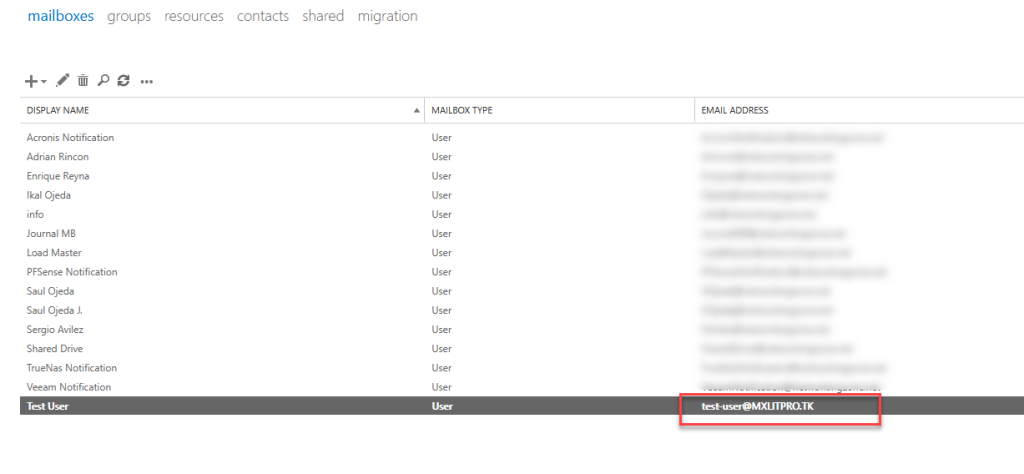
Once created, you’ll notice that the new email domain has been added correctly. This is because the user is within the OU to which we applied the rule.
Now, to verify that our new email domain is working correctly, I’ll test it from my Google Mail account.
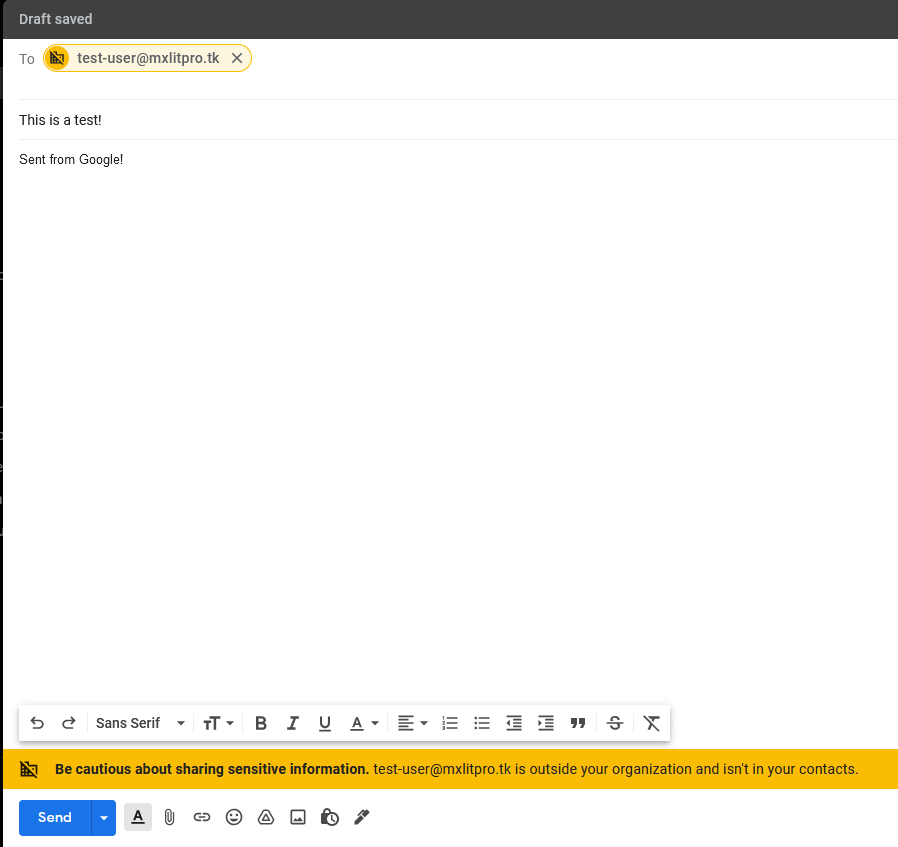
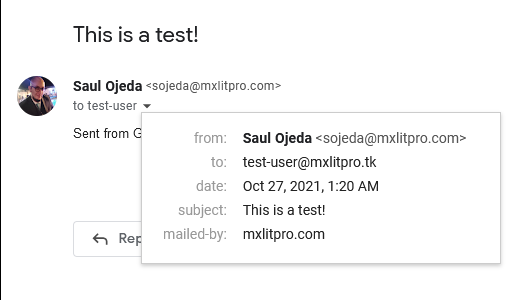

As you can see, our new email domain has been added and is working correctly on an existing Exchange server.