In this post, we’ll see how to configure a DHCP server, add the necessary role, and configure the scopes.
Having a DHCP server within your organization is essential, and here we’ll see the configuration step by step.
For this post, I’ll use the primary Domain Controller to add the DHCP role. While this is common practice in many environments, you should consider the number of clients that will be connected to avoid impacting server performance.
With that said, let’s proceed with the configuration.
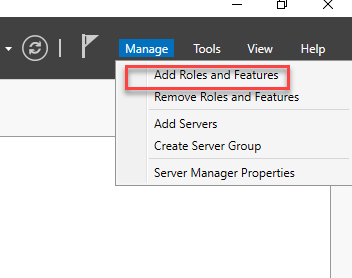
Log in to the server and click on “Add Roles and Features”.
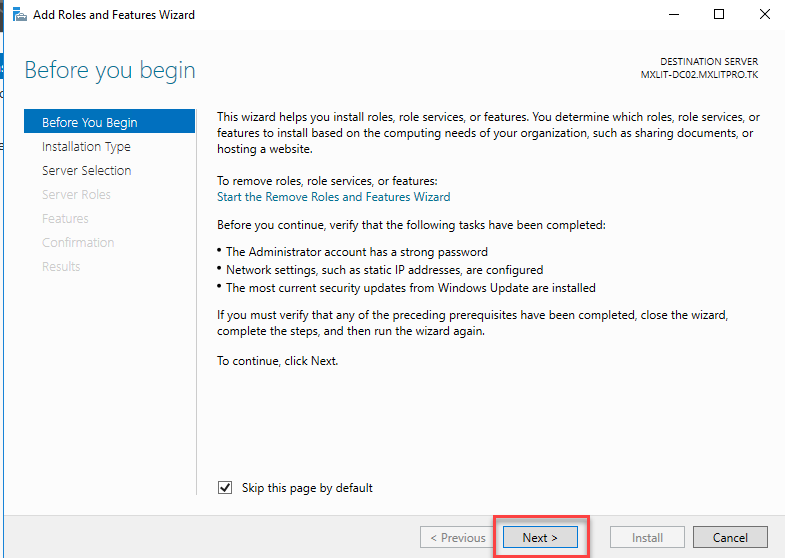
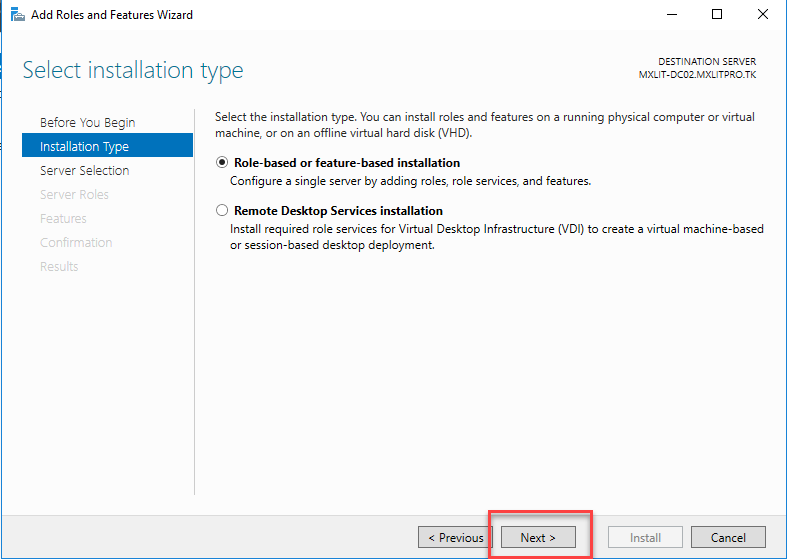
Click Next.
Click Next.
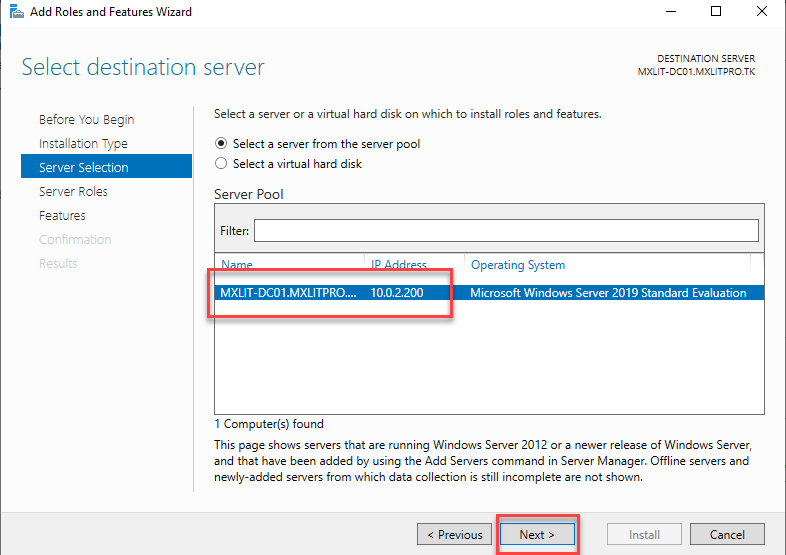
Verify that the desired server is selected and then click Next.
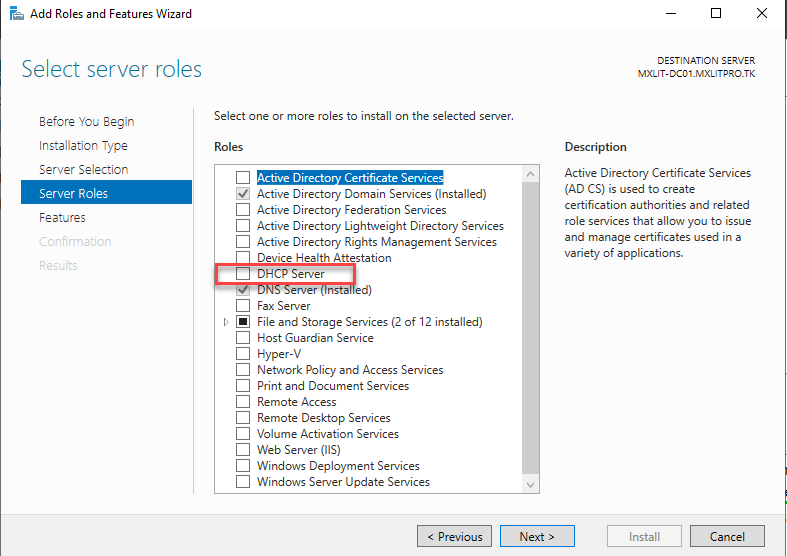
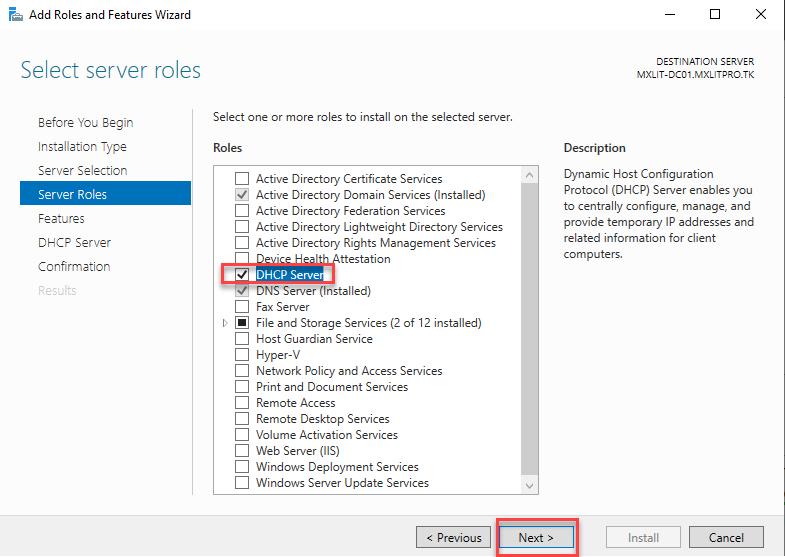
Select DHCP Server.
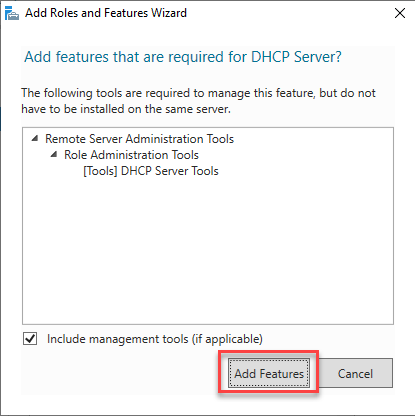
Select “Add Features”.
Verify that the DHCP Server role is selected and click Next.
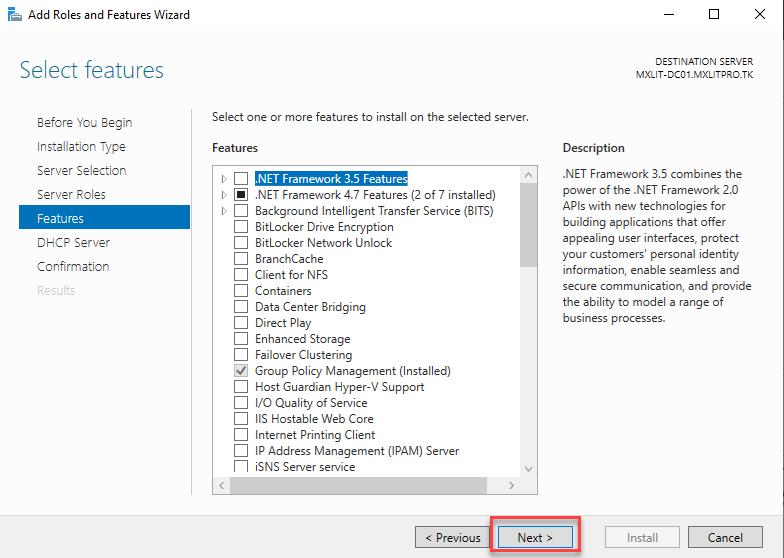
Click Next.
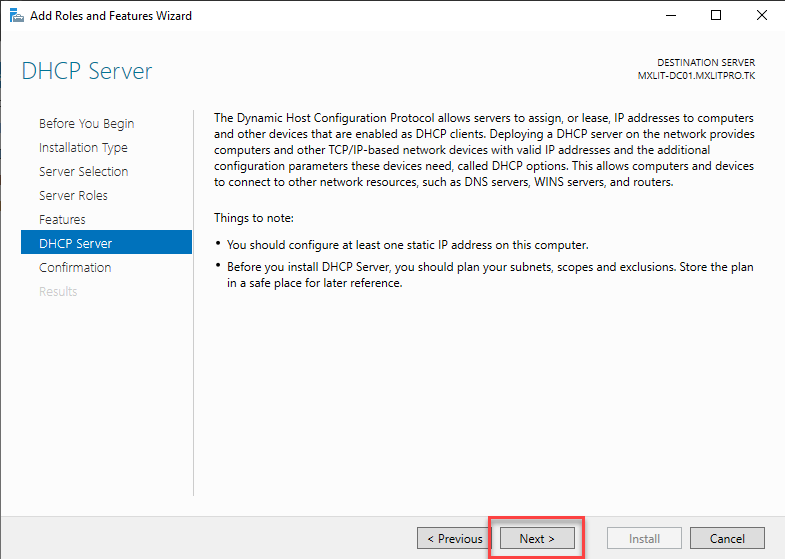
Click Next.
Click Install.

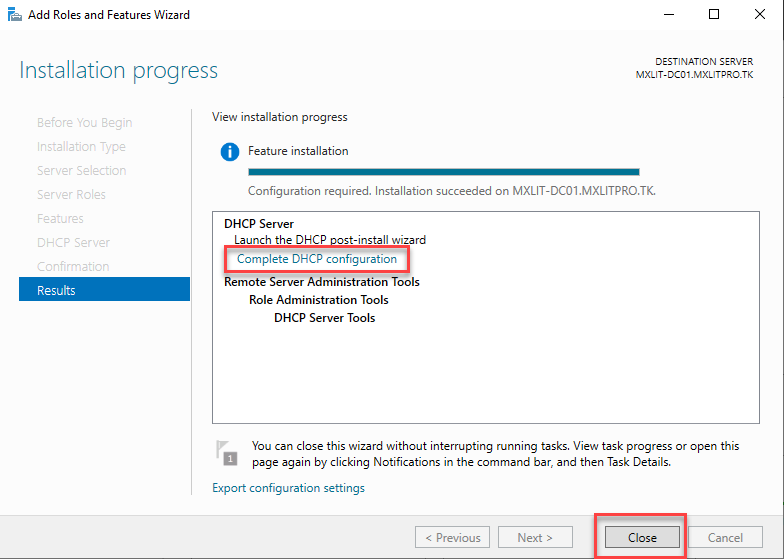
Wait for the installation to finish.
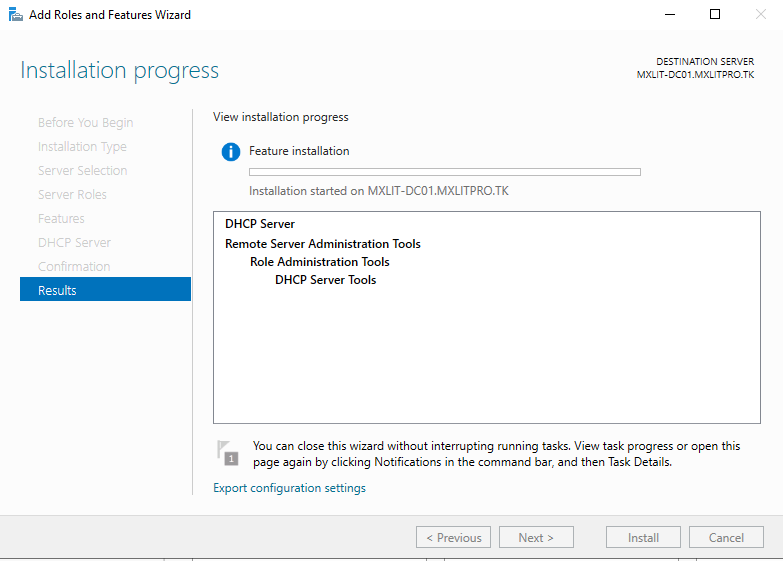
Here we can complete the configuration by clicking the marked link. I’ll close this window and complete the configuration another way in case you close it by mistake.
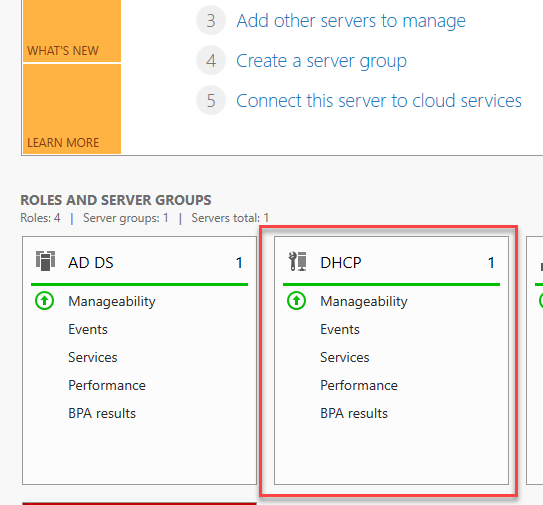
As you can see, the DHCP role is active.
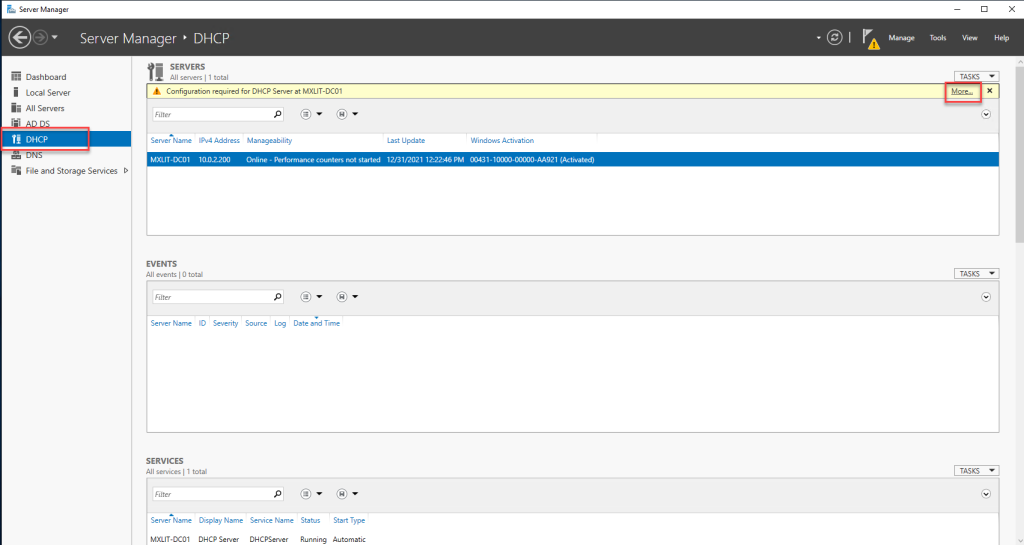
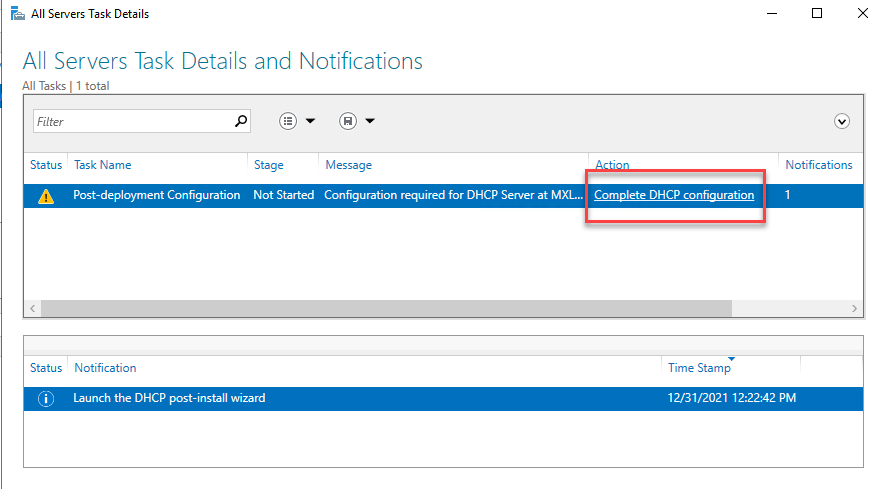
In the server manager, click DHCP and then select the “More…” button to complete the configuration.
Click Complete DHCP Configuration.
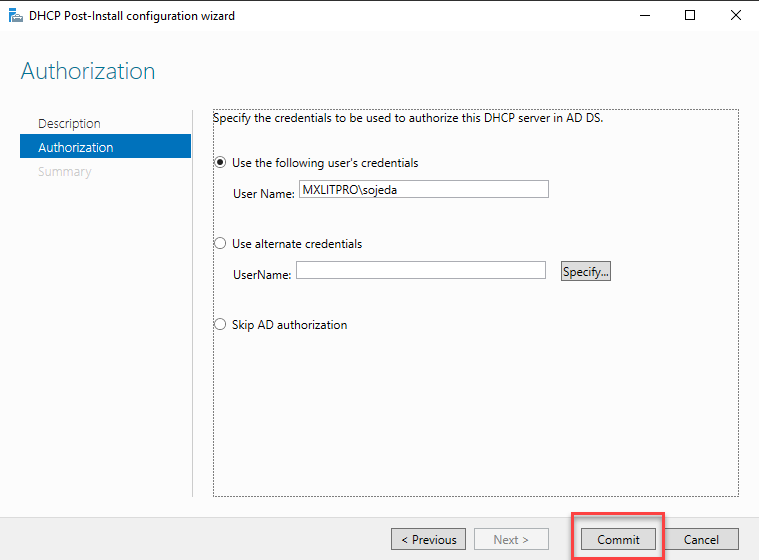
Click Next.
Click Commit.
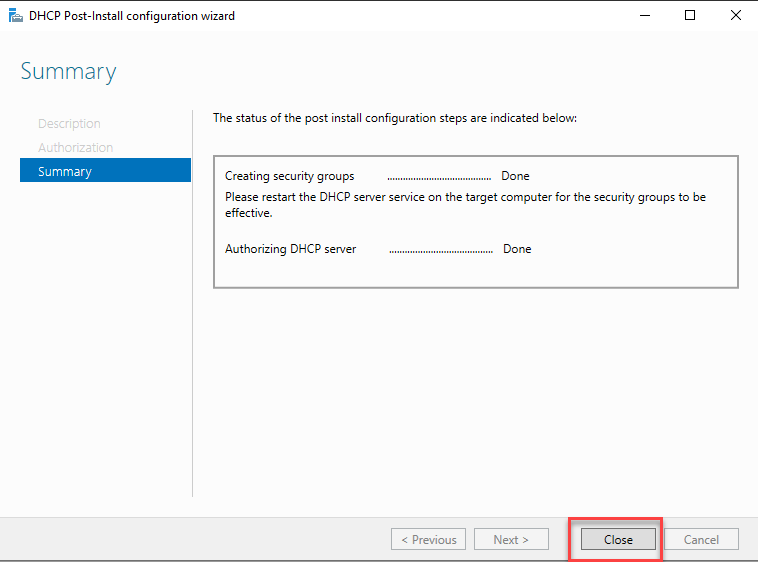
Close this window to finish.
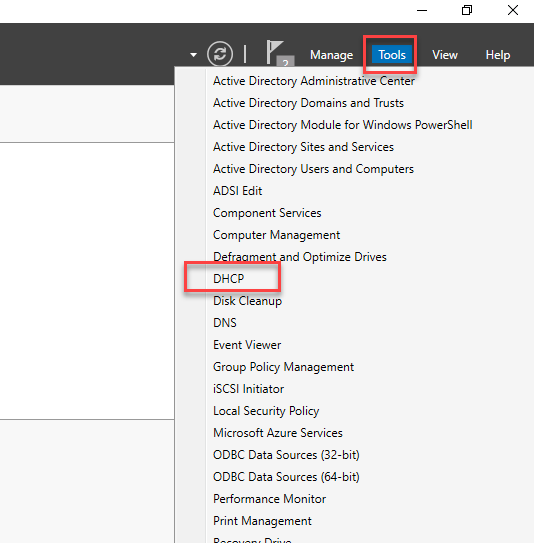
Once you have the DHCP server authorized, go to Tools and select DHCP.
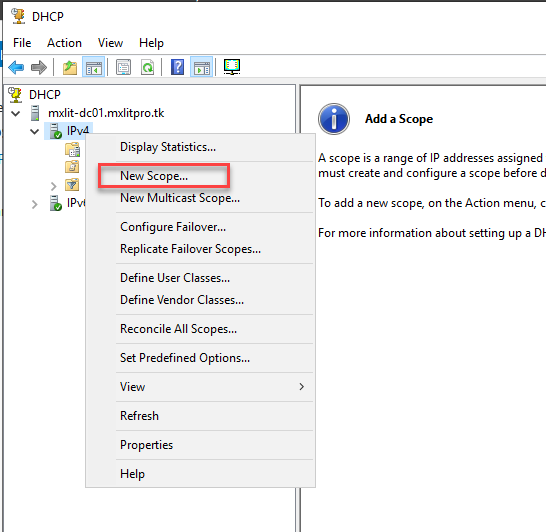
Expand the server name, right-click on IPv4, and select “New Scope…”.
Click Next.
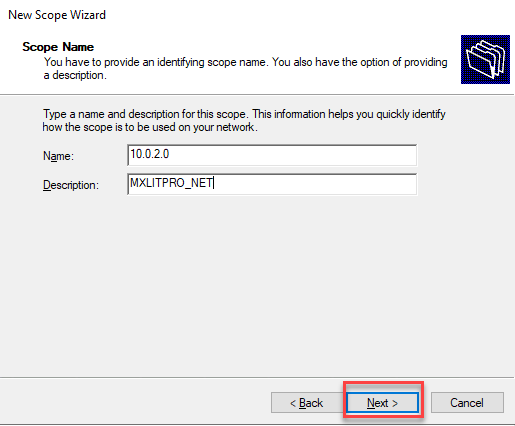
Add the desired name for the scope (this is optional).
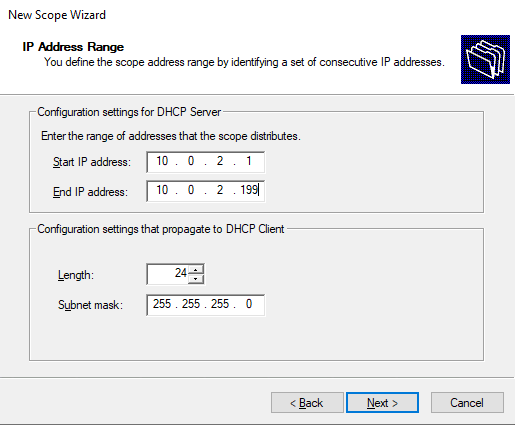
Here you add the range of IP addresses that the DHCP server can distribute. You can tell the DHCP server to only assign a certain range of addresses within the entire scope, or you can tell it to assign all available IP addresses within the scope and create an exclusion in the next window. In my case, I’ll tell it to start at the first assignable address and end at the last.
Note: This may change depending on the length of bits assigned to the subnet mask.

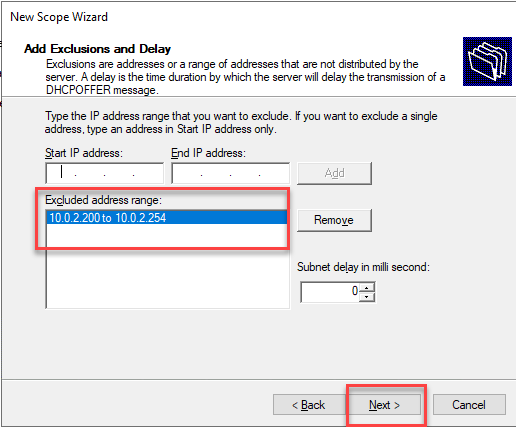
Here you can create exclusions within the scope. This is useful if you want to use a certain range of static addresses, whether for other servers, printers, or devices that you want to always have the same address and prevent the DHCP server from trying to assign that address to another device that requests it.
Here you add the DHCP lease duration for the device. By default, it’s 8 days, and there’s something to keep in mind.
The DHCP server won’t assign an address with an active lease. If this scope is for LAN devices that don’t disconnect very often, then an 8-day lease is recommended. However, if you’re configuring for wireless devices, I recommend setting the lease to one day.
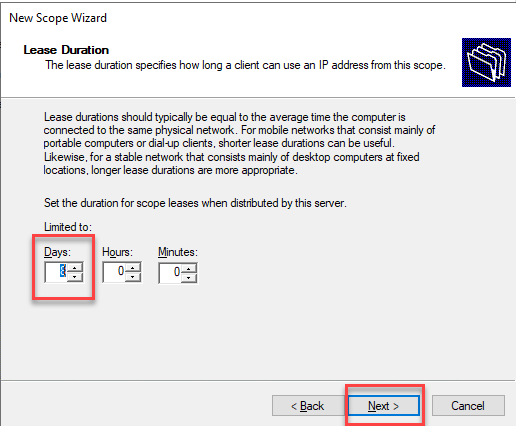
Click Next.
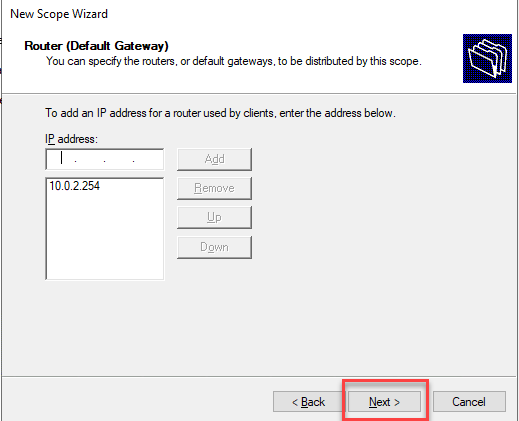
Add the Gateway IP address and click Next.
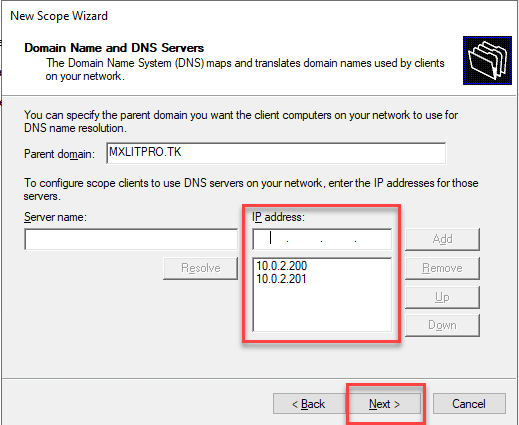
Add the DNS server IP addresses. In this case, I’ll add the addresses of both Domain Controllers.
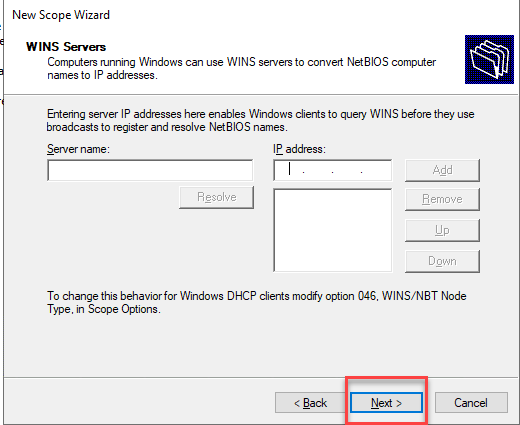
Here you can add the IP address of a WINS server. Here, I’ll just click Next without adding a WINS server.
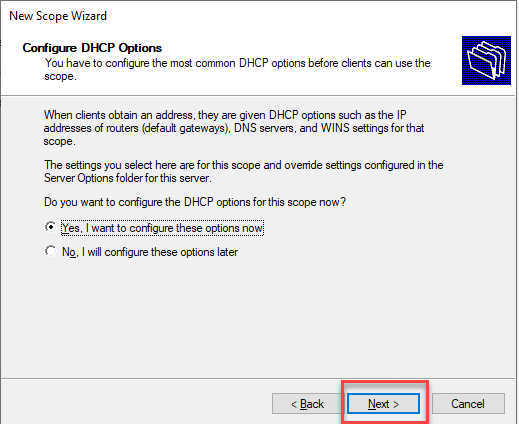
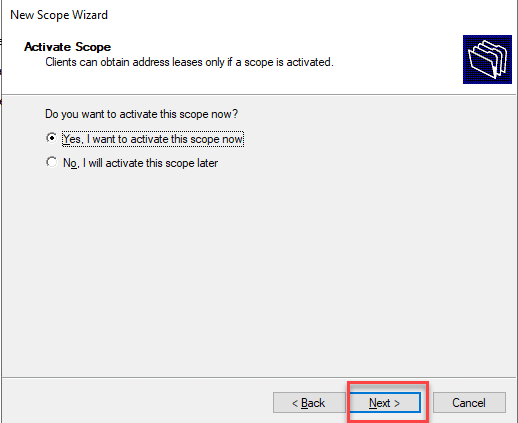
Leave the default selection and click Next.
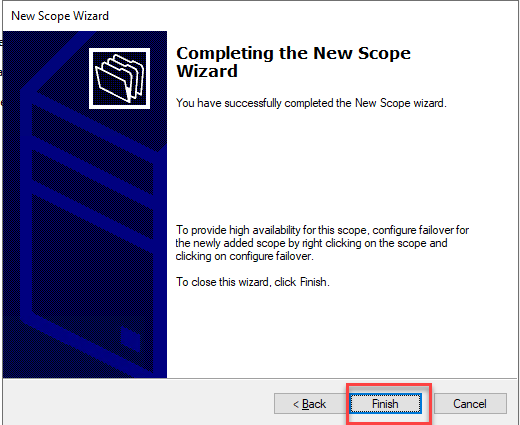
Click Finish.
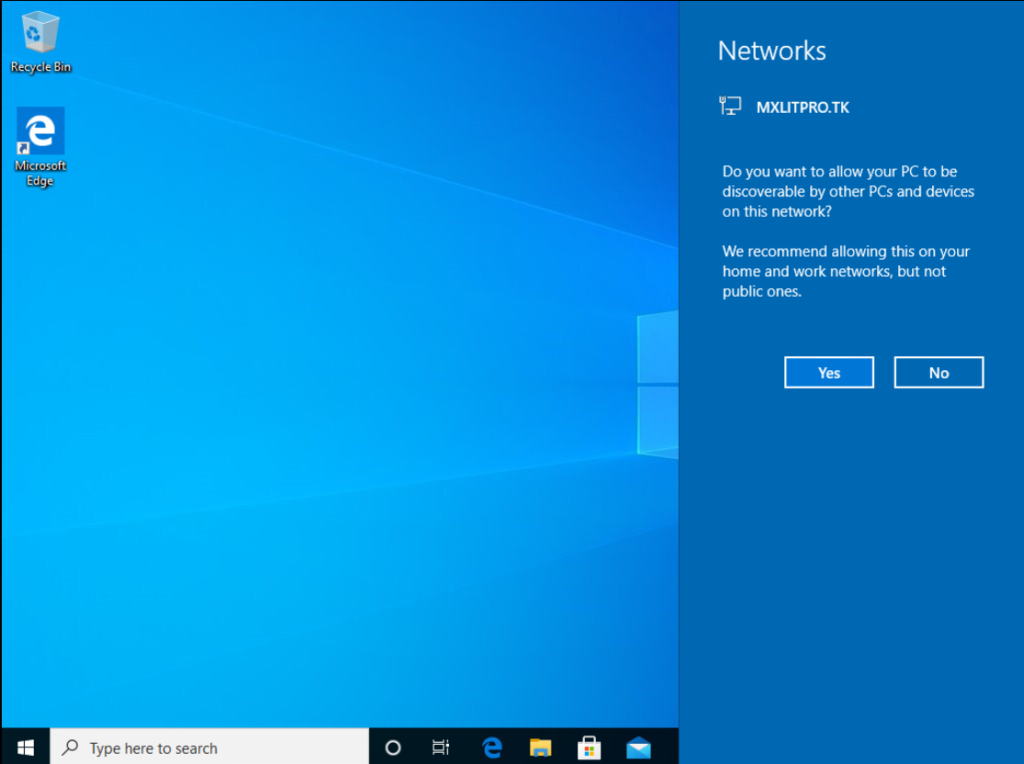
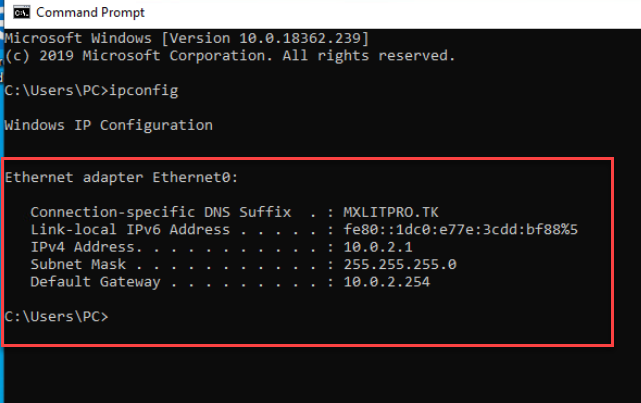
To verify that the server is working correctly, I connected a computer to the network, and it was automatically assigned an IP address from the scope I configured.
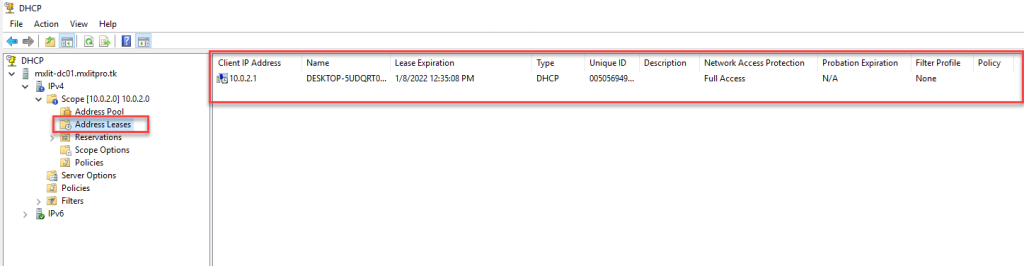
You can check the assigned addresses in “Address Leases”.
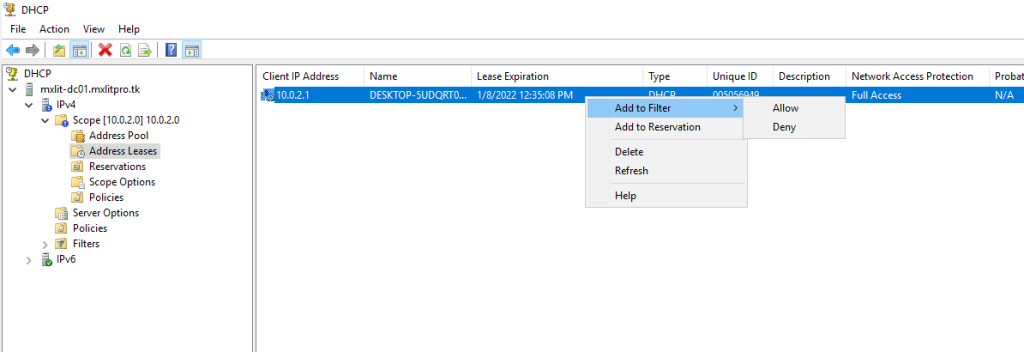
By right-clicking on the device, you can add a filter, add it to the IP reservation, or simply delete it to make that IP available again even though the lease hasn’t ended.
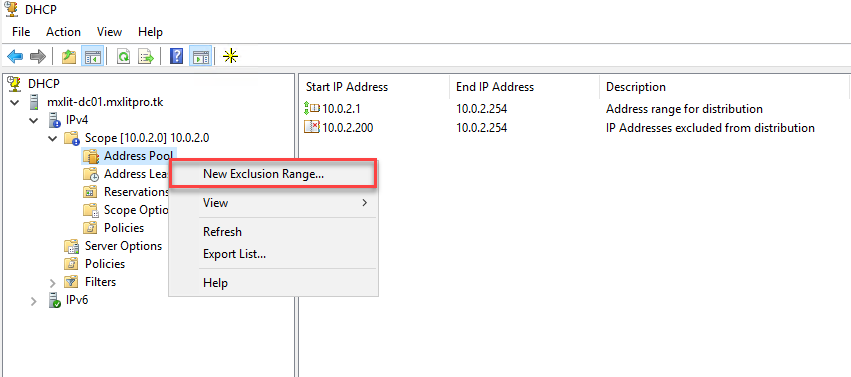
You can create another exclusion range like this. Right-click on the address pool.
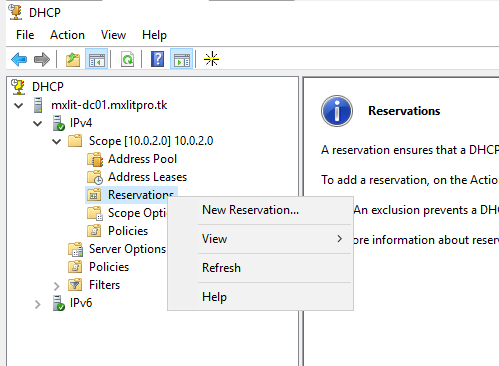
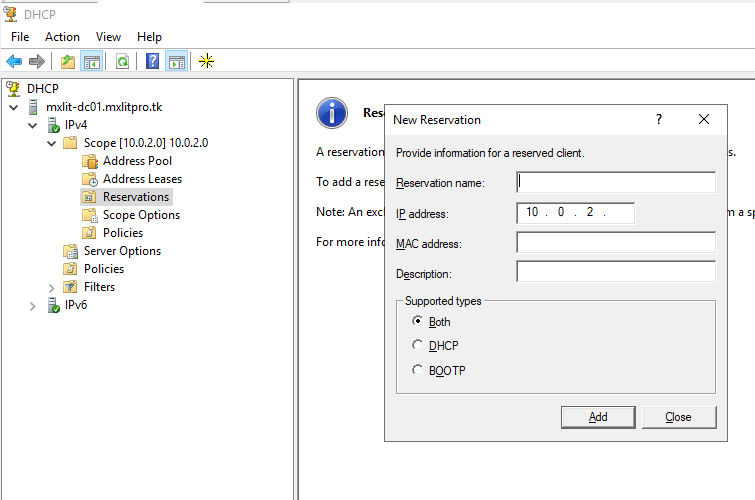
You can add an IP reservation. Unlike exclusions, here you can directly assign the IP address, and you will need to provide the MAC address.
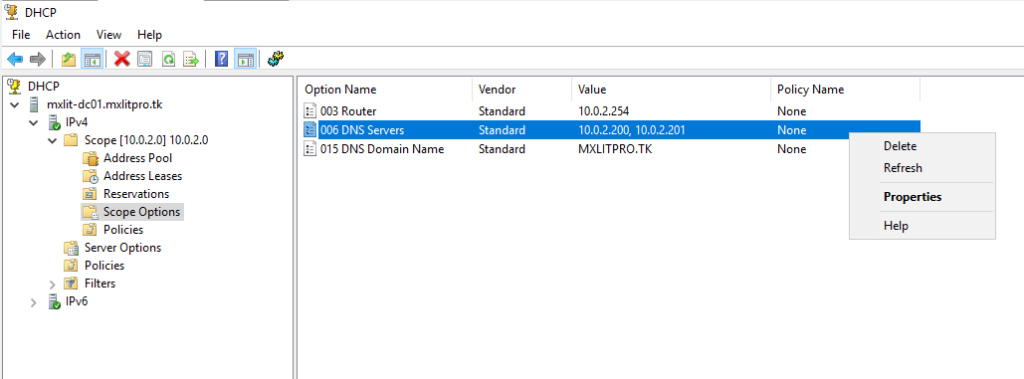
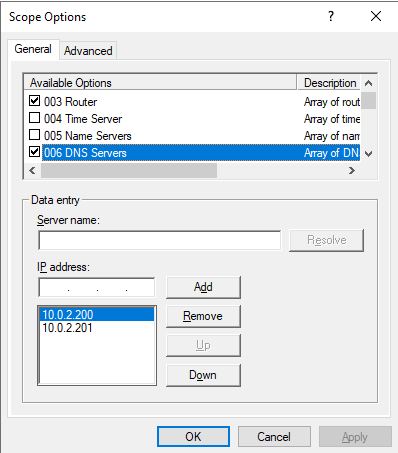
Within the scope options, you can reconfigure the Gateway, DNS, etc.
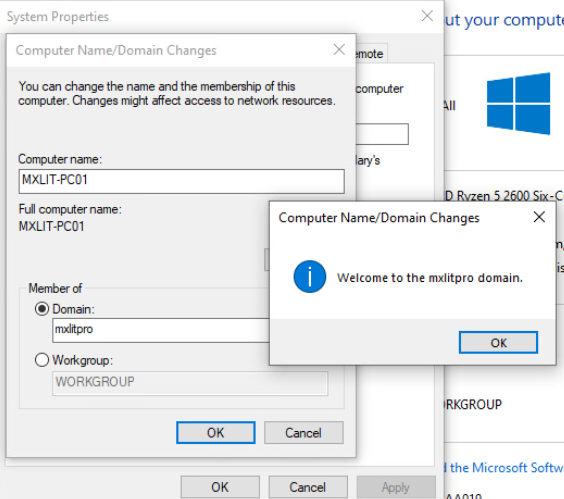
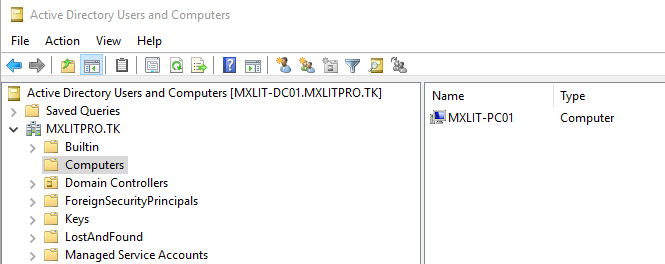
With everything perfectly configured, you can now add computers to the domain without problems, without configuring DNS, Gateway, or static IPs.