In this post, we’ll see step-by-step how to install the VMware ESXi Hypervisor… but what is a hypervisor?
A hypervisor is software that allows a server to allocate resources to different virtual machines hosted on it by using shared resources, such as memory and processing power.
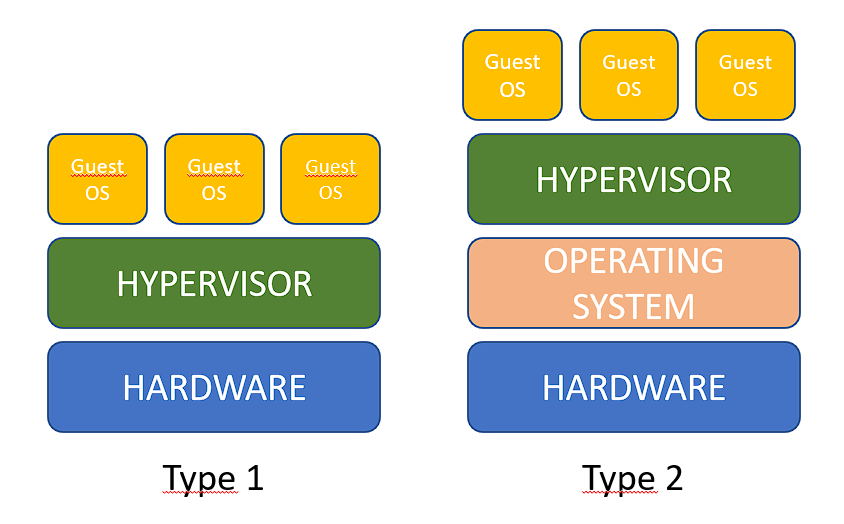
Generally, we can find two types of hypervisors.
Type 1 hypervisors are those that are installed directly on the computer, while Type 2 hypervisors are those that are hosted within another operating system, such as Microsoft Hyper-V, VirtualBox, VMware Workstation, and others.
You can access the following link: VMware vSphere Hypervisor (ESXi) 6.7 Download Page to download the ISO. You’ll need to create an account, but it’s quite simple. Keep in mind that there are certain limitations with this hypervisor if you don’t have a license.
This software is completely free and can be used with the free license that VMware generates when you create your account and download it.
There is no support for the free version, but there is a large community within the VMware Communities forums.
Some API features are not enabled. * The maximum number of hosts is 480.
The maximum number of vCPUs per virtual machine is 8.
The maximum number of CPUs on the ESXi server is 2.
The maximum amount of RAM is 12TB.
Cannot be joined to vCenter or a cluster.
With that said, let’s proceed with the hypervisor installation.
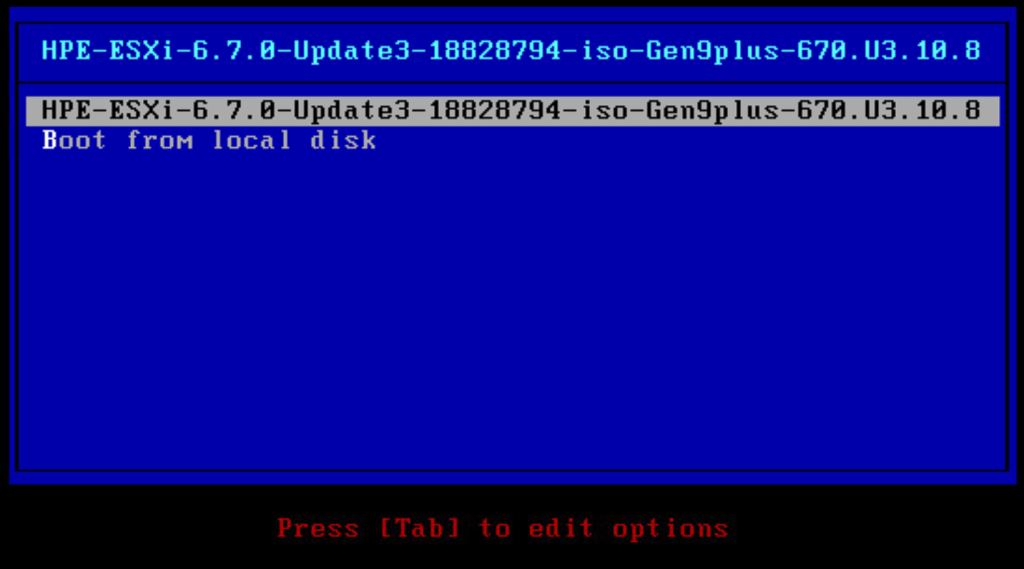
Boot from the downloaded ISO.
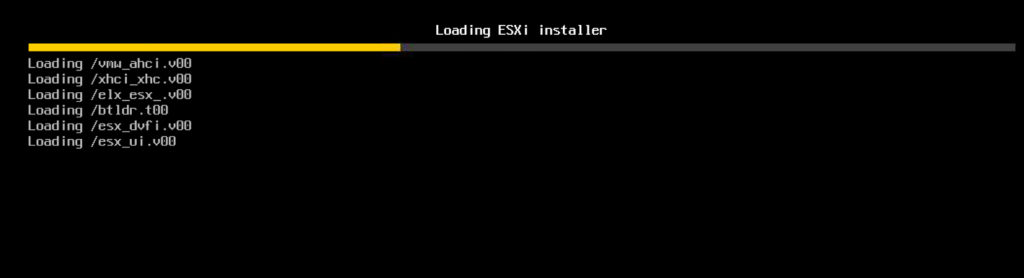
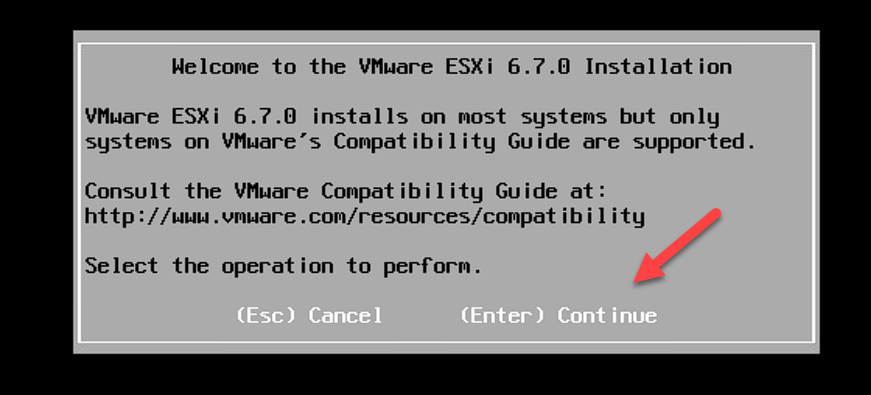
Wait for the installer to load.
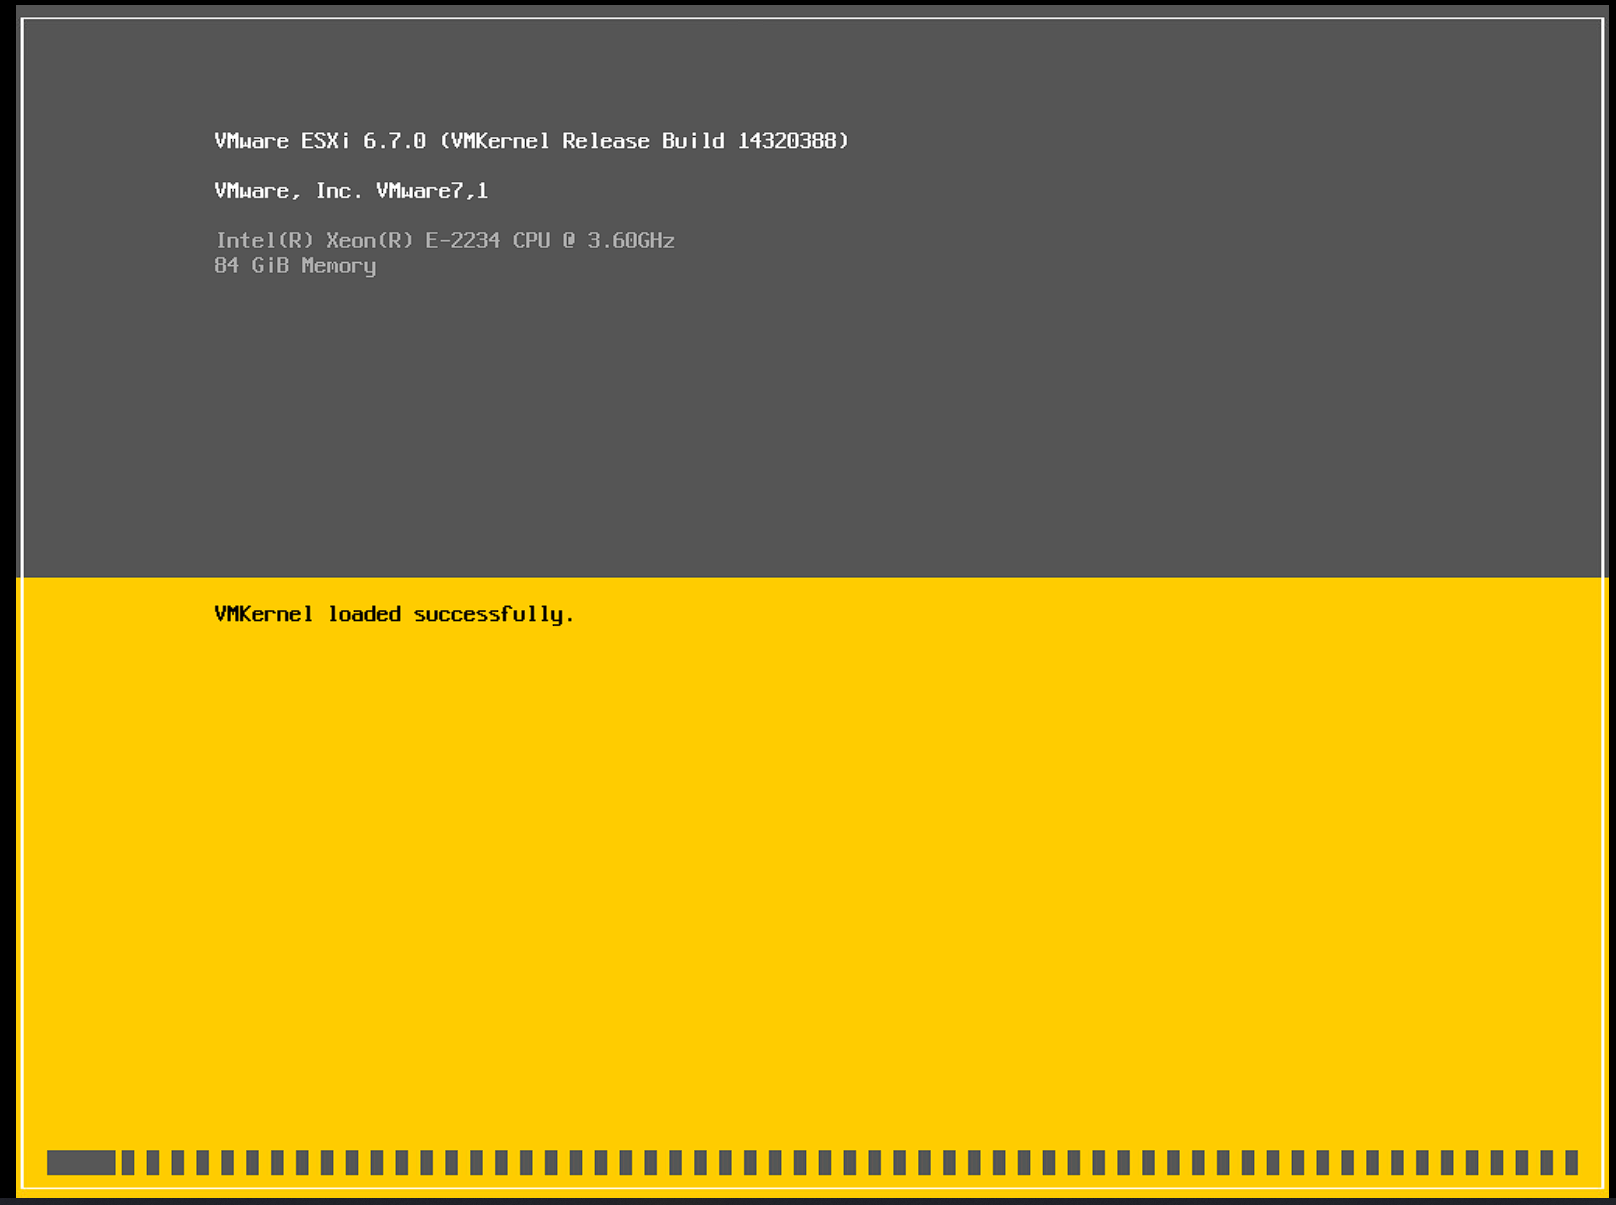
Press Enter to continue with the installer.
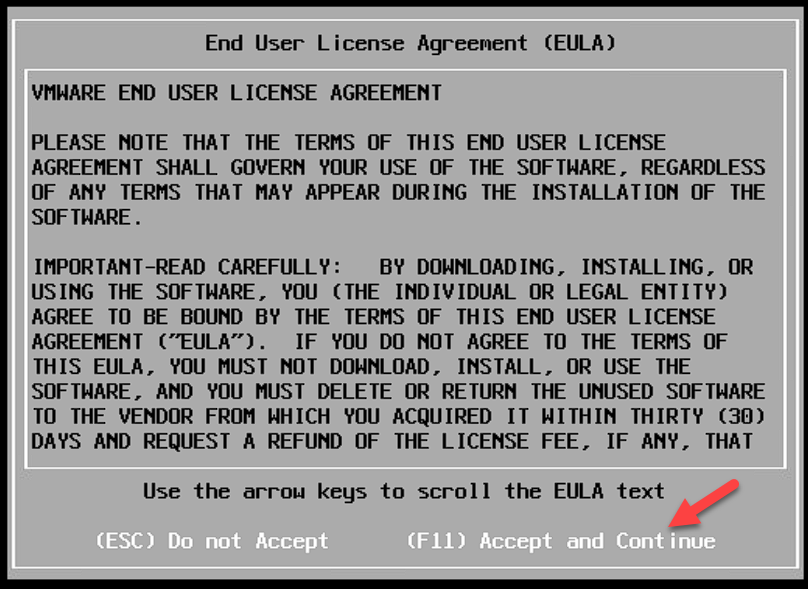
Accept the license agreement.
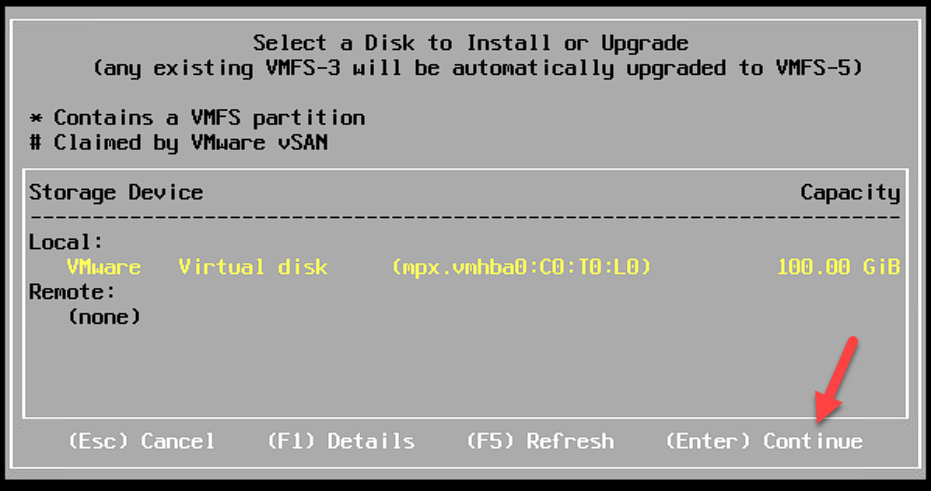
Select the storage and press Enter.
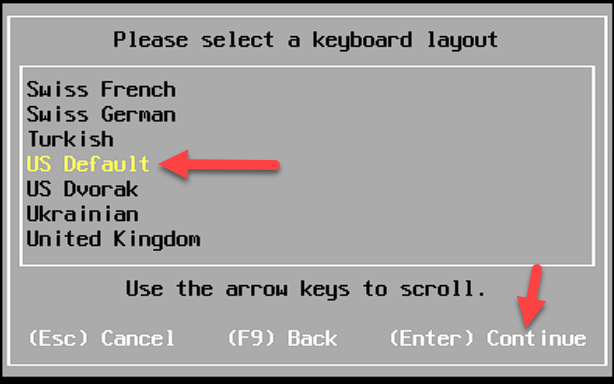
Select the keyboard layout and press Enter.
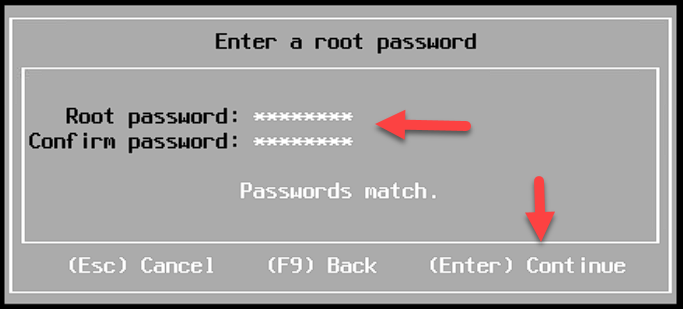
Select a password, confirm it again, and press Enter.
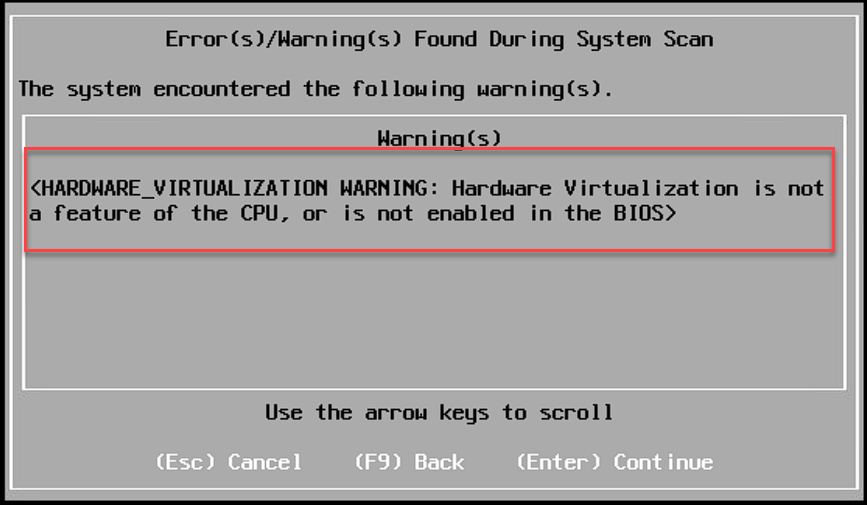
Note: If you encounter an error like the following, you must enable hardware virtualization in your computer’s BIOS.
If everything is correct, press F11 to begin the installation.

Wait for it to finish; this process may take about 5 minutes.

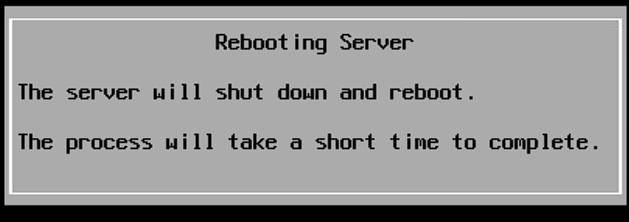
Once the installation is complete, remove the installation media and press Enter to restart.

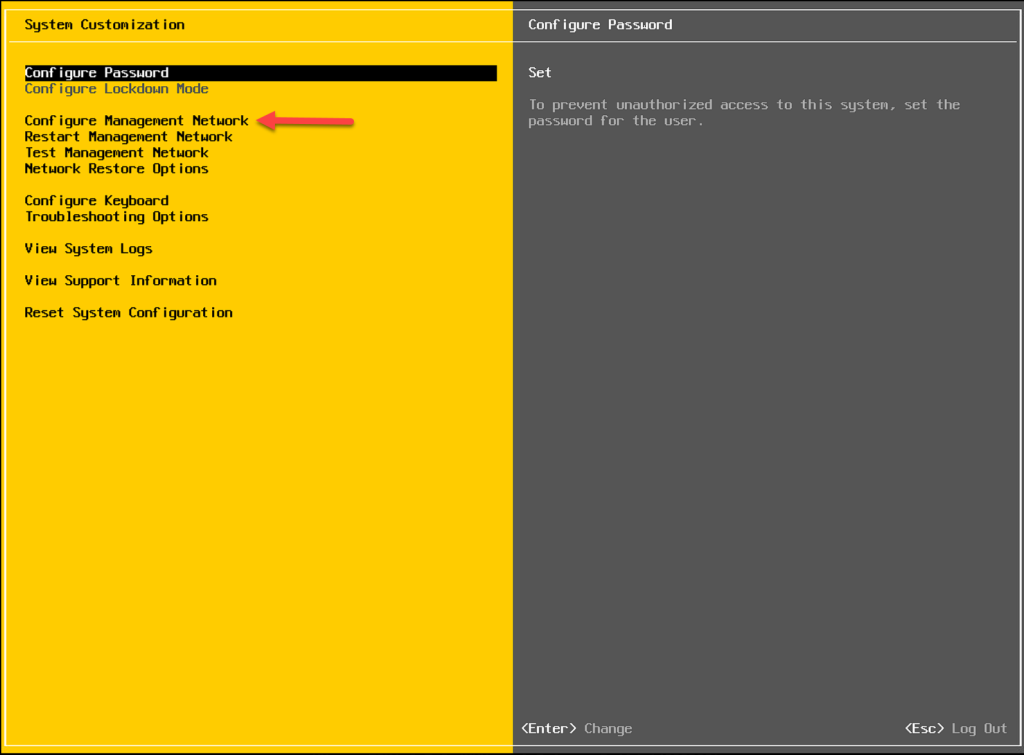
Once the server restarts, you will be able to see the server’s information, such as CPU, RAM, and IP addresses. To configure a static IP address, press F2 to access the configuration.

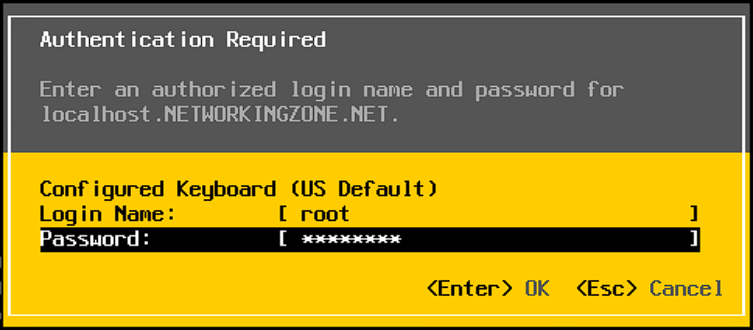
This process requires you to enter the password that was previously configured.
Go to Configure Management Network.
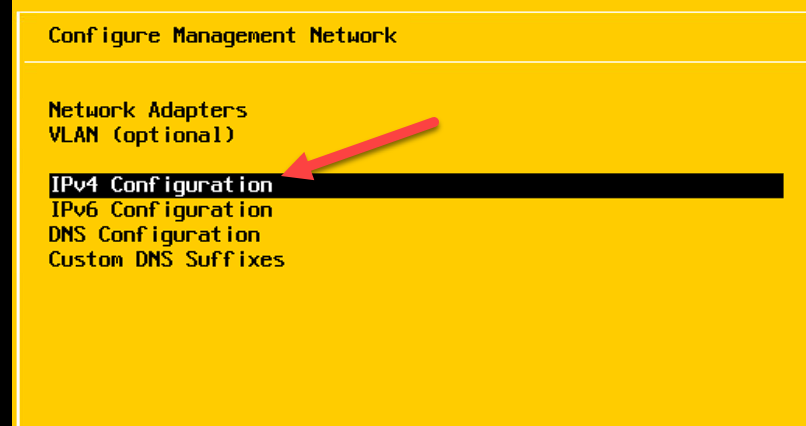
Go to IPv4 Configuration.
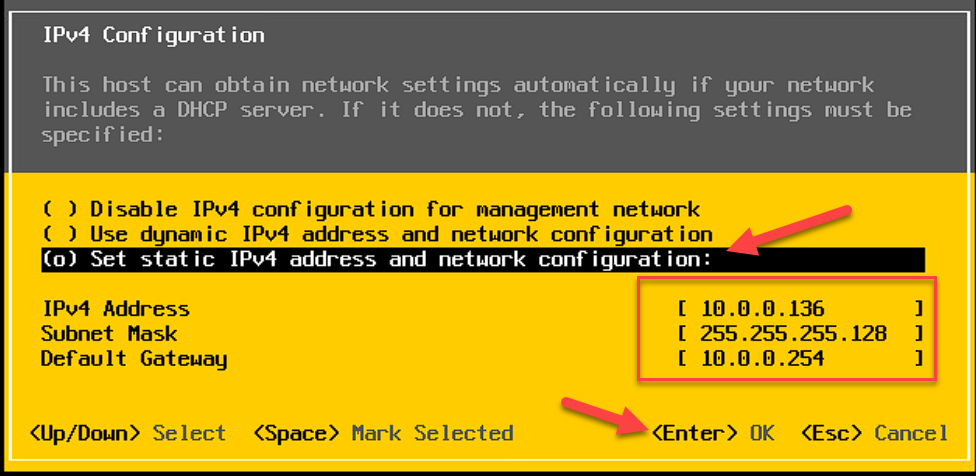
Select the third option to configure the desired static IP address and press Enter.
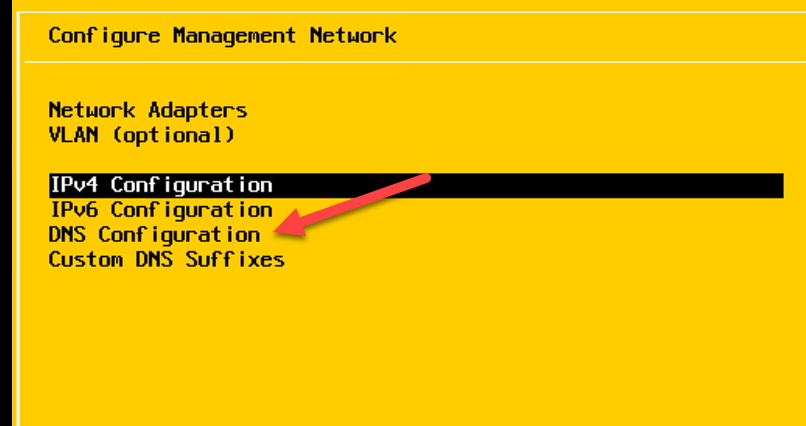
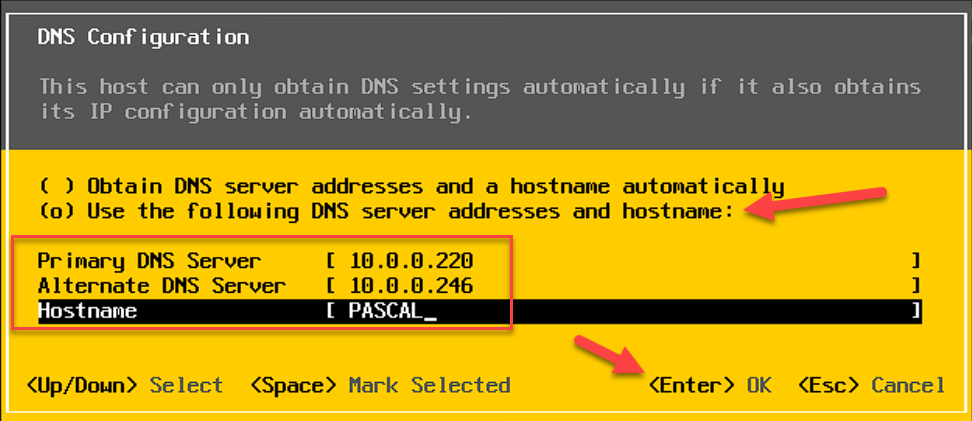
To configure DNS, select DNS Configuration.
Select the marked option to choose the desired DNS servers, enter the primary and secondary DNS servers (if applicable), as well as the hostname, and press Enter.
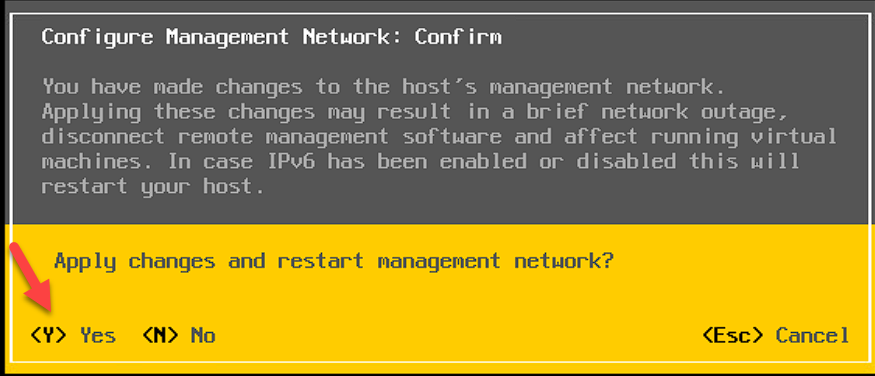
When you try to exit the network configuration, you will be prompted to restart the network for the changes to take effect. Press Y to apply.
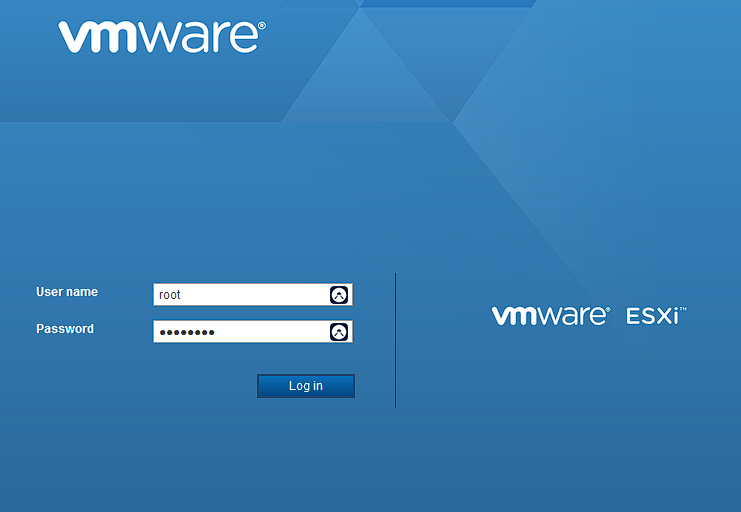
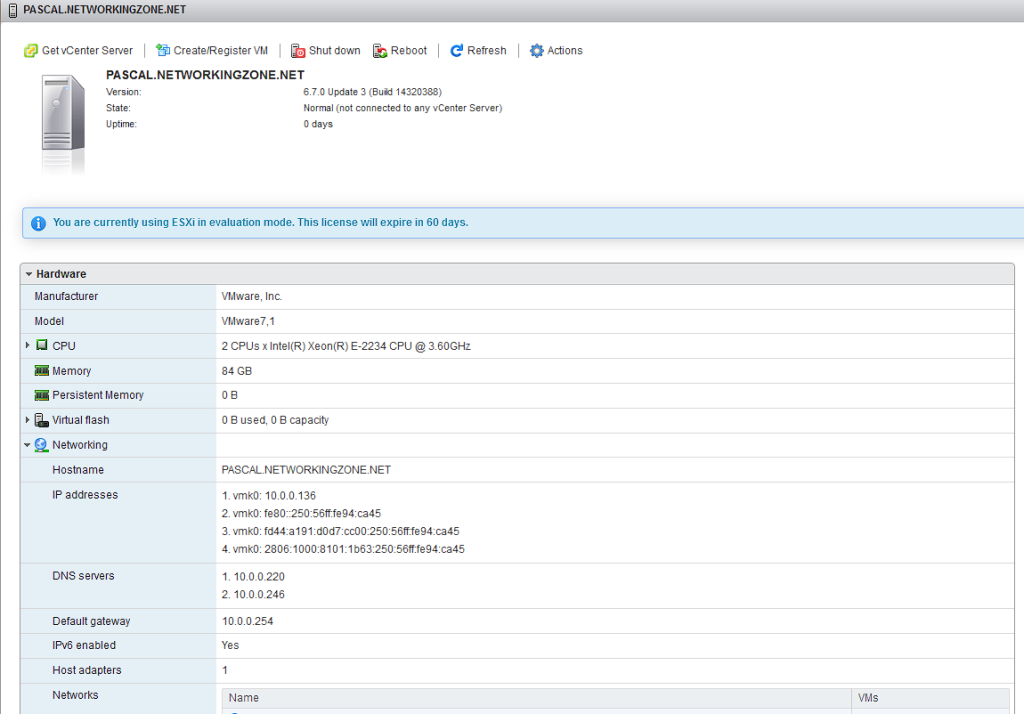
Once the IP address, DNS, and hostname configuration is complete, enter the IP address in your browser and log in.
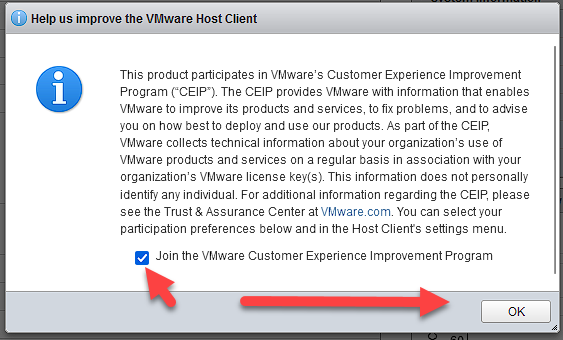
Upon logging in, you will be asked if you want to participate in the Customer Experience Improvement Program. If you wish to participate, select the checkbox and press OK.
Done! You have completed the VMware Hypervisor installation.
In this post you’ve learned what a hypervisor is, the two types that exist, and how to perform a clean installation of ESXi. I hope it has helped you.