In this post, we’ll see step-by-step how to install VMware vRealize Operations Manager.
But what is VMware vRealize Operations Manager? vRealize Operations Manager is a VMware tool that helps IT administrators monitor, troubleshoot, and manage the health and capacity of the entire virtual infrastructure in VMware.
VMware vRealize Operations Manager collects performance data from each object within our environment, stores and analyzes the information, and provides it in real time for better decision-making.
I’ve included more information at the following link: vRealize-Operations
With that said, let’s proceed with the installation.
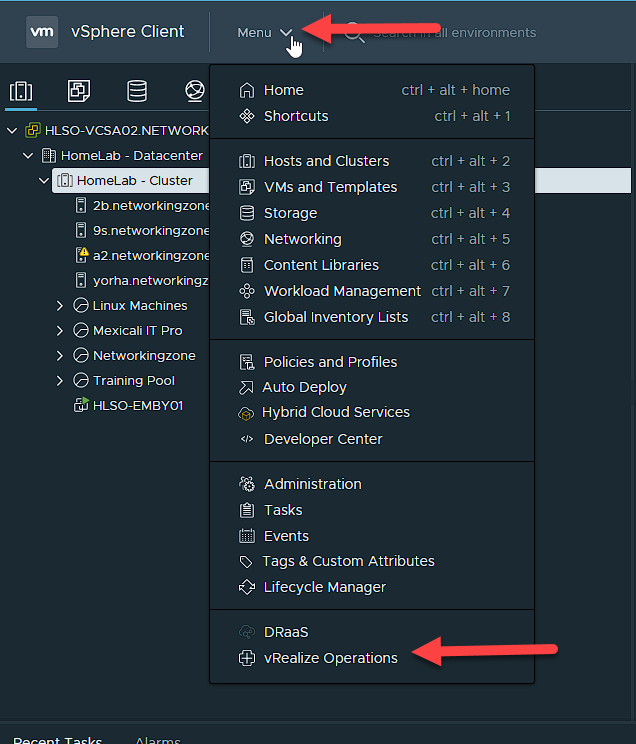
Log in to vCenter and go to the Menu, then select the vRealize Operations option.
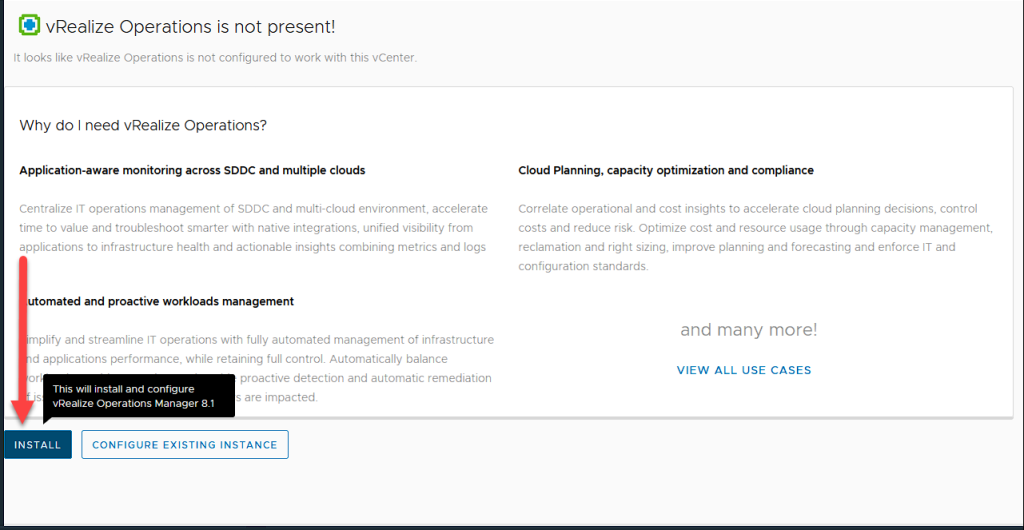
Select the install option.
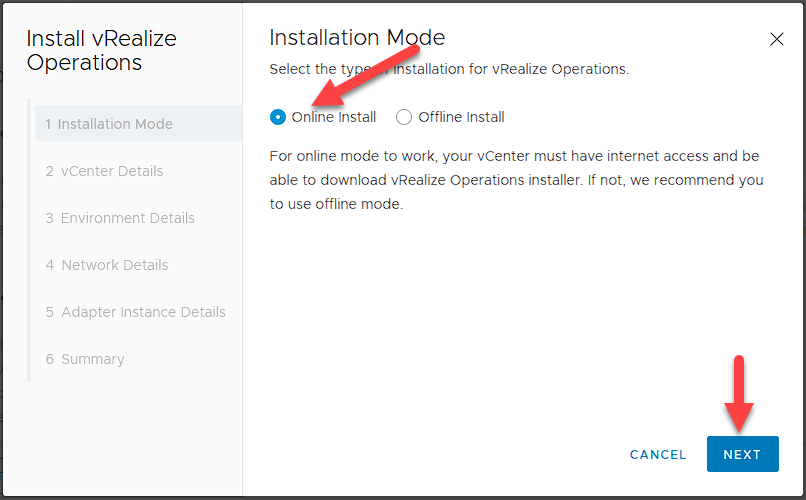
Here you can choose between two options: online installation (provided vCenter has internet access) or offline installation. For offline installation, you’ll need to download the .OVA file from the VMware vRealize-Operations website Download and load it into the installer as shown in the images.

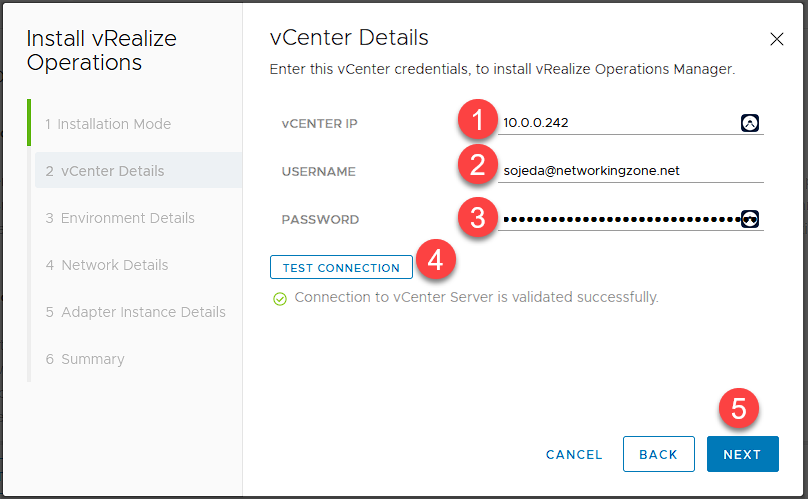
Here we will need to enter the vCenter IP address along with a valid username and password. To do this, we will perform a connection test and click Next.
Here you can choose the VM details, such as the name, datacenter it will belong to, cluster, host, datastore, and network.
Note: Another configurable setting is the deployment size. By default, VMware offers different sizes for our environment, such as Extra Small, Small, Medium, Large, and Extra Large. The choice of these sizes will depend on the number of VMs in our environment and the amount of resources the VM will consume. For more information, see the following link. vRealize Operations 8.0.x Sizing Guidelines

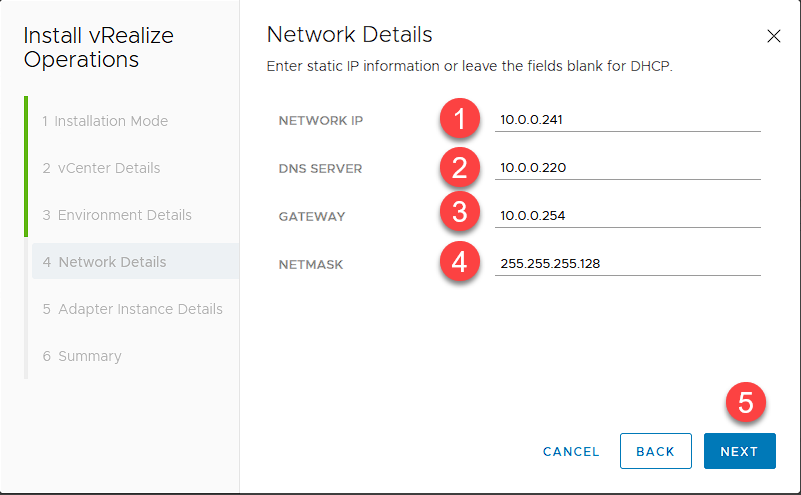
In this step, we will configure the IP address, DNS, Gateway, and NetMask for the VM. If you leave the fields blank, they will be assigned by the DHCP server.
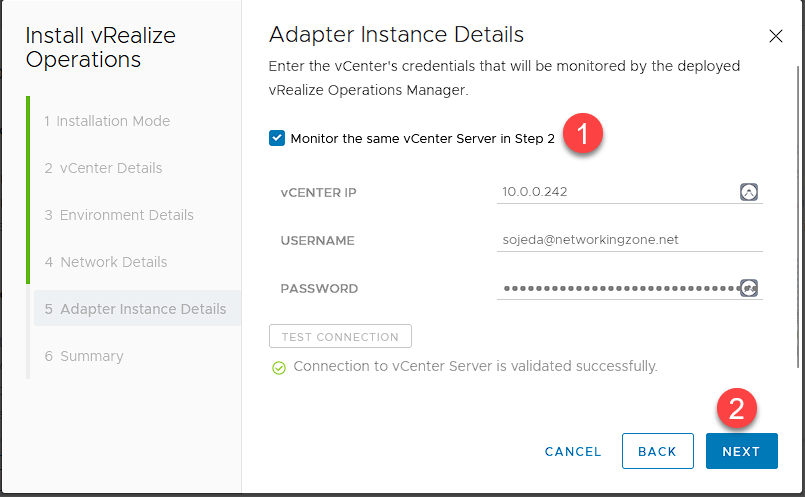
Here, we will select the environment we want to monitor. Select the checkbox marked in step 1 and click Next.
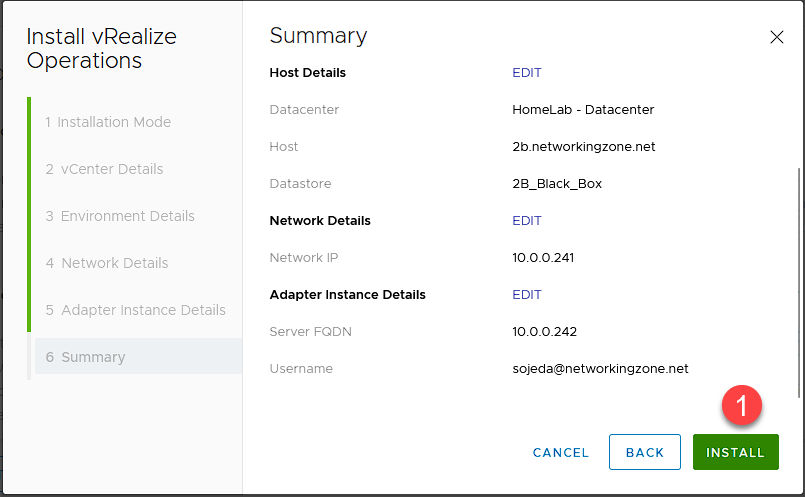
Here, we will review the details. If everything is correct, click Install.
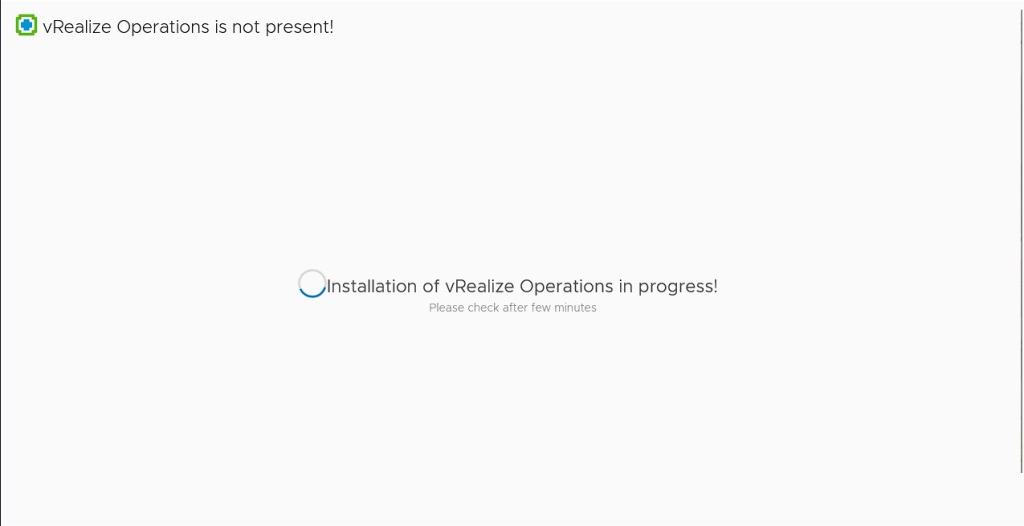
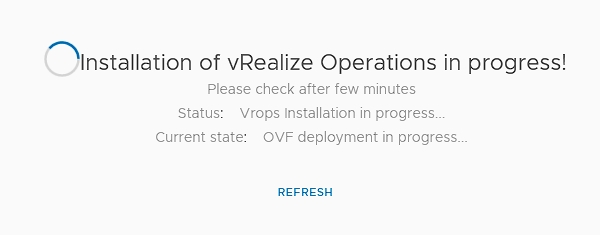
You will see a message indicating that the installation is in progress.
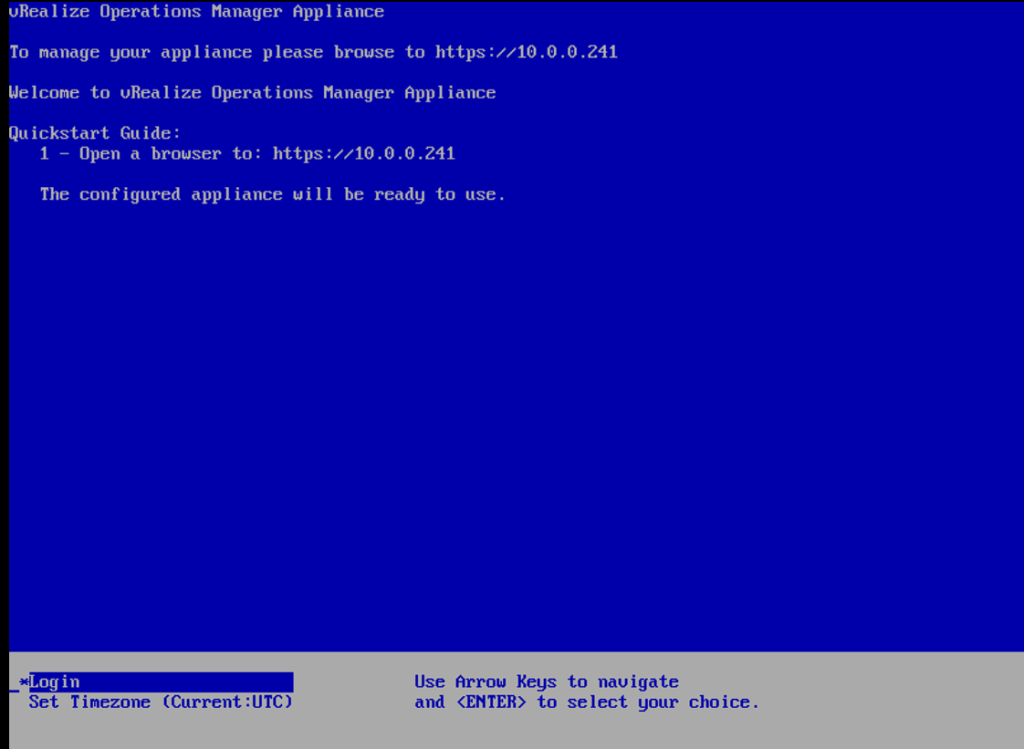
Once the installation is complete, we will see that the VM has been installed.
We access the marked IP address to proceed with configuring vRealize.
Note: This is the same IP address we selected in the previous steps.
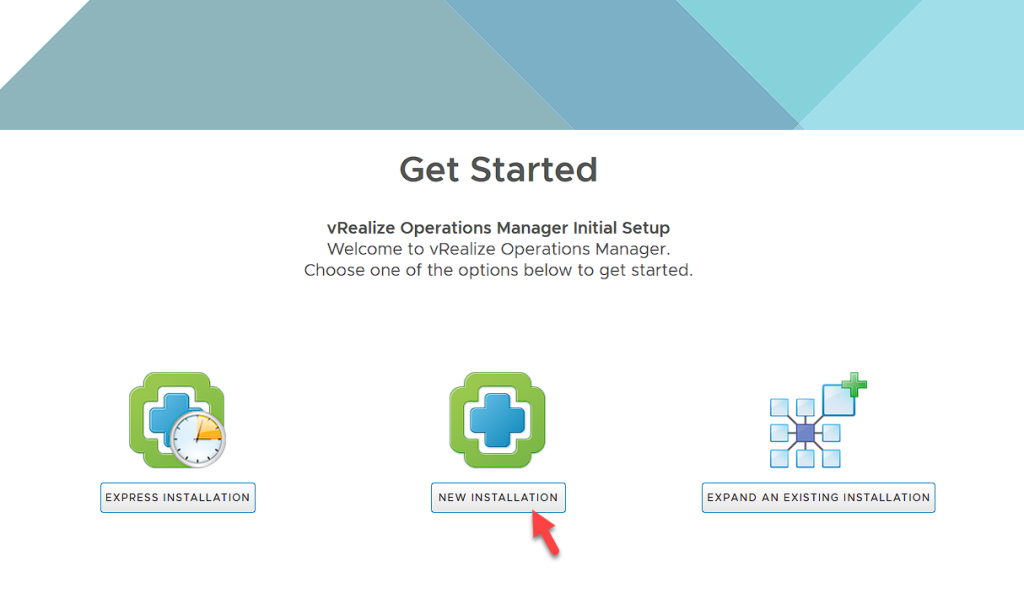
Once the browser is open and the address above is entered, we will have 3 options to choose from:
Perform an express installation.
Perform a new installation.
Expand an existing installation.
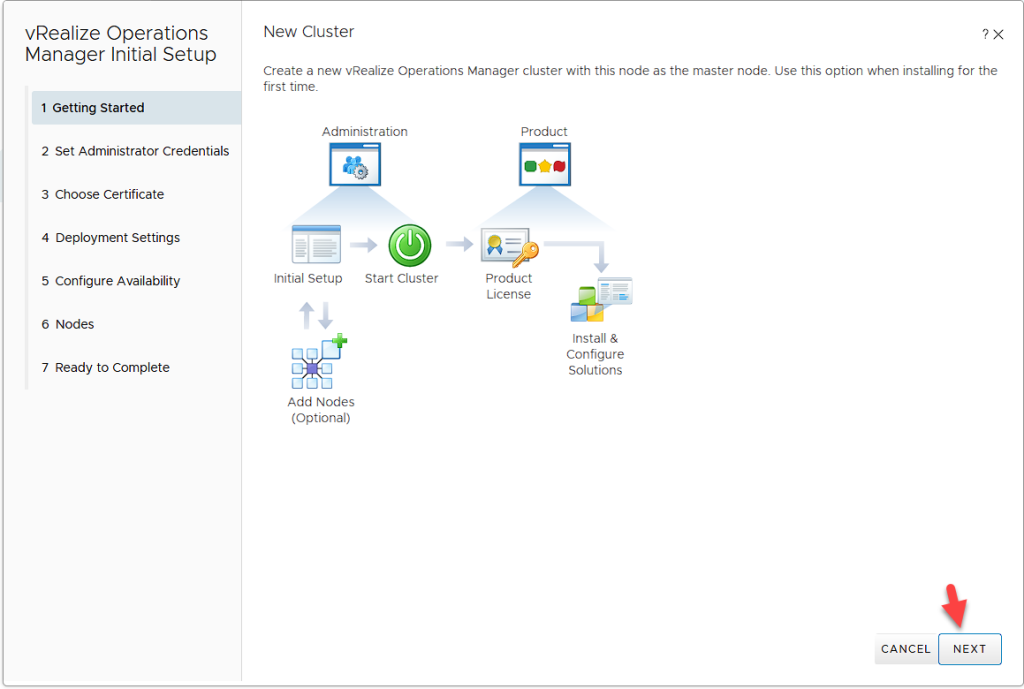
In this case, we will select “Perform a new installation.”
We select “Next.”
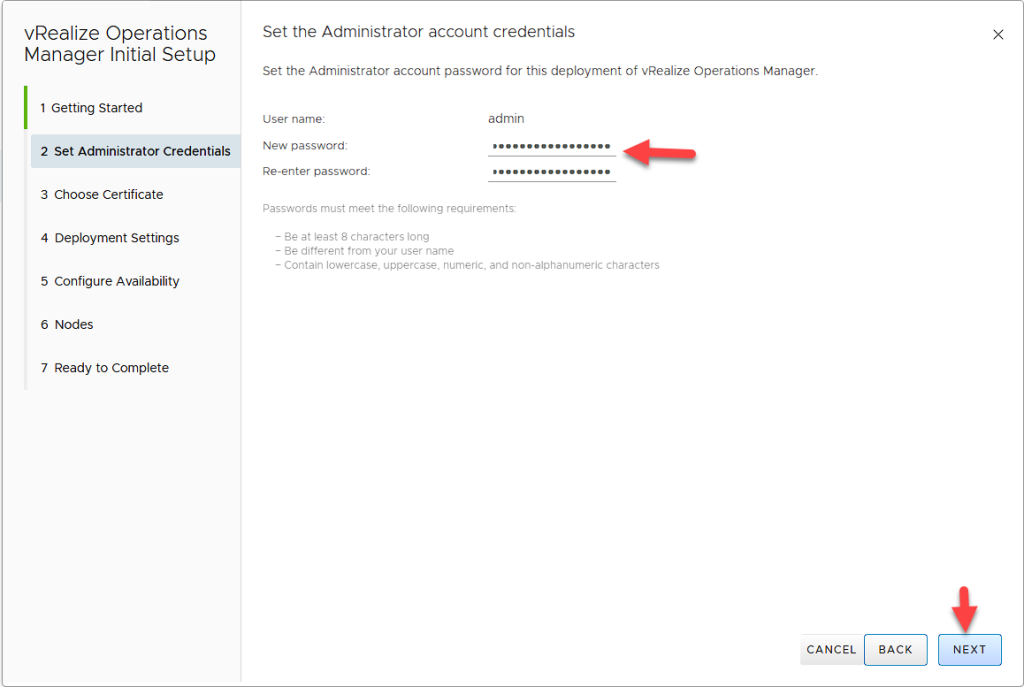
We select the username and password that we will use to connect to vRealize.
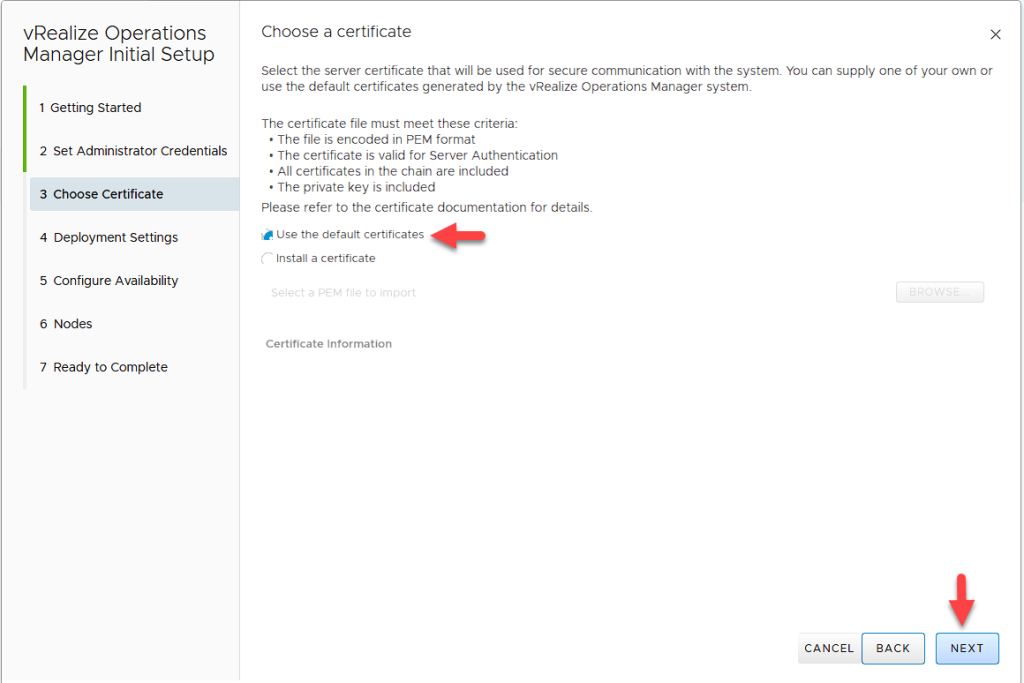
In this option, we have two choices: use a default certificate or install a certificate. In this case, I will skip this option and use the default certificate.
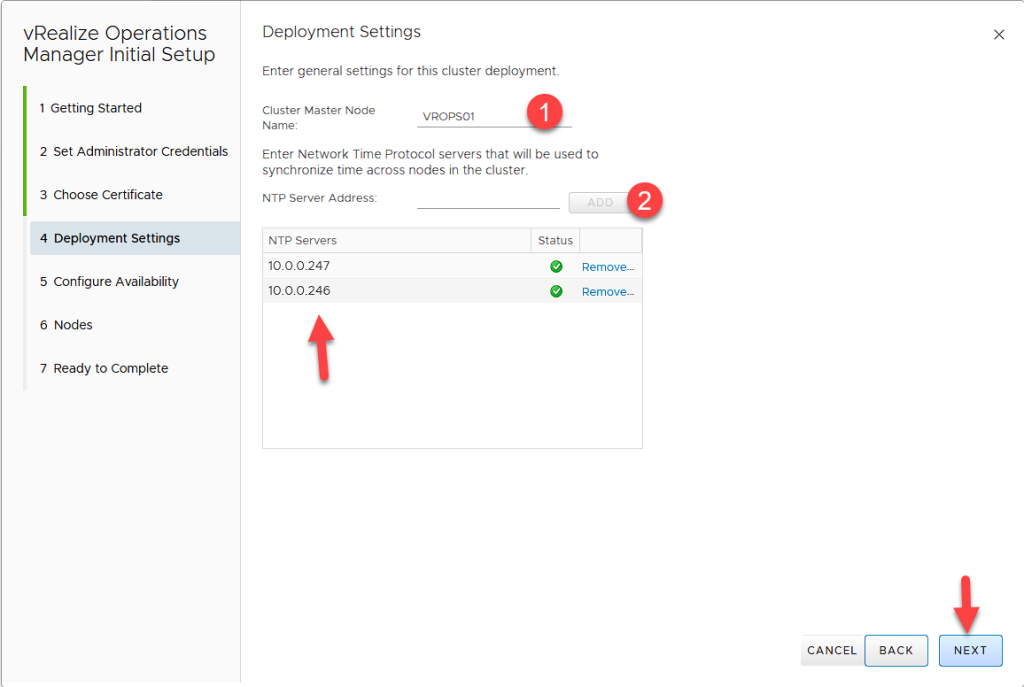
Here, we will select the name of the master cluster and add the NTP servers.
Note: The NTP servers are used to synchronize the time.
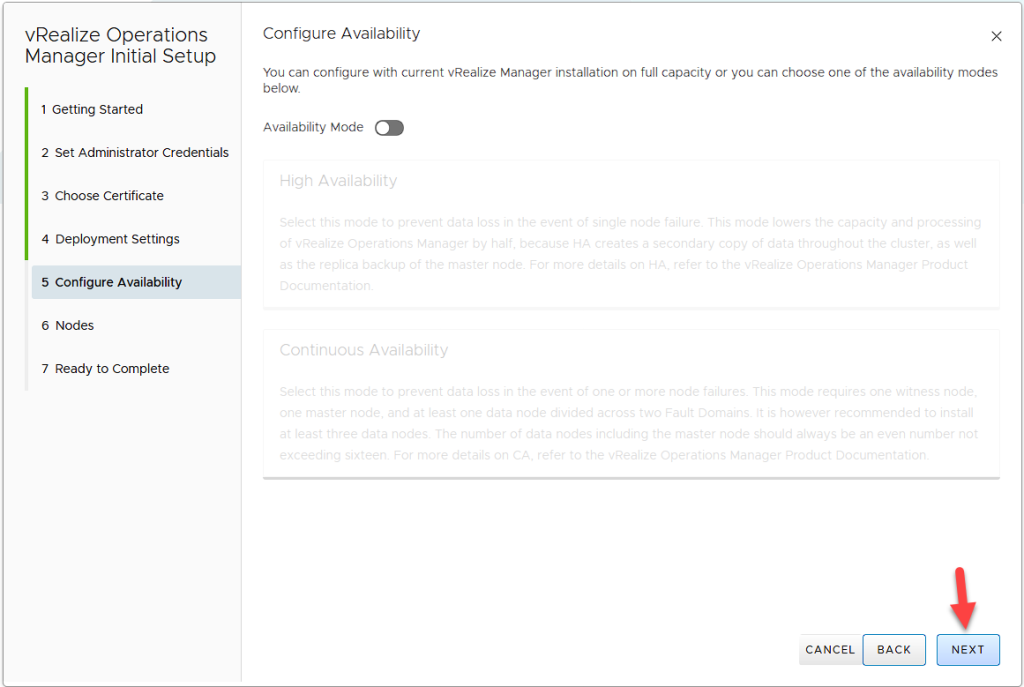
In this case, we will not configure the availability mode, so we will click Next.
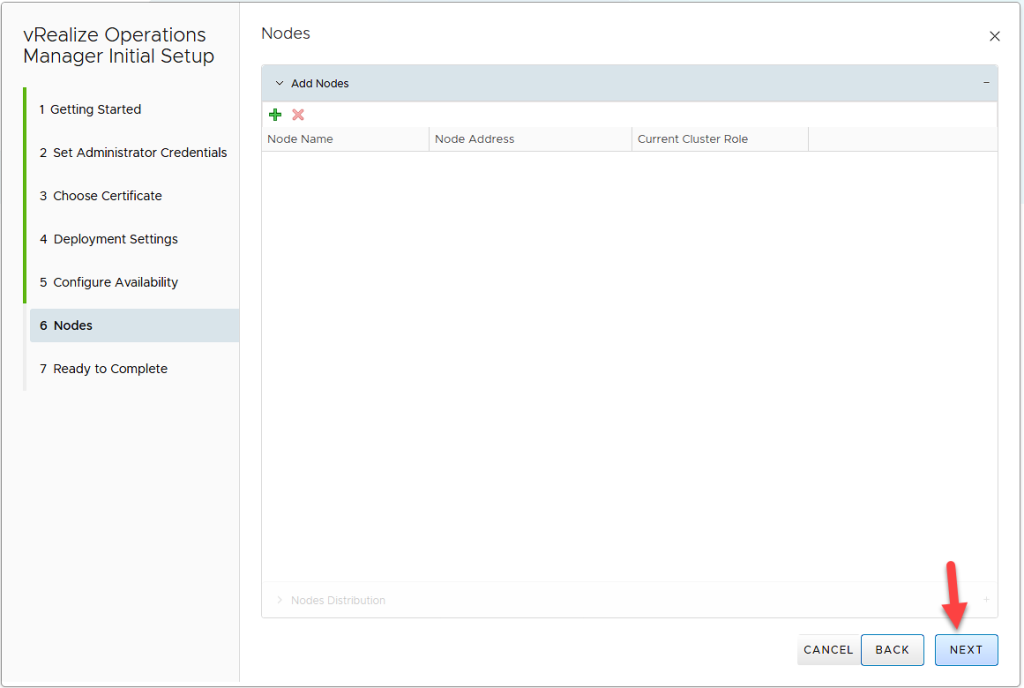
Just like the previous step, we click Next.
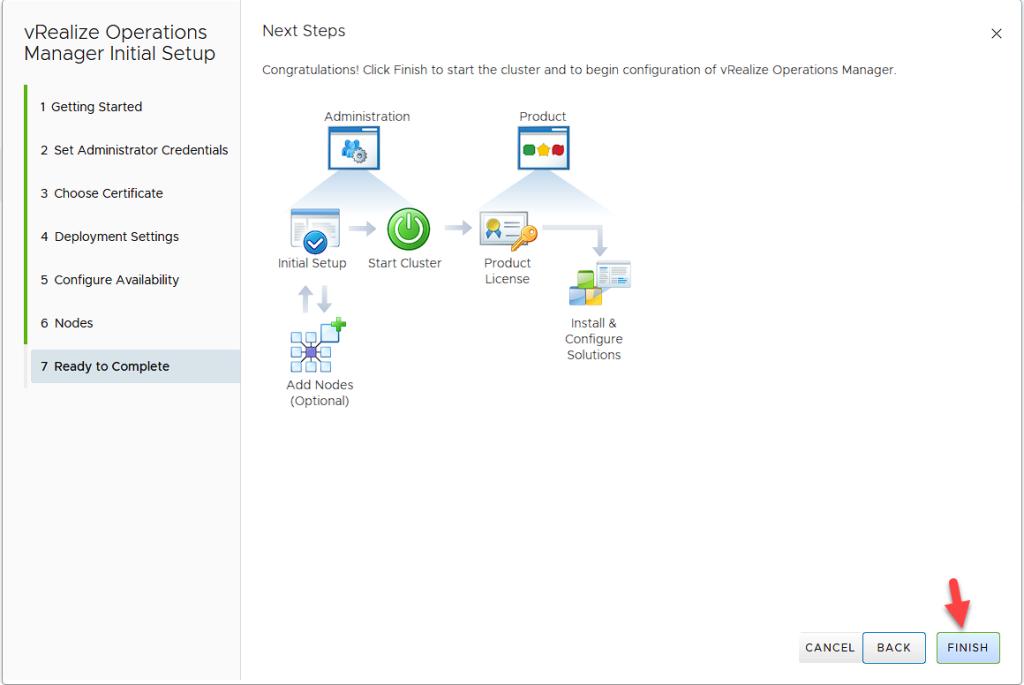
We click Finish to complete the setup.
In this window, we will see how the node is preparing for its first use.
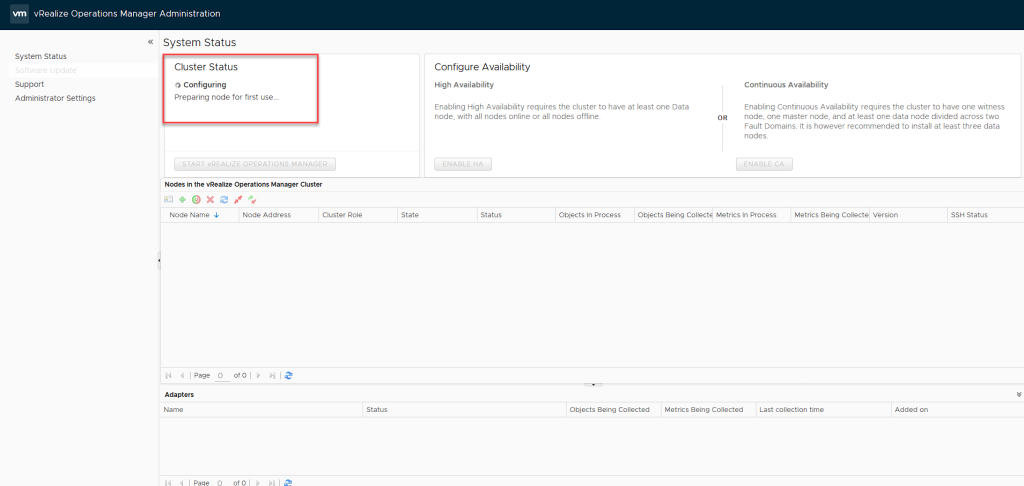
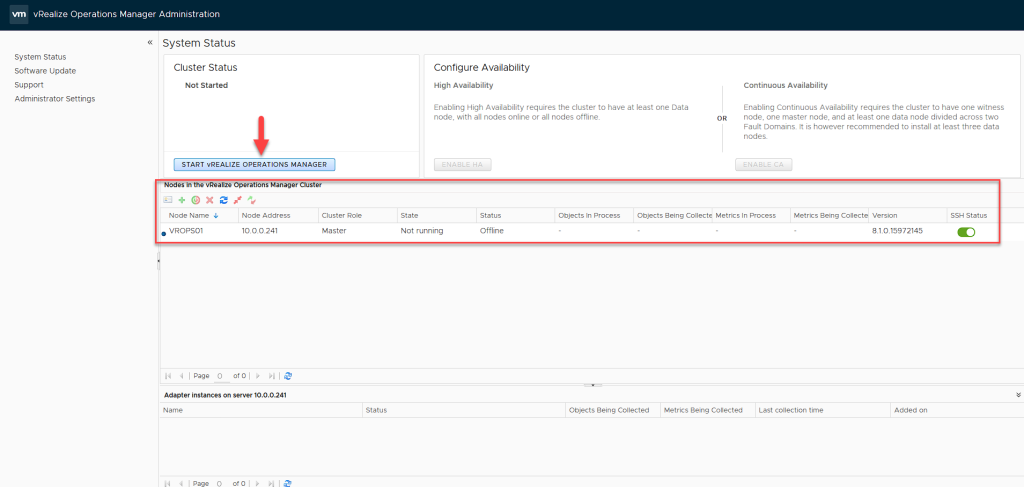
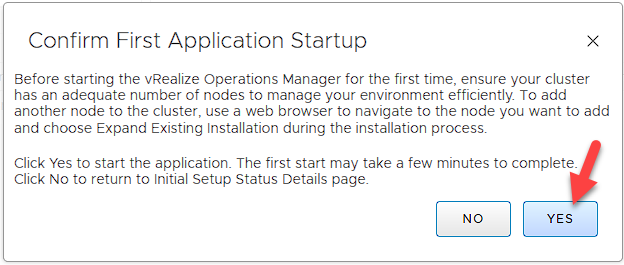
Once the node is ready, you’ll see that its status is Offline. To start it, simply press the marked button and confirm. This may take several minutes; in my case, it took around 15 minutes.
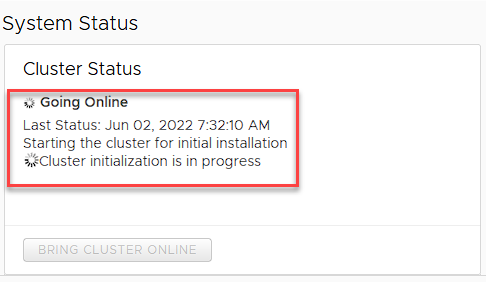
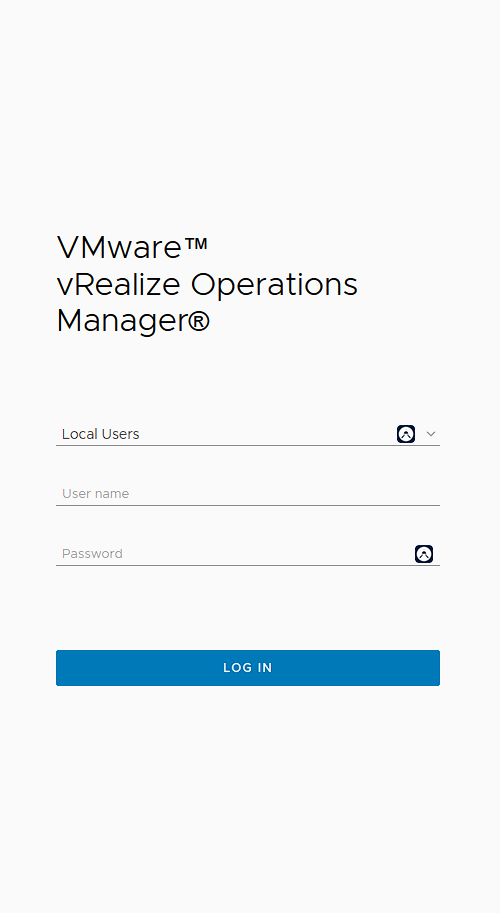
When the cluster finishes starting, log in with the username and password you configured.
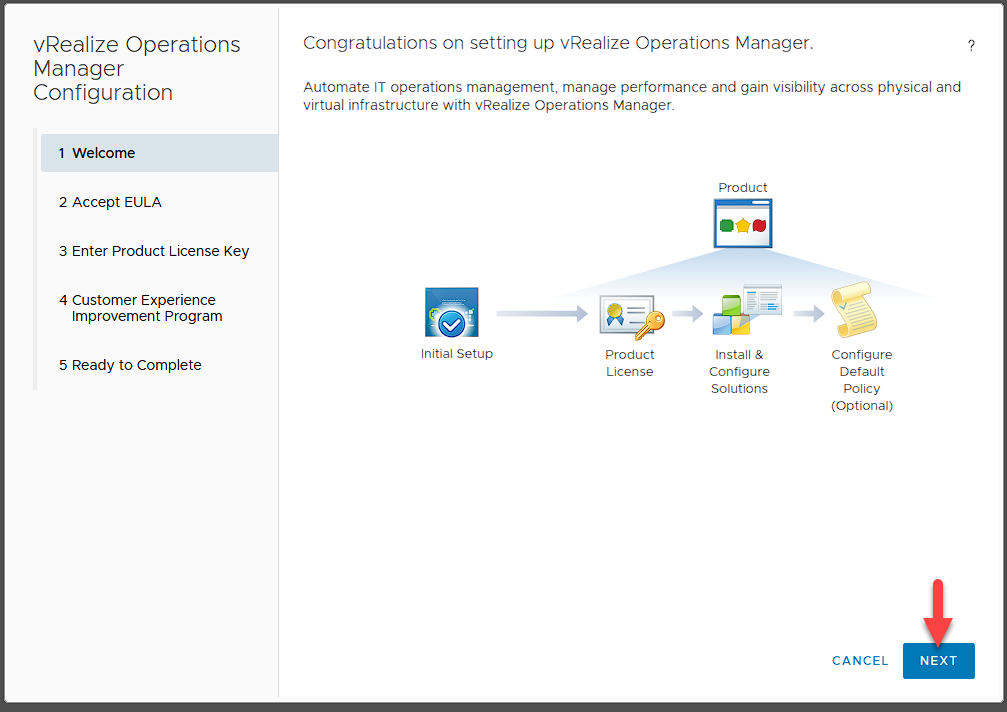
Once you log in, there are still a couple of steps to complete the installation. In this case, click Next.
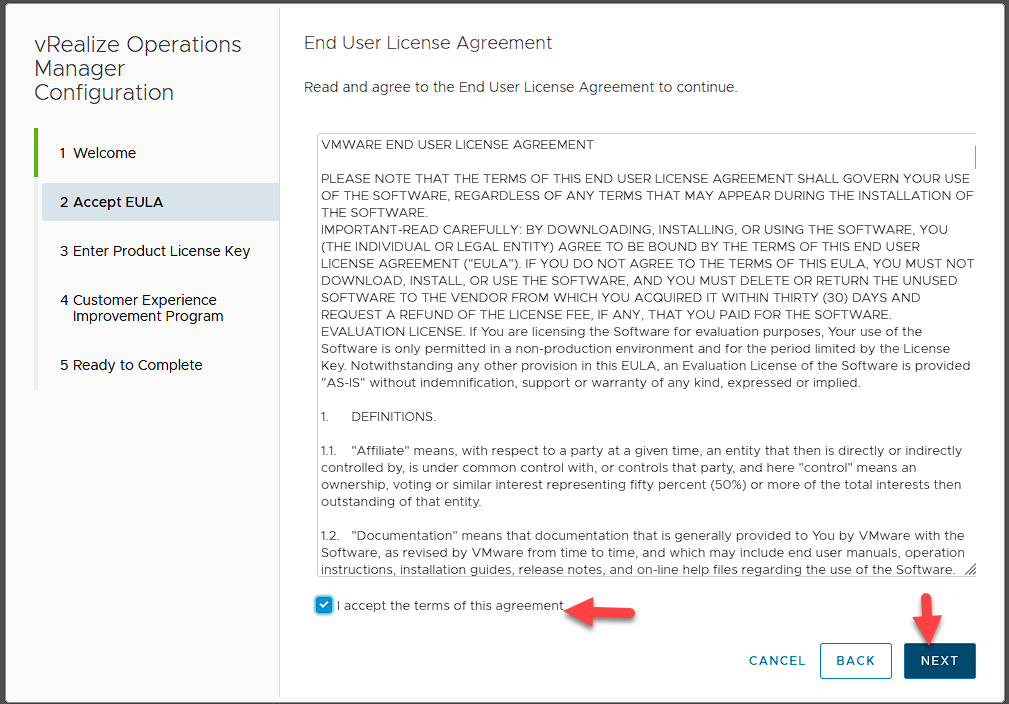
Accept the terms and click Next.
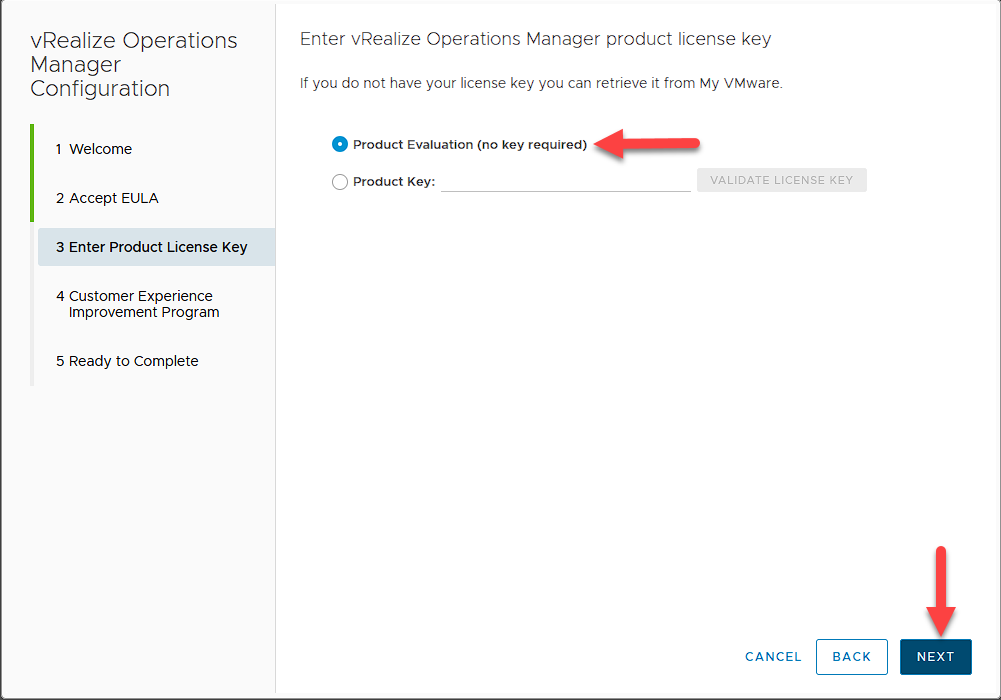
If you have a license You can register here. If not, simply press Next and an evaluation license will be used.
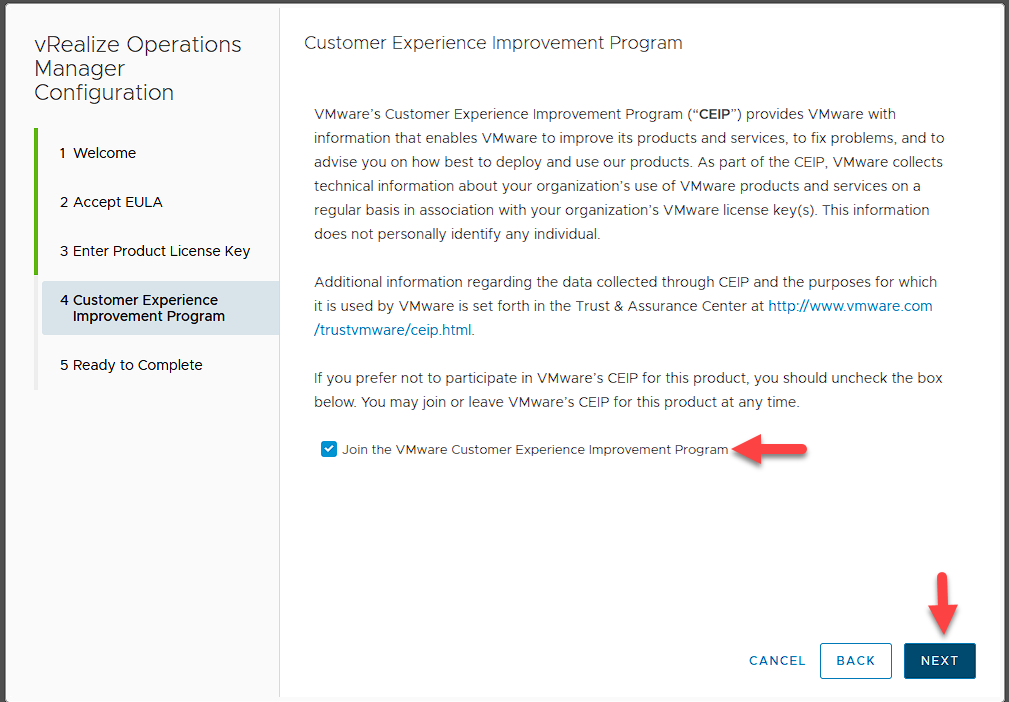
Here you can choose to join the Customer Experience Improvement Program. Select the checkbox if you wish, and press Next.
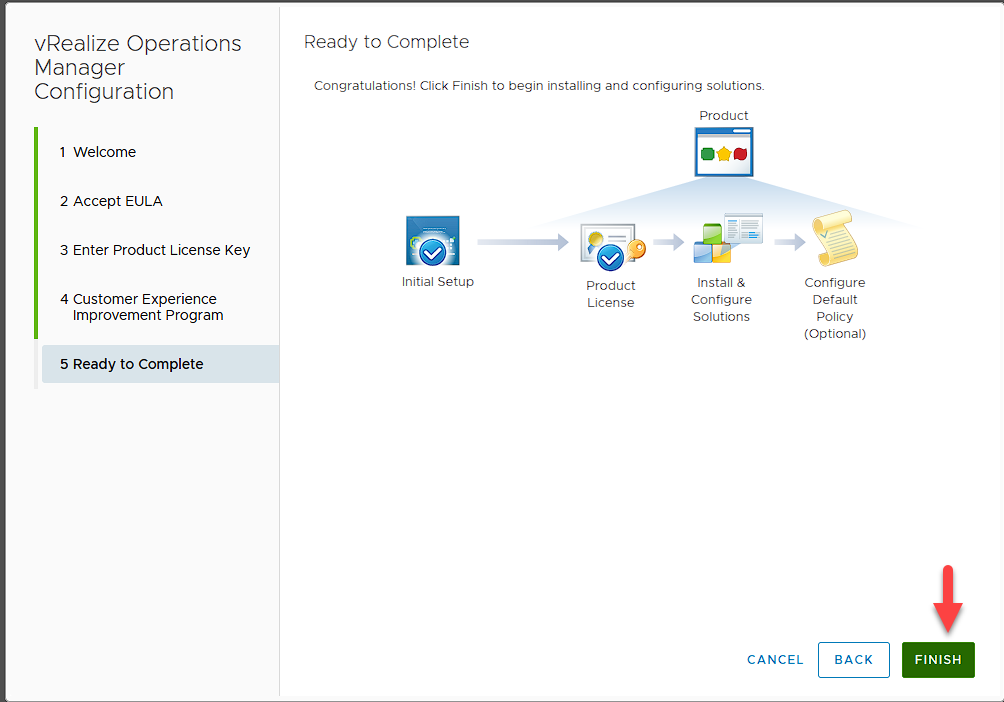
Press Finish.
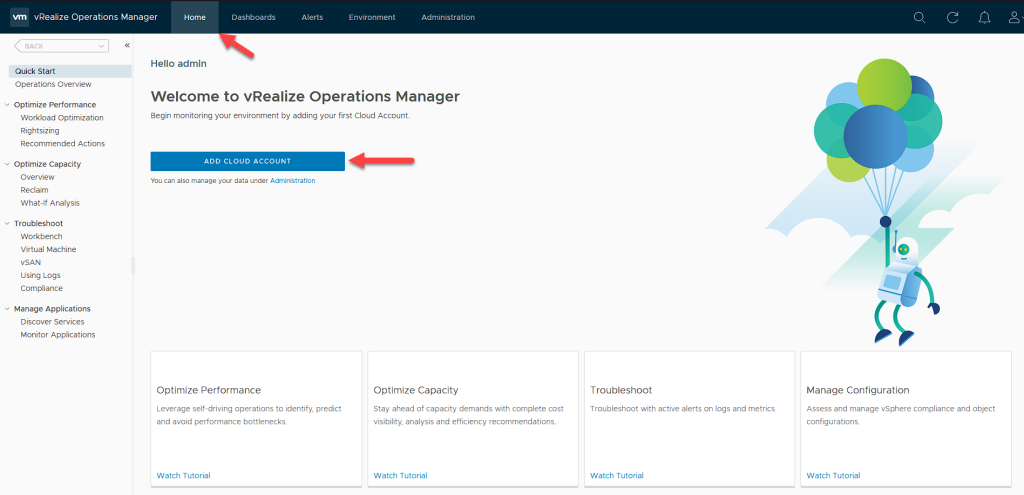
Once logged in, there are a few steps you need to take first. One of them is to add an account. Press Home and then Add Account.
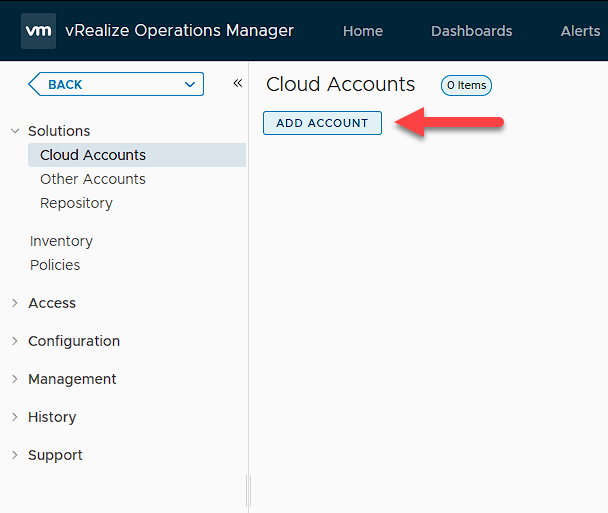
Click Add Account.
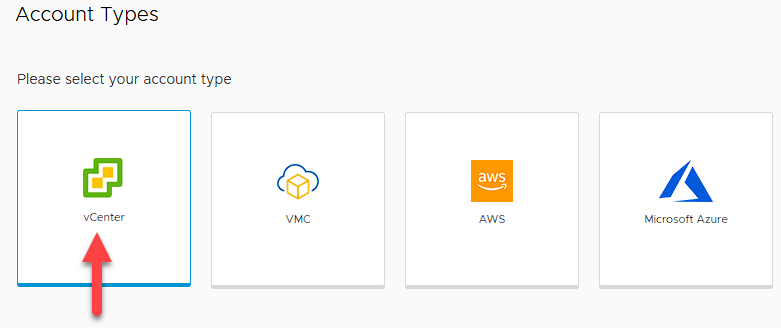
Select vCenter.
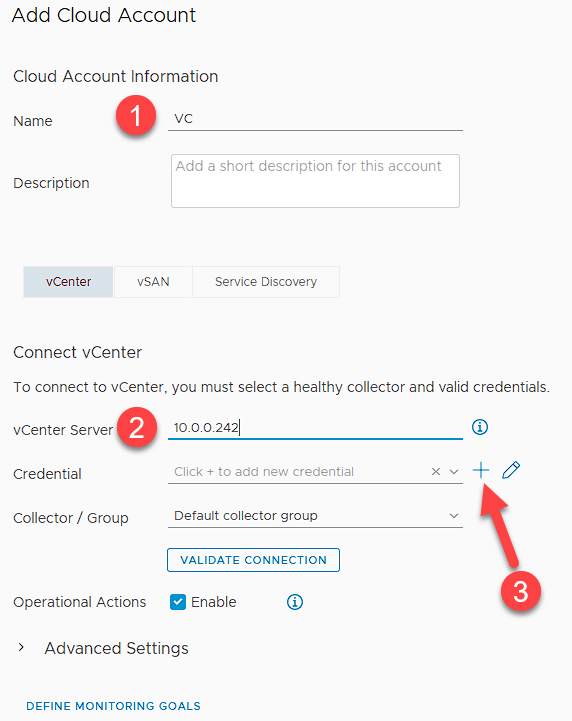
Add the account name, select the vCenter IP address, and click the + button.
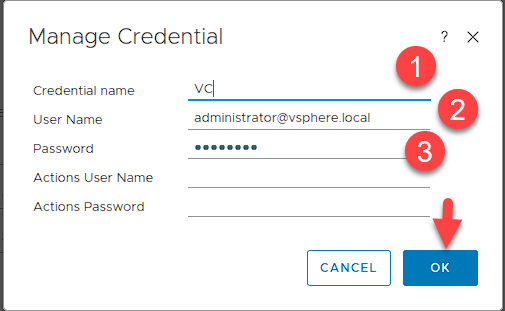
Add a name to the credentials and enter valid vCenter credentials, then click OK.
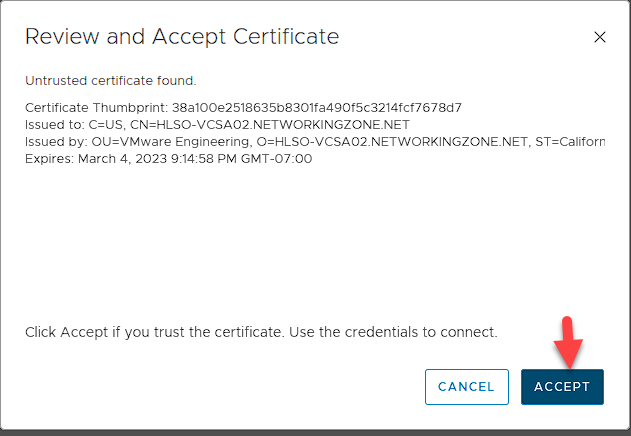
Accept the certificate.
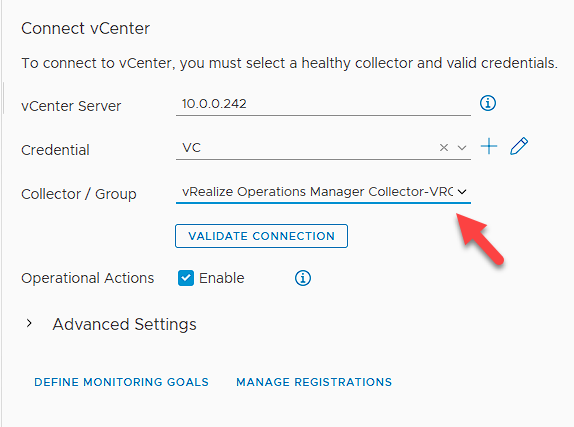
Add vCenter to the vRealize group and validate the connection.
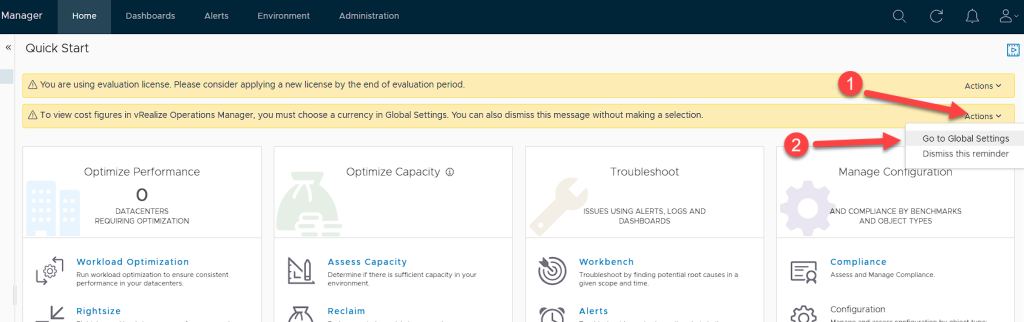
Now we need to configure the currency we will use in vRealize for cost prediction. To do this, go to Actions, Global Settings.
Select the currency type and click the marked icon to edit the settings.
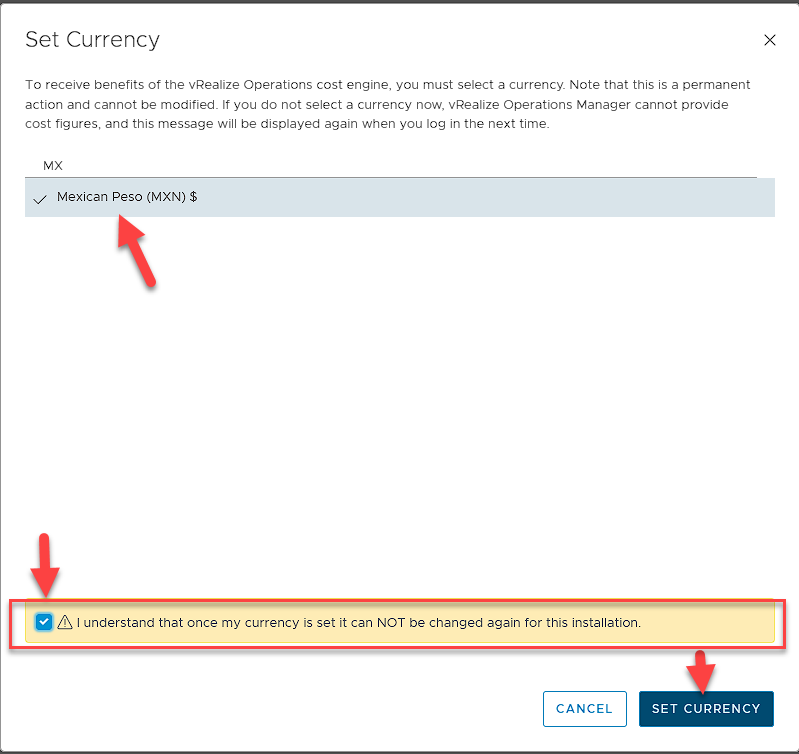
Find the currency type that best suits your needs, check the box, and set the currency.
Note: Carefully consider your choice, as this option cannot be changed once configured.
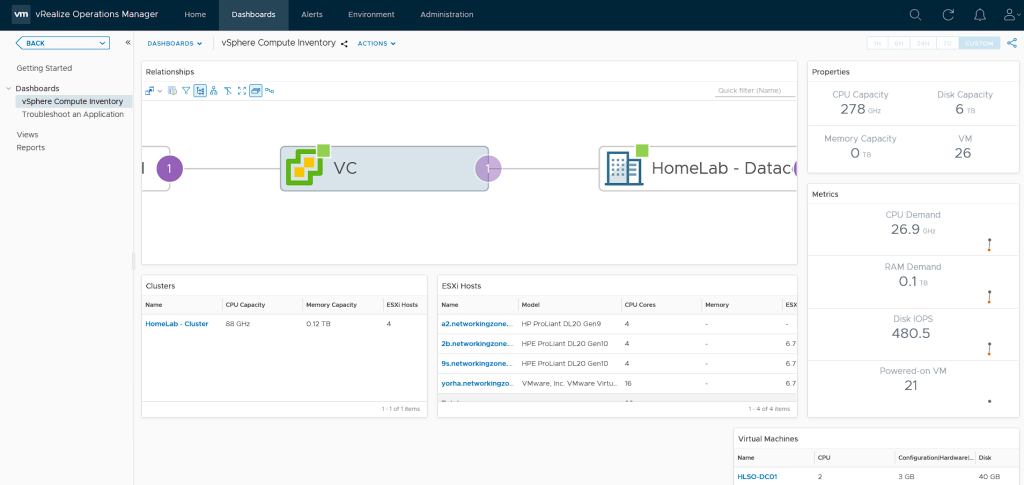
Once the previous steps are completed, you can access the dashboard and view your environment. This completes the installation and configuration of vRealize Operations Manager.