In this post, we’ll see step-by-step how to upgrade a standalone ESXi server, using both online and offline methods.
The process requires the server to be in maintenance mode and will need a restart upon completion. Therefore, I recommend moving all VMs to another host if they are in a cluster.
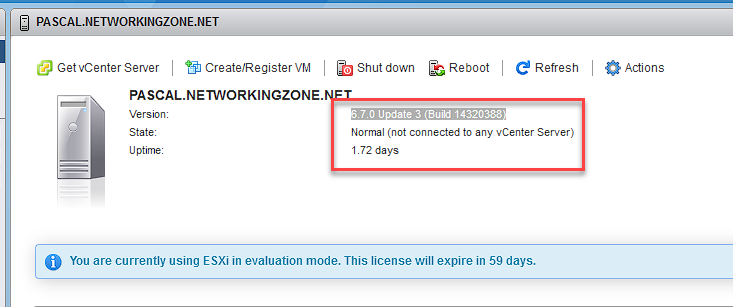
For this procedure, I will use the server previously created in the post How to Install an ESXi Server. As we can see, the server version is 6.7.0 Update 3 (Build 14320388).
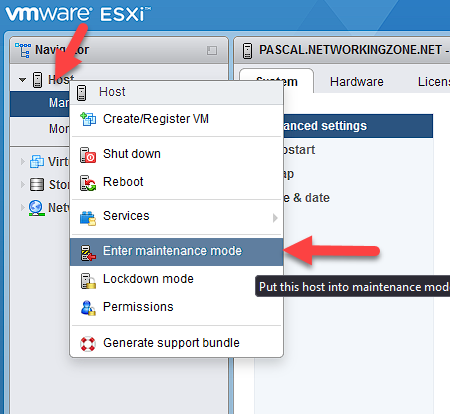
To put the host into maintenance mode, right-click on the host and select “Enter maintenance mode,” as shown in the image.
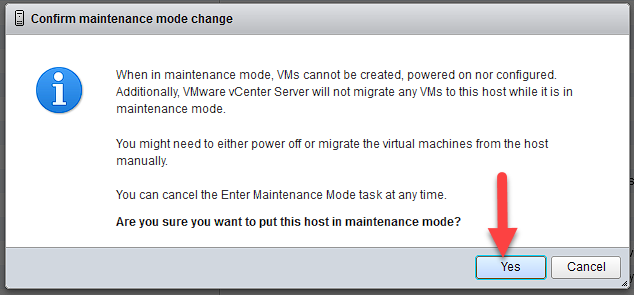
We must confirm if we are sure we want to put the host into maintenance mode; click “Yes.”
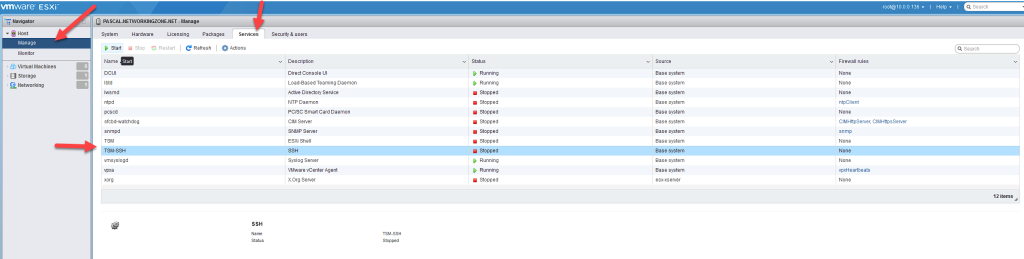
Select “Manage,” then “Services,” and enable the SSH service, which we will need later.
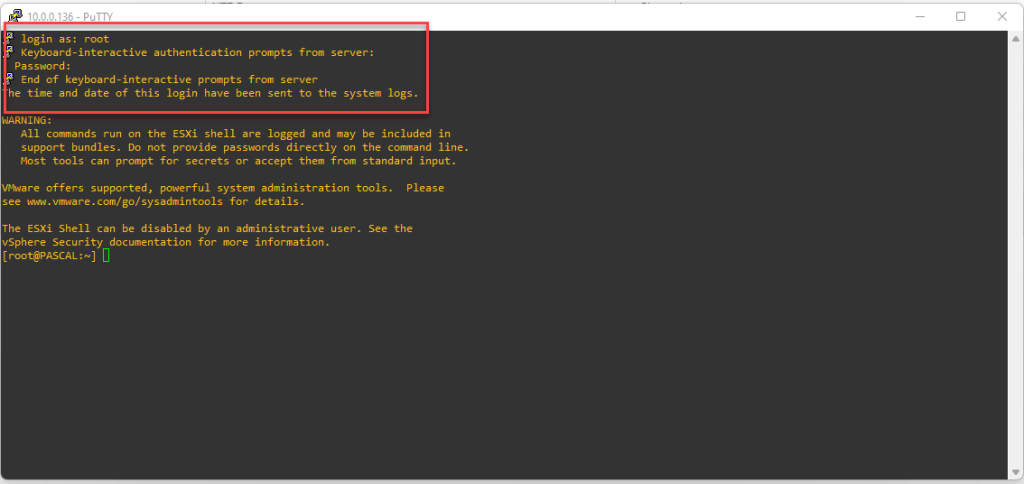
Log in using SSH with PuTTY or any other tool of your choice, as the root user.
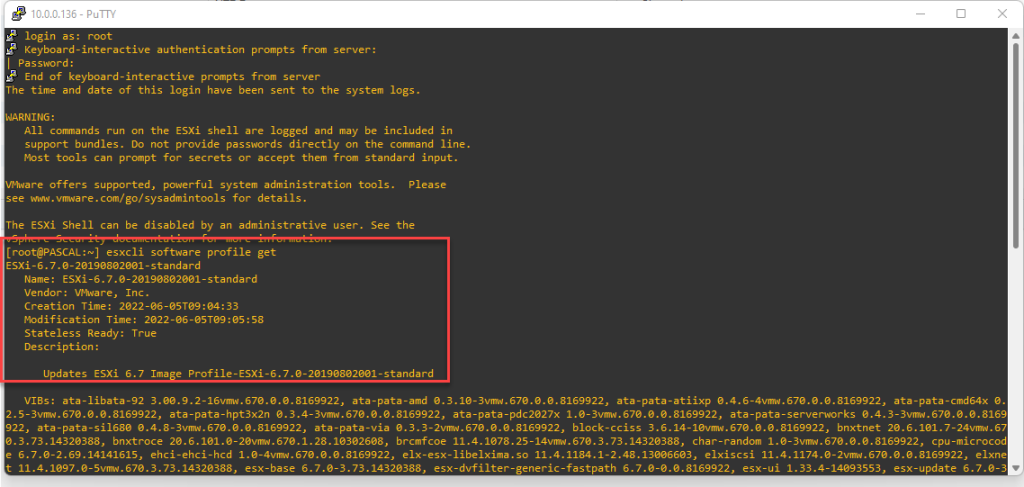
Here we can check the version and profile we are using on the server. To do this, we enter the command:
esxcli software profile get
Next, we must create a firewall rule that allows HTTP traffic if it is blocked.
Note: This command is only useful if we are performing the upgrade online.
esxcli network firewall ruleset set -e true -r httpClient

With the following command, we can list the profiles that we can use online.
esxcli software sources profile list --depot=https://hostupdate.vmware.com/software/VUM/PRODUCTION/main/vmw-depot-index.xml
If you encounter an error like the one shown in the image above, follow these steps:
Go to Manage, System, Swap, and click Edit settings.
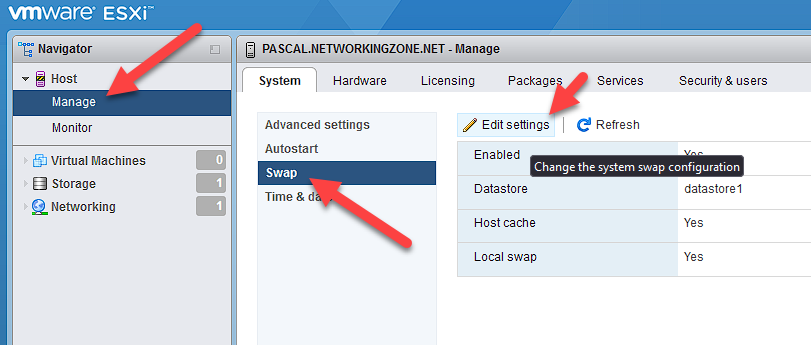
In Local swap enabled, select the datastore and save the changes.

Now, if you enter the command again, you will see the complete list of profiles that you can use to update your server.
esxcli software sources profile list --depot=https://hostupdate.vmware.com/software/VUM/PRODUCTION/main/vmw-depot-index.xml

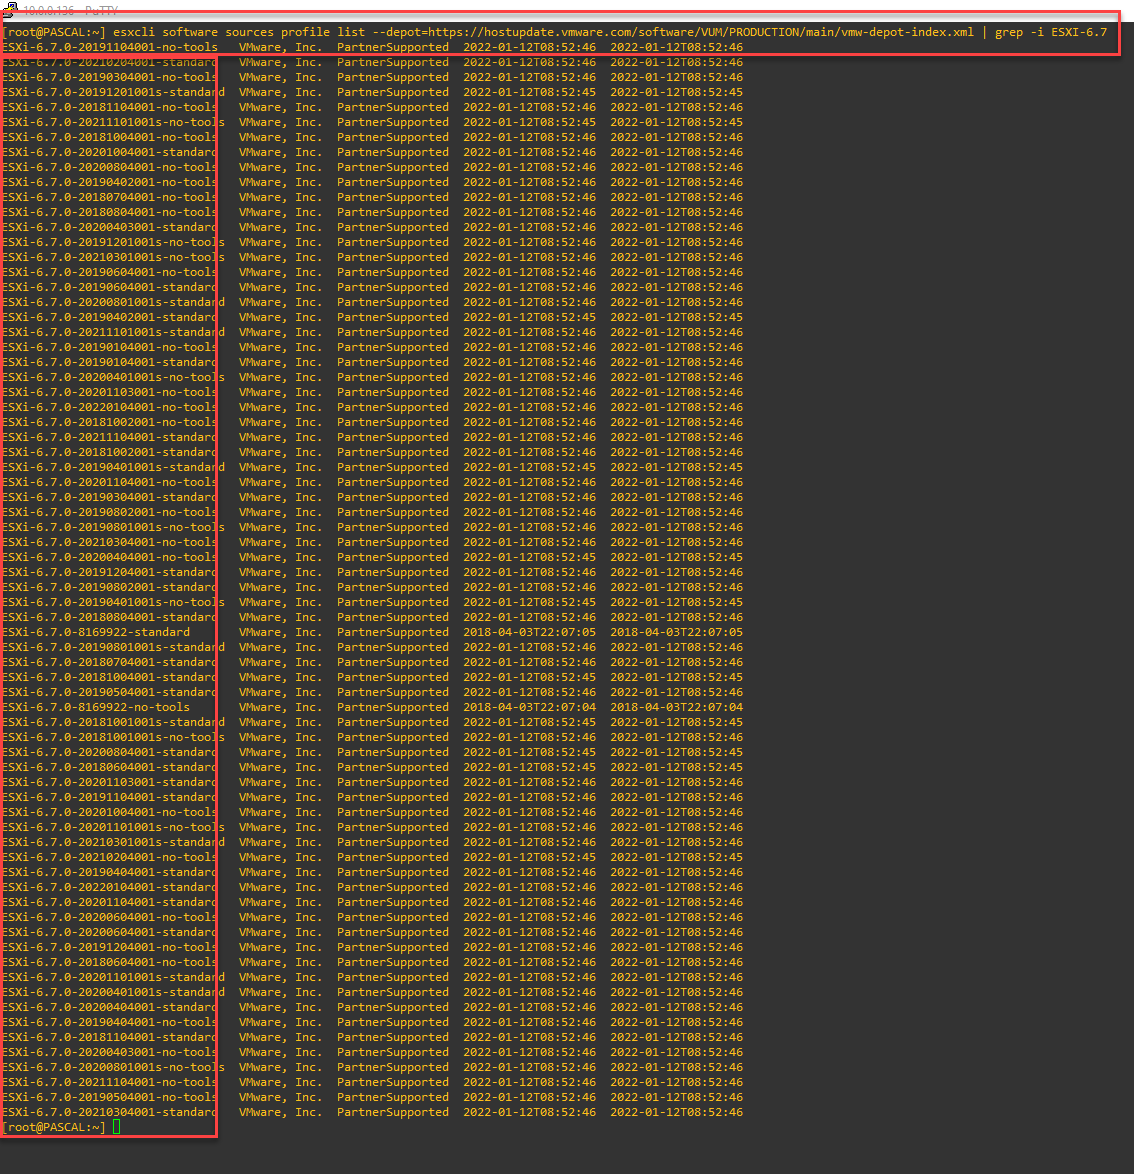
To obtain the list of profiles applicable only to our version, we can use grep to filter the information with the following command:
esxcli software sources profile list --depot=https://hostupdate.vmware.com/software/VUM/PRODUCTION/main/vmw-depot-index.xml | grep -i ESXI-6.7
Once the desired version is selected, we can apply the upgrade with the following command:
esxcli software profile update -d https://hostupdate.vmware.com/software/VUM/PRODUCTION/main/vmw-depot-index.xml -p ESXi-6.7.0-20210304001-standard

If we want to upgrade to a custom image, such as HPE, we can go to the VMware website and download the Offline Bundle, a .ZIP file that contains everything we need to perform the upgrade.

Once downloaded, we proceed to upload the file to the datastore by going to Storage, datastore1 (the name may vary), Datastore browser, upload, locate the file, and wait for the upload to finish. To do this, we use the following command, specifying the profile to be used and where the .zip file is stored:
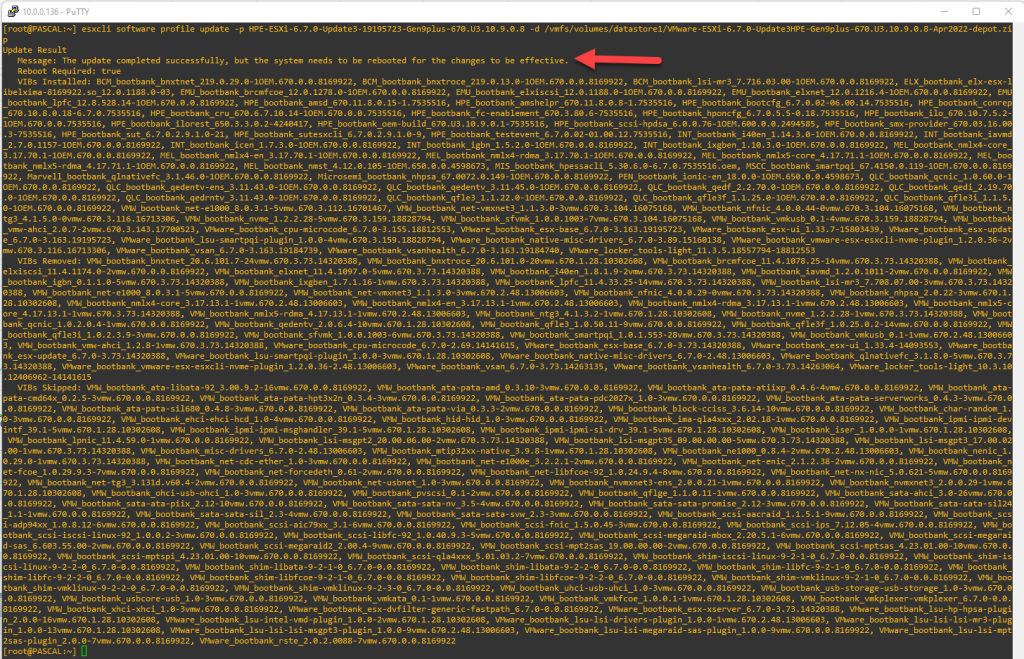
esxcli software profile update -p HPE-ESXi-6.7.0-Update3-19195723-Gen9plus-670.U3.10.9.0.8 -d /vmfs/volumes/datastore1/VMware-ESXi-6.7.0-Update3HPE-Gen9plus-670.U3.10.9.0.8-Apr2022-depot.zip

When Once the installation is complete, you will see a message stating that you must restart the host to apply the changes.
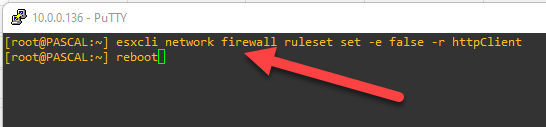
Before restarting, it is recommended to revert the firewall configuration to its previous state if you used the online upgrade.
esxcli network firewall ruleset set -e false -r httpClient
To restart, simply type reboot and the host will restart.
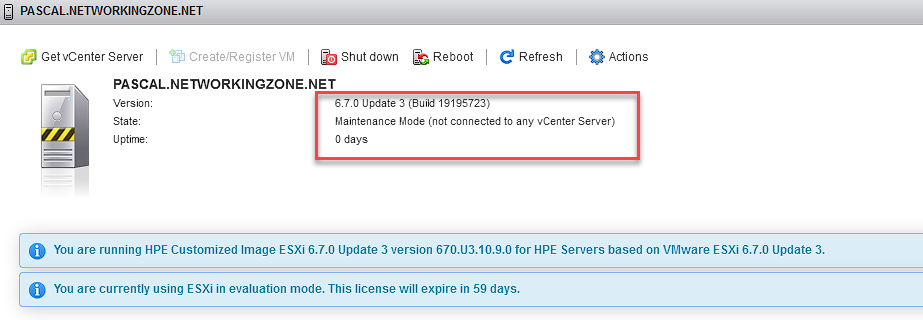
After restarting, you will see that the Build version has changed from (Build 14320388) to (Build 19195723).
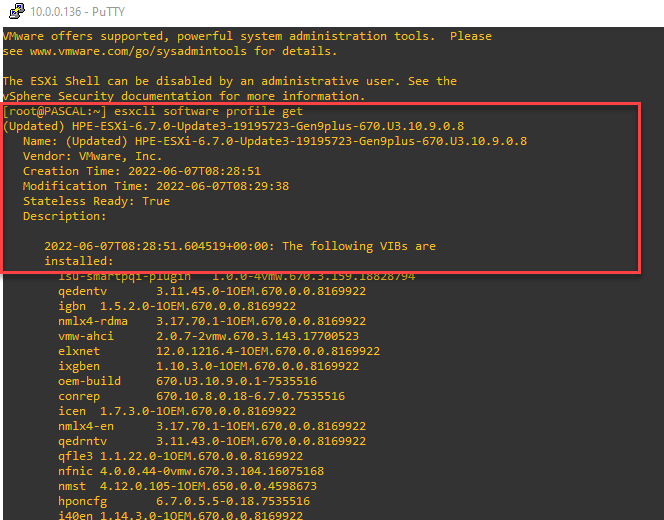
You can also see the version you are running in the image profile.

That’s all, I hope you enjoyed it and learned something today.