Exchange uses Active Directory to store information about mailboxes and Exchange server configurations in your organization. Before installing Exchange Server, you must prepare your Active Directory forest and domains for the new version of Exchange
This step is similar to what we did in the previous post; the requirements are the same.
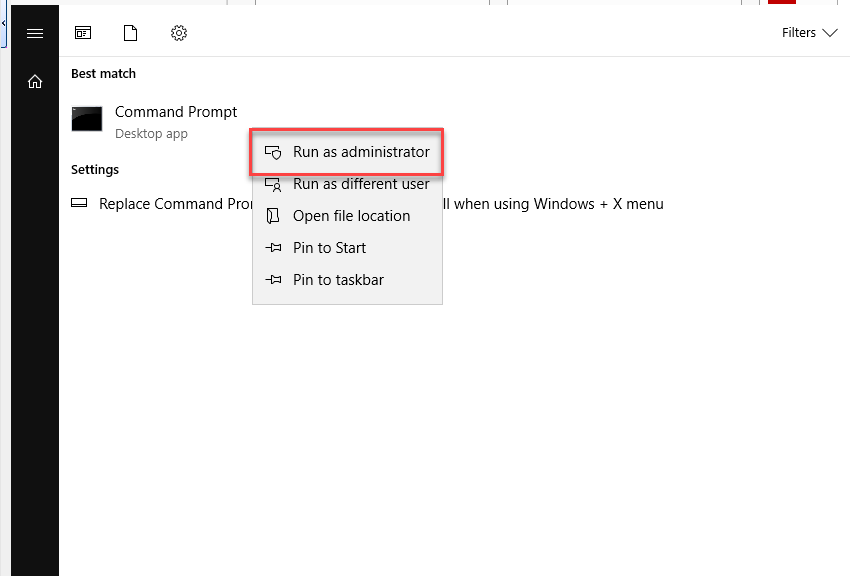
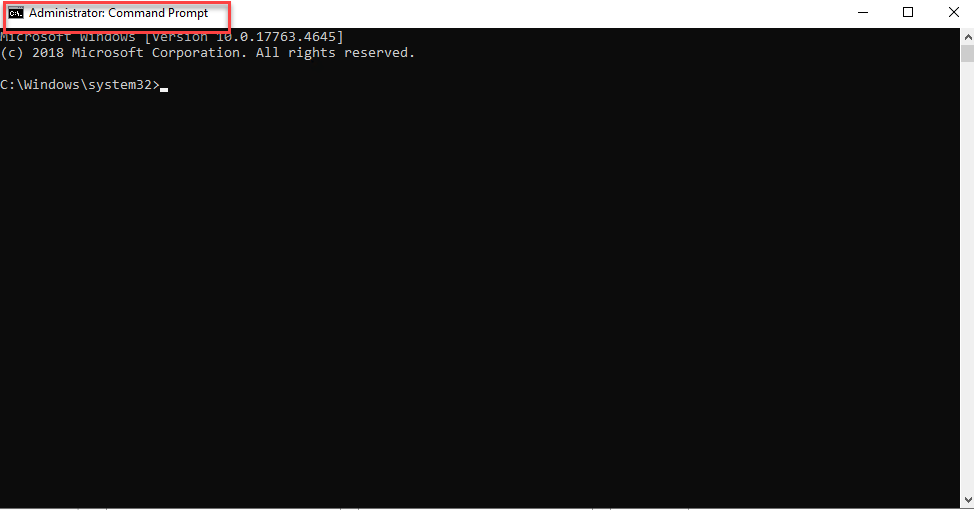
Open Command Prompt as administrator.
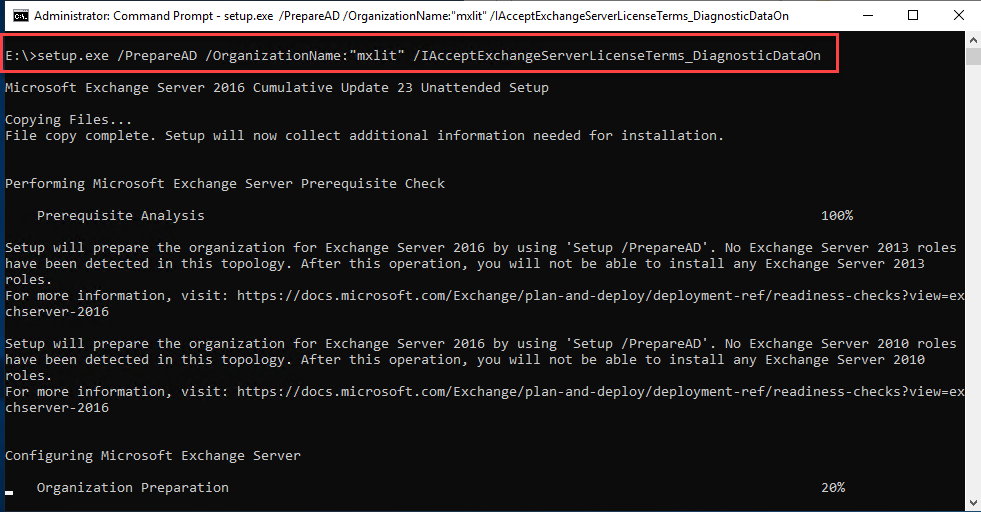
Run the following command:
setup.exe /PrepareAD /OrganizationNam:"
Note: The organization name is the name we will give to our Exchange organization; this name cannot be changed.
setup.exe /PrepareAD /OrganizationName:"<Organization Name>" /IAcceptExchangeServerLicenseTerms_DiagnosticDataOn
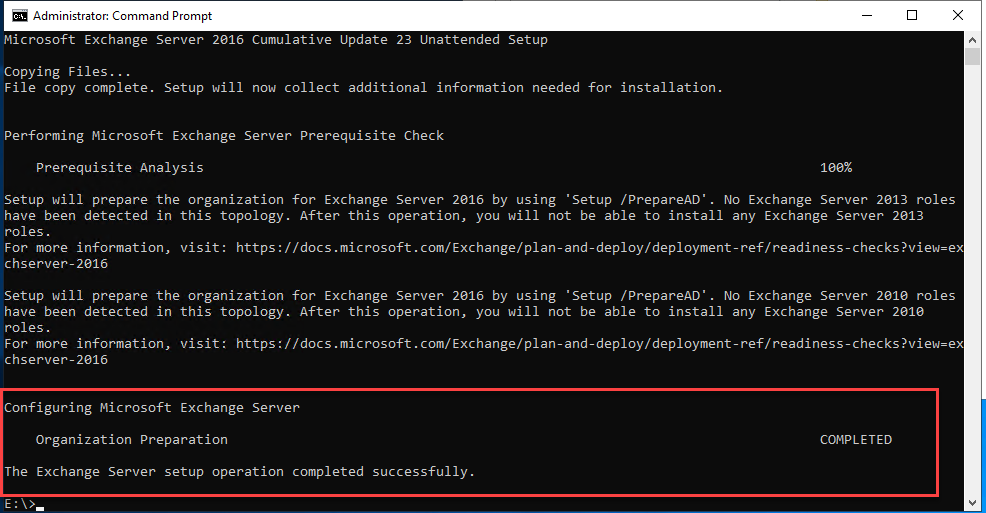
We verify that it has completed successfully.
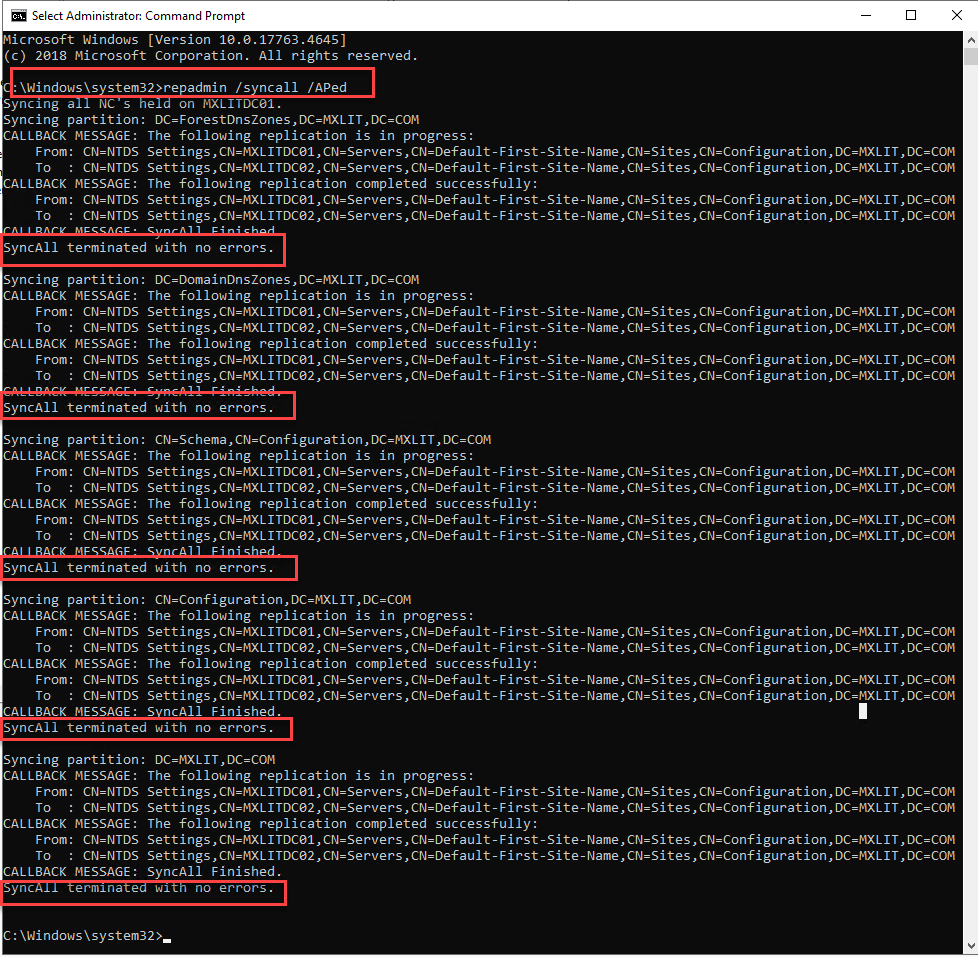
If we have several Domain Controllers in our domain, it is recommended to synchronize them to replicate the changes made. To do this, we run the following command and verify that the DCs have synchronized without errors.
repadmin /syncall /APed
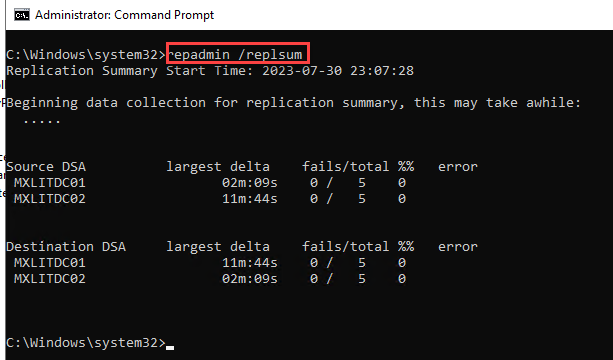
Another tool we can use to view the synchronization is the following.
repadmin /replsum
Once these steps are completed, we must verify that all the previous processes were performed correctly. There are 3 values we must check:
- rangeUpper
- objectVersion (Default)
- objectVersion (Configuration)
Below is a list of Exchange Server Active Directory versions and a link to the information on the Microsoft page.
Exchange SE Active Directory Versions
| Exchange SE Version | rangeUpper | objectVersion (Default) | objectVersion (Configuration) |
|---|---|---|---|
| Exchange SE RTM | 17003 | 13243 | 16763 |
Exchange 2019 Active Directory Versions
| Exchange 2019 Version | rangeUpper | objectVersion (Default) | objectVersion (Settings) |
|---|---|---|---|
| Exchange 2019 CU15 | 17003 | 13243 | 16763 |
| Exchange 2019 CU14 | 17003 | 13243 | 16762 |
| Exchange 2019 CU13 | 17003 | 13243 | 16761 |
| Exchange 2019 CU12 | 17003 | 13243 | 16760 |
| Exchange 2019 CU11 with KB5014260 | 17003 | 13243 | 16759 |
| Exchange 2019 CU11 | 17003 | 13242 | 16759 |
| Exchange 2019 CU10 | 17003 | 13241 | 16758 |
| Exchange 2019 CU9 | 17002 | 13240 | 16757 |
| Exchange 2019 CU8 | 17002 | 13239 | 16756 |
| Exchange 2019 CU7 | 17001 | 13238 | 16755 |
| Exchange 2019 CU6 | 17001 | 13237 | 16754 |
| Exchange 2019 CU5 | 17001 | 13237 | 16754 |
| Exchange 2019 CU4 | 17001 | 13237 | 16754 |
| Exchange 2019 CU3 | 17001 | 13237 | 16754 |
| Exchange 2019 CU2 | 17001 | 13237 | 16754 |
| Exchange 2019 CU1 | 17000 | 13236 | 16752 |
| Exchange 2019 RTM | 17000 | 13236 | 16751 |
| Exchange 2019 Preview | 15332 | 13236 | 16213 |
Exchange 2016 Active Directory Versions
| Exchange 2016 Version | rangeUpper | objectVersion (Default) | objectVersion (Configuration) |
|---|---|---|---|
| Exchange 2016 CU23 | 15334 | 13243 | 16223 |
| Exchange 2016 CU22 with KB5014260 | 15334 | 13243 | 16222 |
| Exchange 2016 CU22 | 15334 | 13242 | 16222 |
| Exchange 2016 CU21 | 15334 | 13241 | 16221 |
| Exchange 2016 CU20 | 15333 | 13240 | 16220 |
| Exchange 2016 CU19 | 15333 | 13239 | 16219 |
| Exchange 2016 CU18 | 15332 | 13238 | 16218 |
| Exchange 2016 CU17 | 15332 | 13237 | 16217 |
| Exchange 2016 CU16 | 15332 | 13237 | 16217 |
| Exchange 2016 CU15 | 15332 | 13237 | 16217 |
| Exchange 2016 CU14 | 15332 | 13237 | 16217 |
| Exchange 2016 CU13 | 15332 | 13237 | 16217 |
| Exchange 2016 CU12 | 15332 | 13236 | 16215 |
| Exchange 2016 CU11 | 15332 | 13236 | 16214 |
| Exchange 2016 CU10 | 15332 | 13236 | 16213 |
| Exchange 2016 CU9 | 15332 | 13236 | 16213 |
| Exchange 2016 CU8 | 15332 | 13236 | 16213 |
| Exchange 2016 CU7 | 15332 | 13236 | 16213 |
| Exchange 2016 CU6 | 15330 | 13236 | 16213 |
| Exchange 2016 CU5 | 15326 | 13236 | 16213 |
| Exchange 2016 CU4 | 15326 | 13236 | 16213 |
| Exchange 2016 CU3 | 15326 | 13236 | 16212 |
| Exchange 2016 CU2 | 15325 | 13236 | 16212 |
| Exchange 2016 CU1 | 15323 | 13236 | 16211 |
| Exchange 2016 RTM | 15317 | 13236 | 16210 |
| Exchange 2016 Preview | 15317 | 13236 | 16041 |
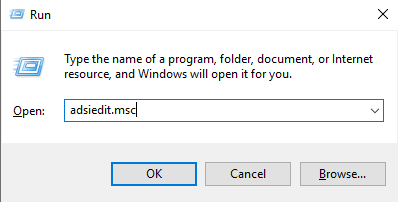
Now, let’s access a domain controller and review the values described above. We will use the following tool: ADSI Edit.
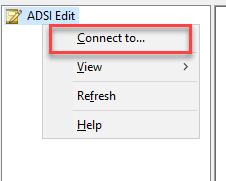
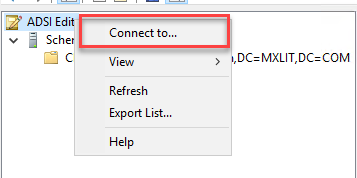
Right-click and select “Connect to…”
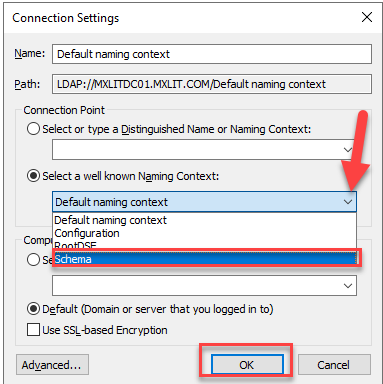
To review the rangeUpper values, select the Schema Naming Context and click OK.
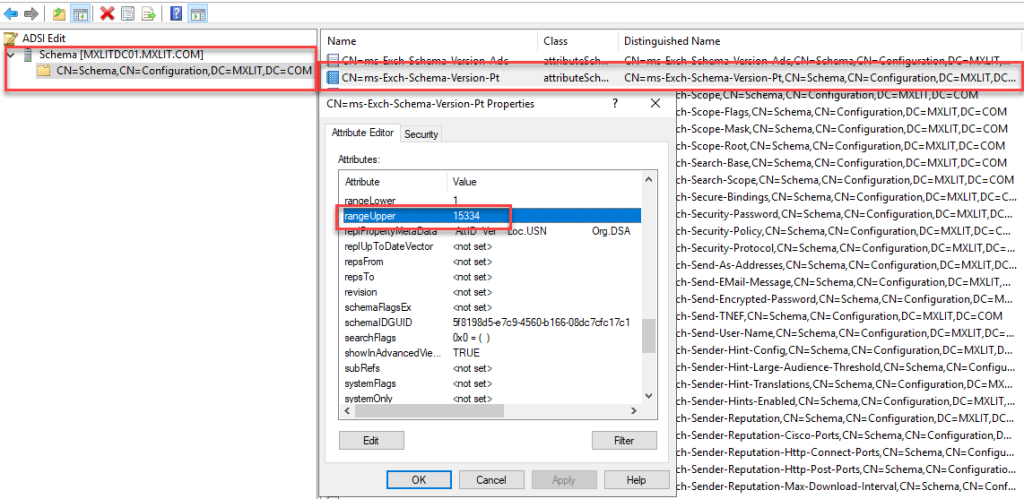
Locate the object CN=ms-Exch-Schema-Version-Pt and find the rangeUpper attribute.
To review the ObjectVersion (Configuration) values, right-click again.
Open ADSI Edit and select “Connect To…”
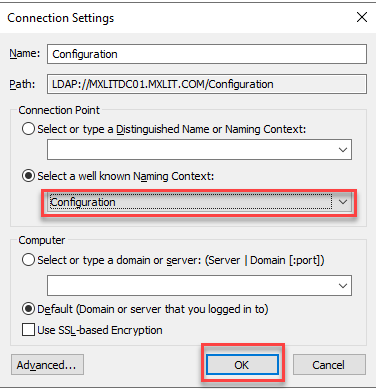
In the Naming Context, select Configuration and click OK.
Find the ObjectVersion attribute within CN=

Finally, return to ADSI Edit and connect to the Default naming context.
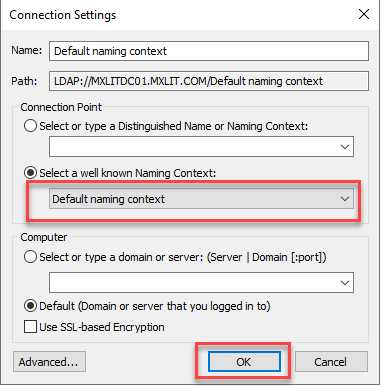
Find the ObjectVersion attribute within CN-Microsoft Exchange System Objects, DC=
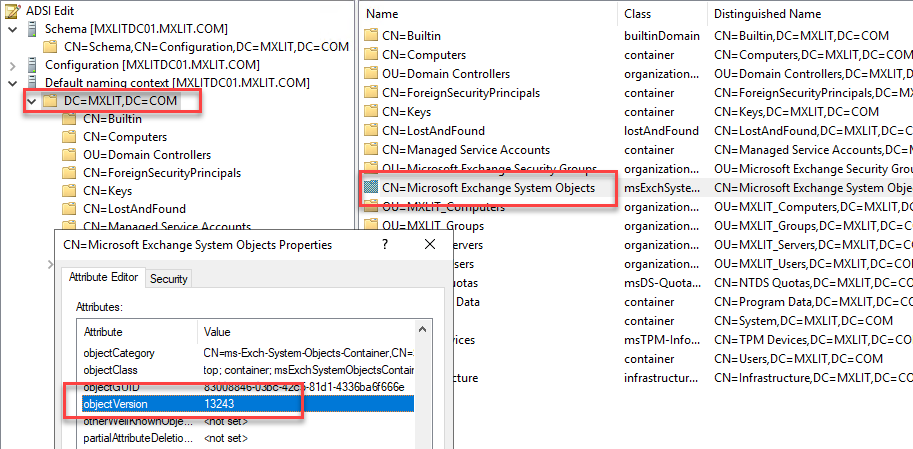
Once you have verified all the values and confirmed they match the table shown earlier, proceed with installing the requirements for Exchange.