At this point, we should have completed the following:
- Extended the Active Directory schema
- Prepared the domain for Exchange
- Installed the Exchange Server prerequisites
If we have done everything as described in the previous posts, we will proceed with the Exchange installation.
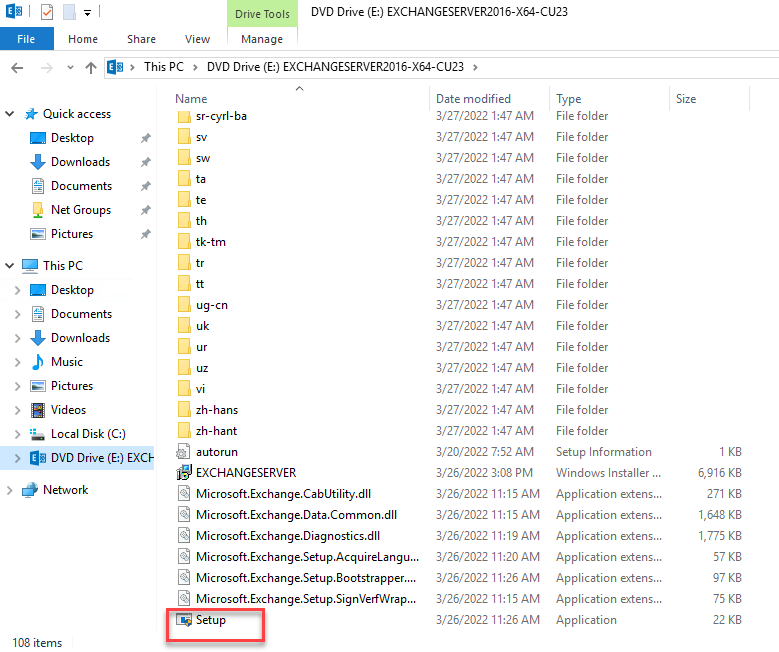
To do this, remount the ISO and run the Setup.exe file.
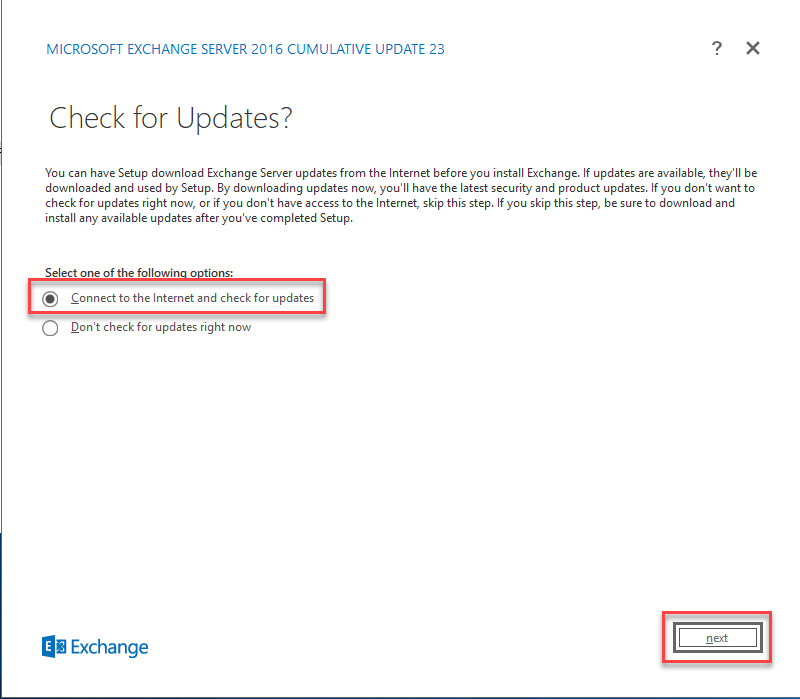
It will ask if you want to connect to the Internet to check for updates; select that option and click Next.
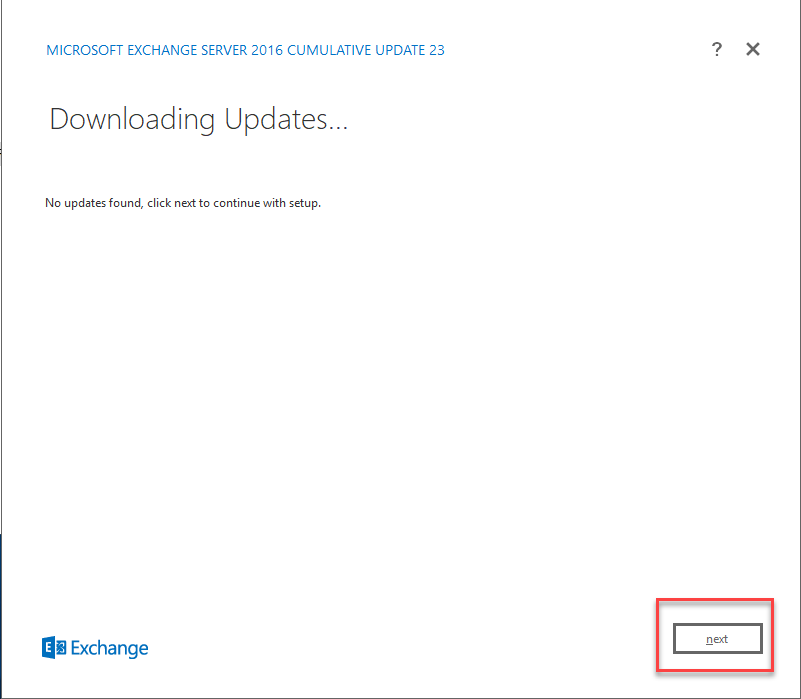
If no updates are found, press Next.
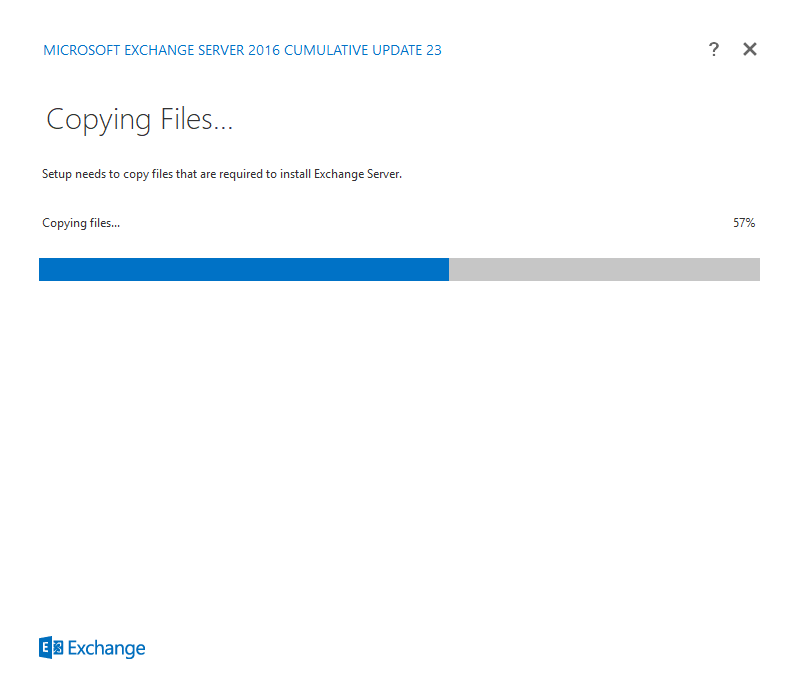
This process will copy the files necessary for installation.
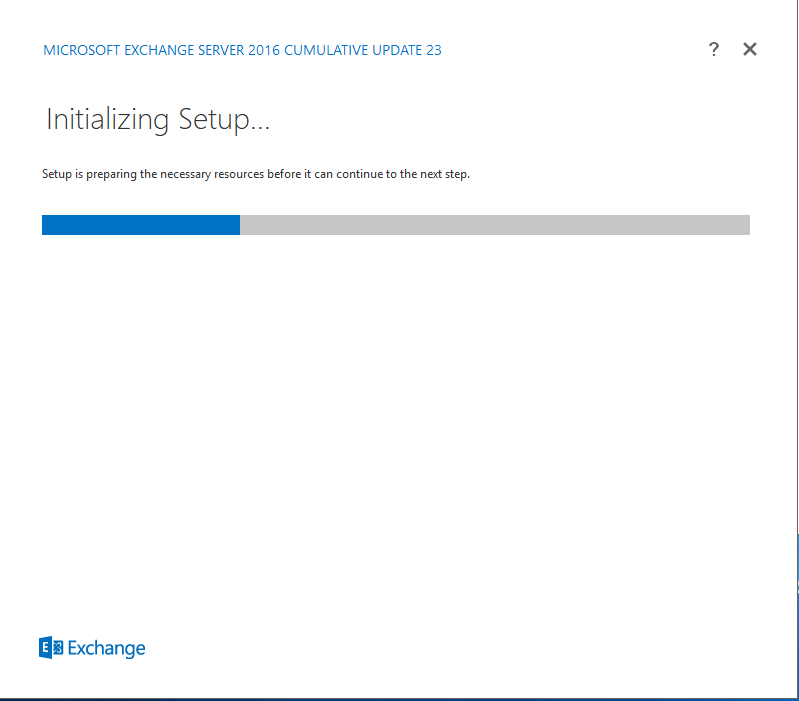
Once the files have been copied, it will prepare the necessary resources.
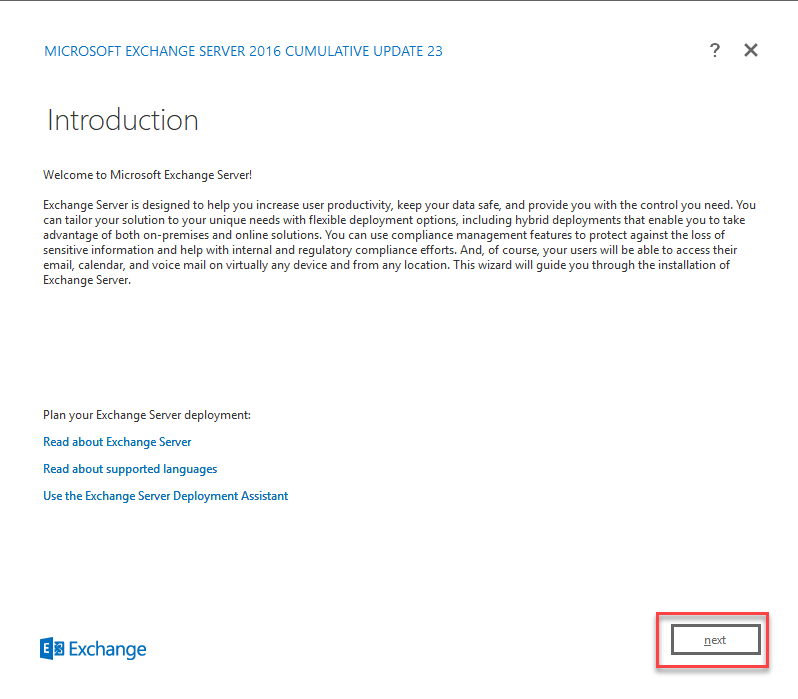
You will be welcomed to the installation wizard; press Next.
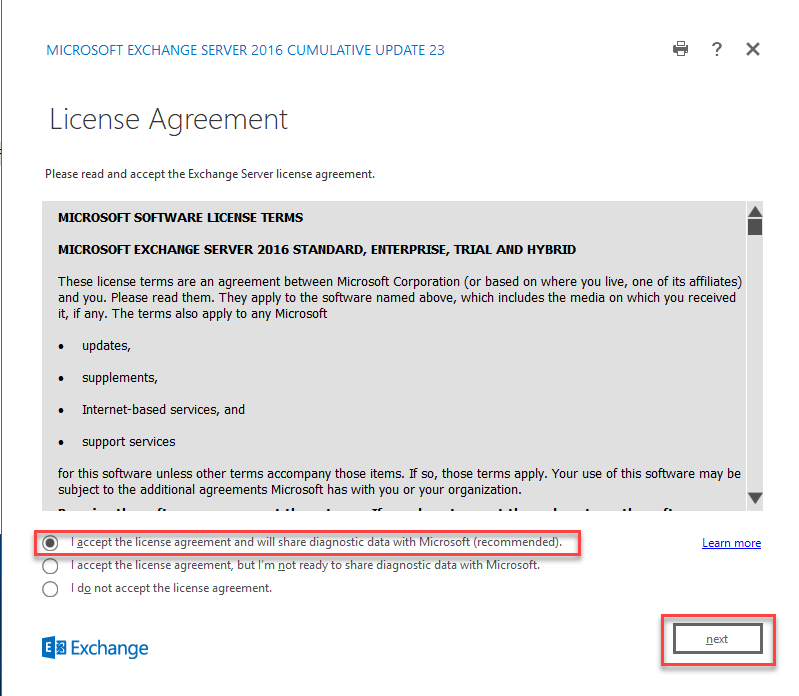
Accept the licensing terms and press Next.
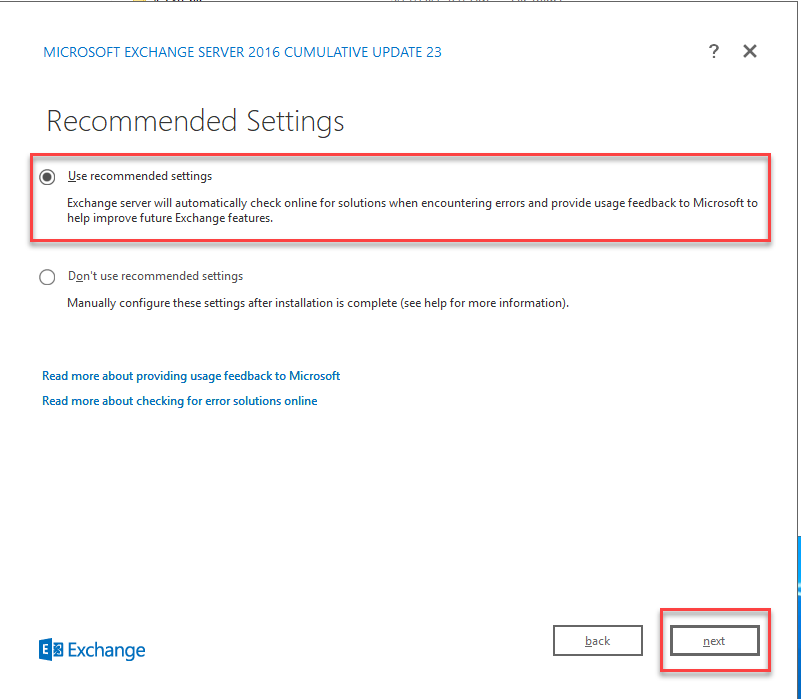
Select the recommended options and press Next.
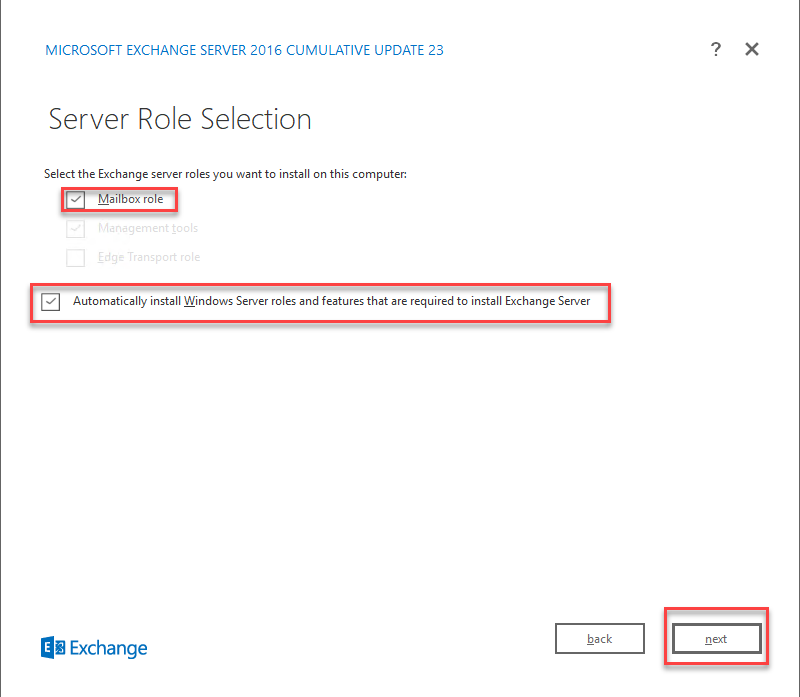
Select the Mailbox role, and it will automatically select Management Tools. Then, select the checkbox to automatically install the required Exchange roles. This should have already been done in the previous steps; however, leave it checked in case anything else is missing.
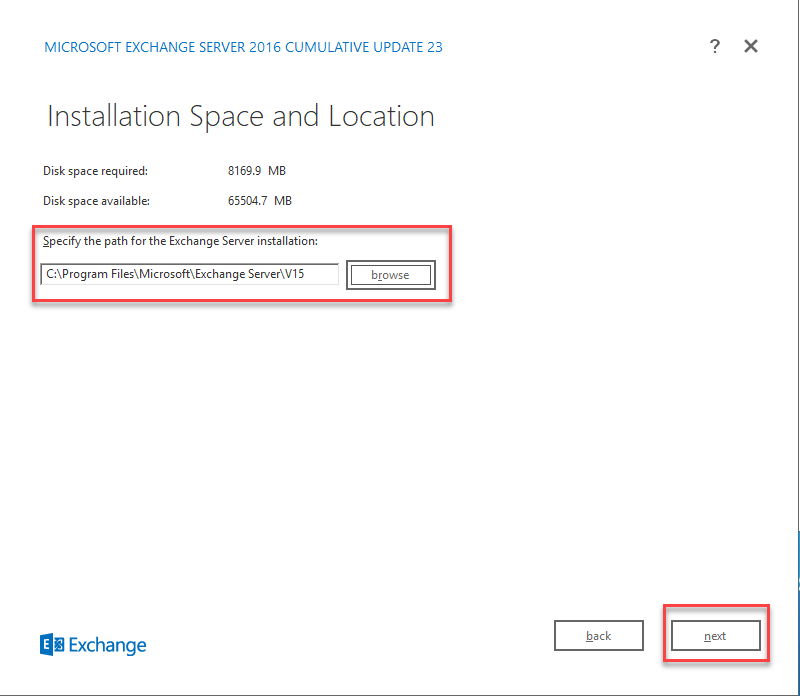
Select where you want to install Exchange. You can select the default path and click Next.
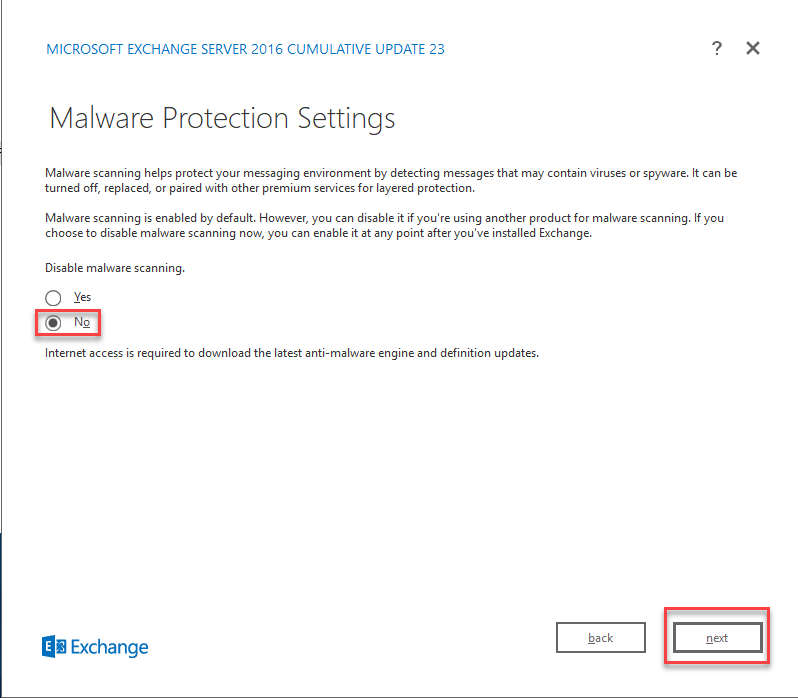
It will ask if you want to disable malware scanning. Select No and click Next.
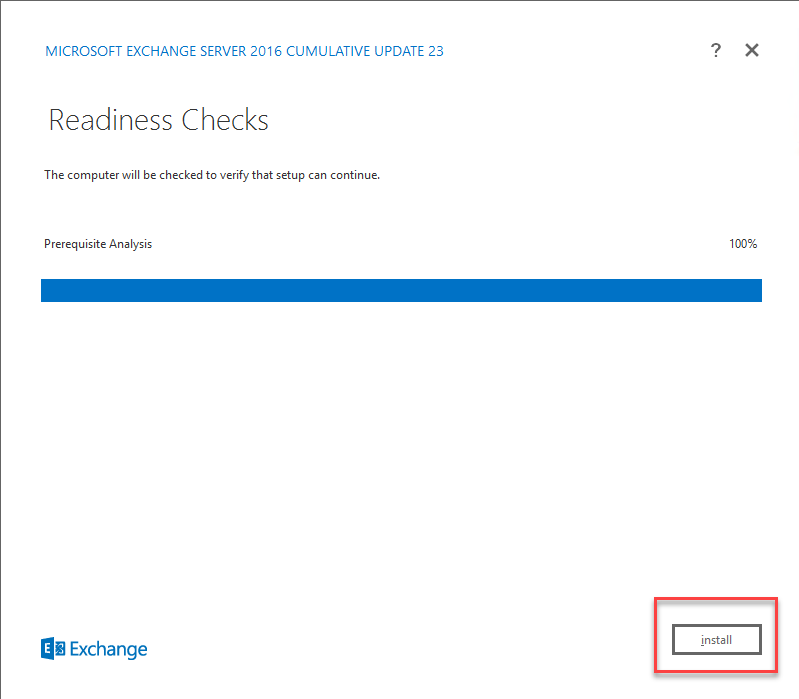
Here, all the prerequisites we saw in the previous post will be reviewed. If, for any reason, an installation or role is missing, or if a system restart is pending due to an update, the wizard will ask you to correct the errors. You will have to run the Setup.exe file again and start the process over.
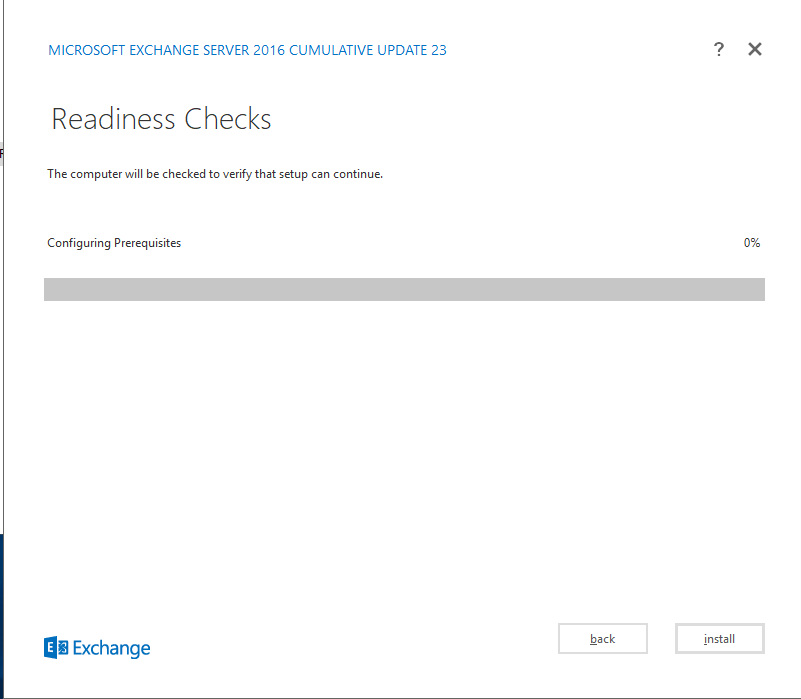
When the check is complete and there are no error messages, click Next.
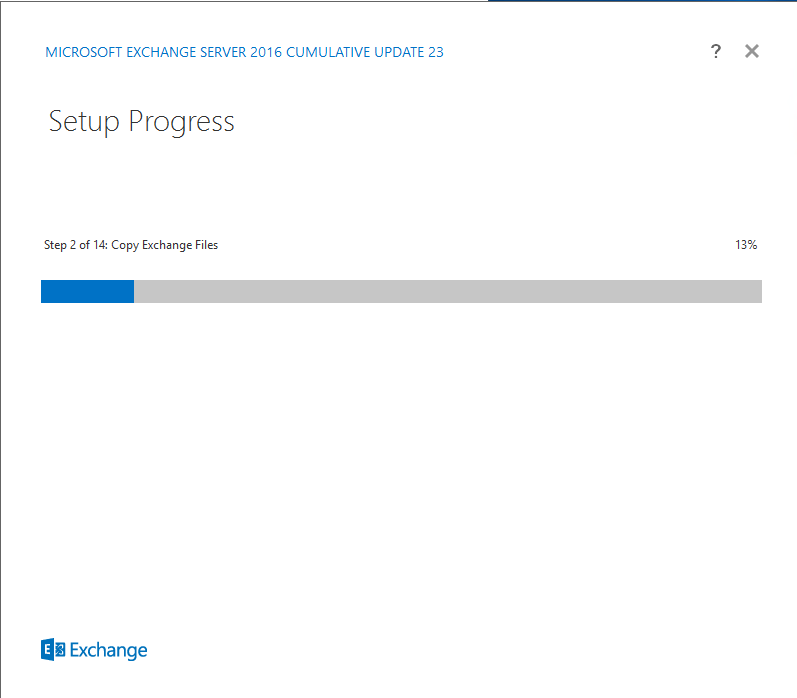
Here we can see that the installation has begun. This process can take between 30 and 60 minutes, depending on the computer and type of storage drive you are using.
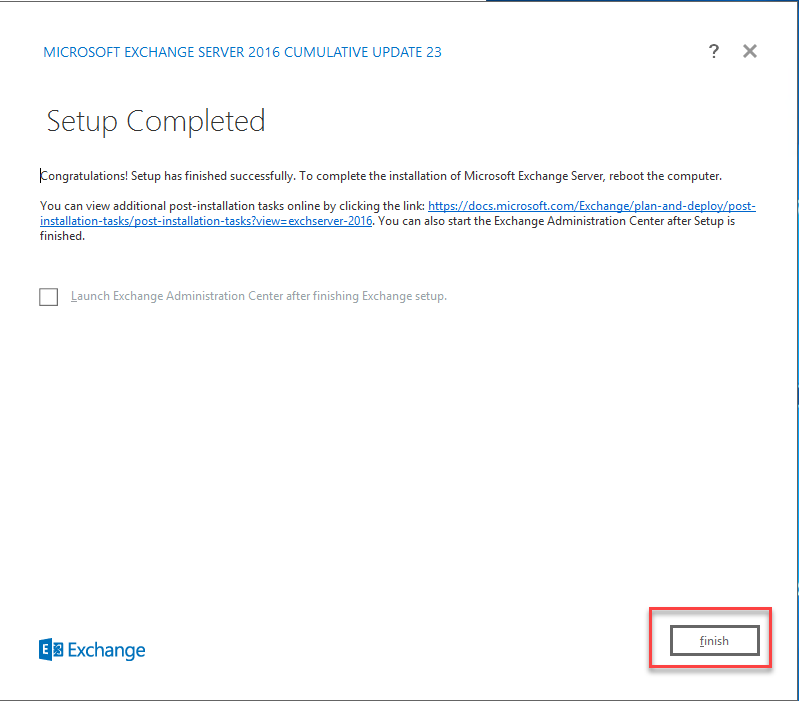
At this point, we can see that Exchange has been successfully installed. Click Finish and restart the server to complete the installation.
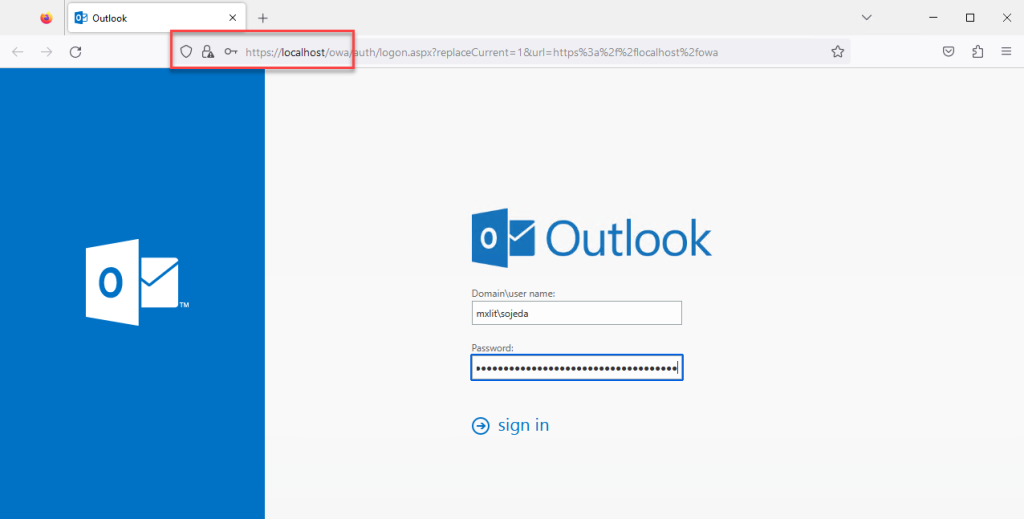
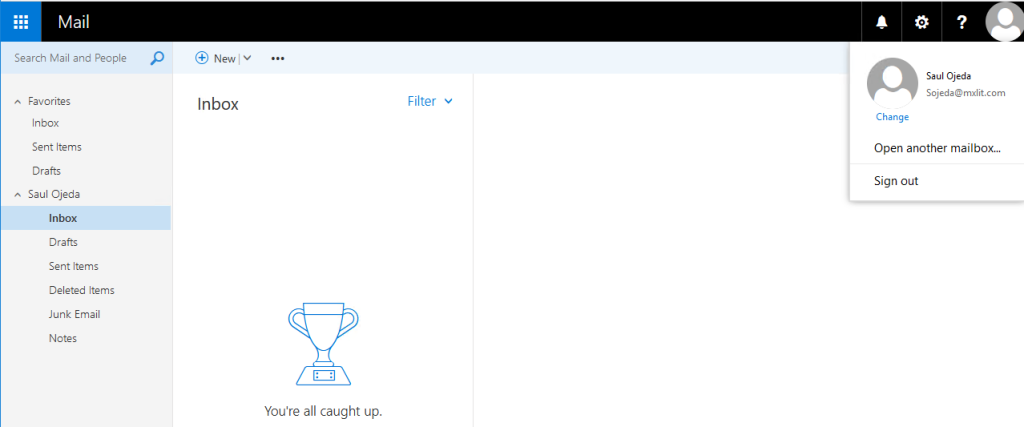
Once you have restarted the system, you can access the local host from the server at https://localhost/owa and verify that Exchange is now visible. Log in with the account you used to install Exchange, as it should have an active Mailbox.
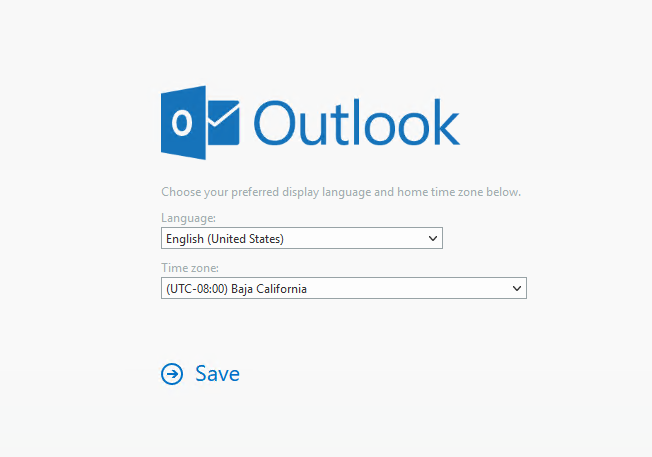
On the first launch, you will be asked to adjust the language and time zone.
Once logged in, you can see that the Mailbox has loaded correctly.
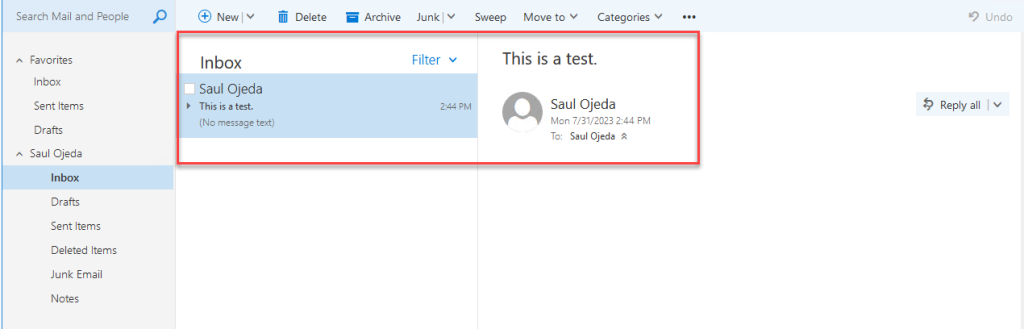
To verify that the Mailbox is working correctly, send a test email to the same address you just logged in with. If it’s successful, we can assume that Exchange is working correctly for internal emails.
If you have followed all the steps so far, you now have a working Exchange server. However, there are still many configurations to complete.