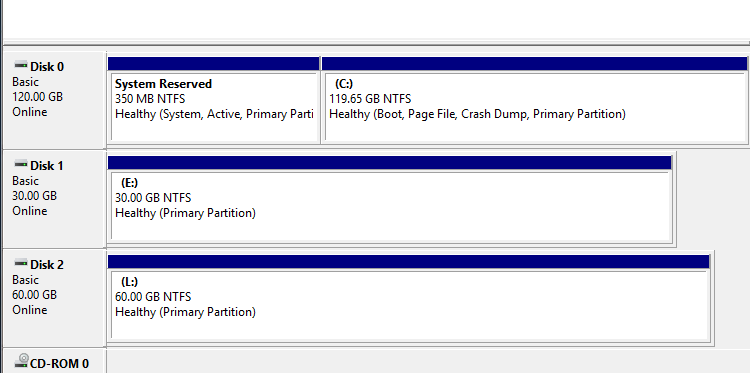
You’ve probably experienced this: you expand a virtual disk in Proxmox or VMware, go to Windows Disk Management intending to extend your main partition, and find that the “Extend Volume” option is grayed out (disabled).
Why does this happen? The reason is purely geometric. For Windows to extend a partition, the unallocated space must be contiguous and located immediately to the right of the volume you want to expand.
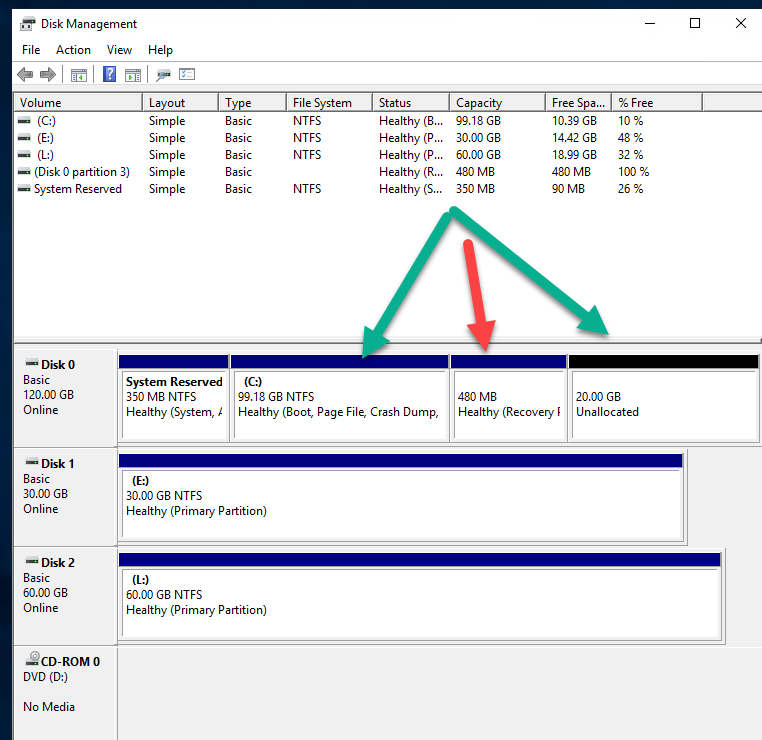
The problem is that, by default, modern Windows installations place a Recovery Partition at the very end of the C: drive. When expanding storage from the hypervisor, the new space is added to the end, leaving the recovery partition in the middle like a physical barrier.
Windows doesn’t have the native ability to “jump” over this partition to access the free space, forcing us to perform a minor technical procedure to move or delete it.
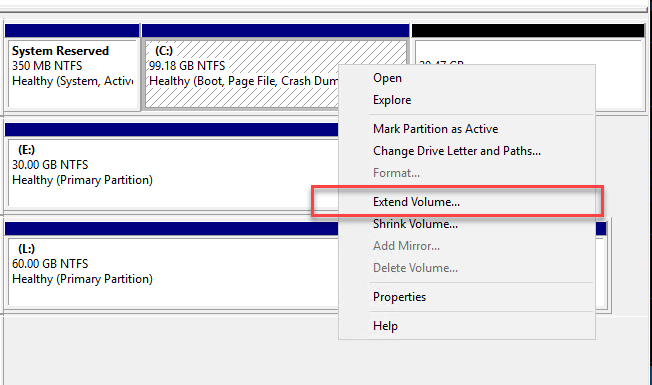
When you open Disk Management, you’ll notice a partition in the middle that prevents you from extending the C: drive, as shown in the image.
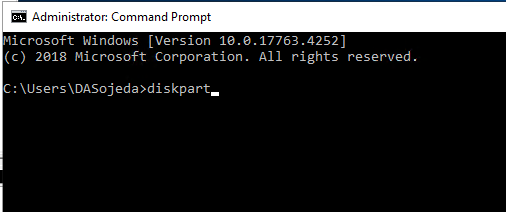
To solve this problem, you’ll need to open Command Prompt as administrator and enter the following command:
diskpart
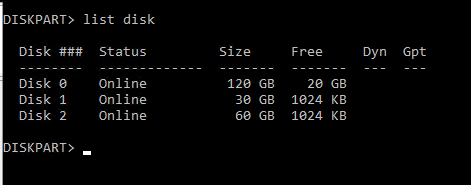
To verify which disk we need to work with, run the following command:
list disk
You’ll notice the one containing 20GB of free space (this will depend on the extra amount you added)
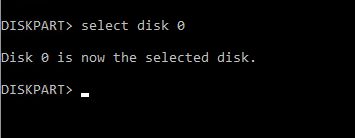
Once you’ve verified which disk it is, run the following command.
Select disk 0
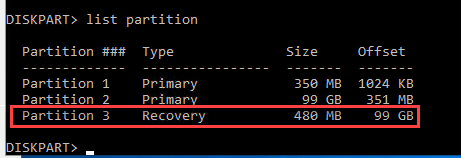
Now, you need to specify the partition that we must delete to extend the disk. To do this, we must list the partitions associated with the previously selected disk. Run the following command.
list patition
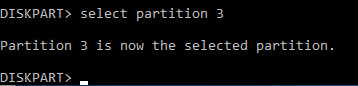
Select the partition with the following command.
Select partition 3
Once the partition is selected, we must proceed to delete it with the following command.
delete partition override
Once finished, return to Disk Management. You’ll notice that the partitions are now contiguous, and you can now select the option to extend the volume.
Once extended, you’ll have the full amount of space you allocated.